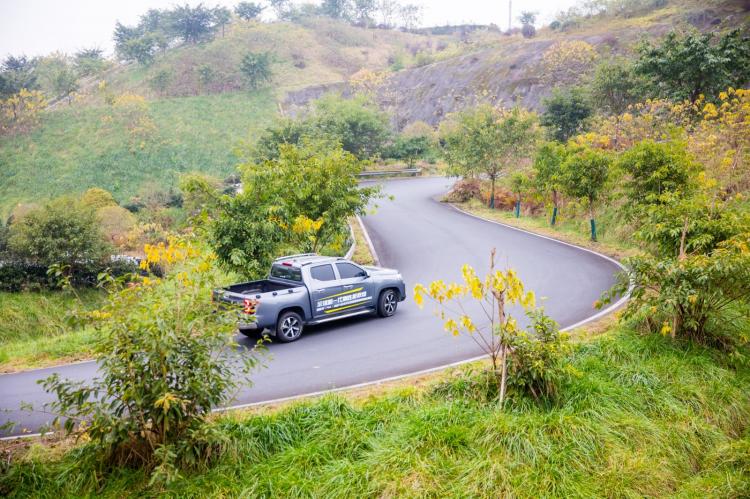
I read a lot of posts on the e-family before, and I am deeply addicted to RVs. I also met a lot of big guys who modified cars for fun. After a long process of hesitation, I am going to buy a Transit New Era this year. Detoxification is also good for the majority of riders to point out the deficiencies in the process.
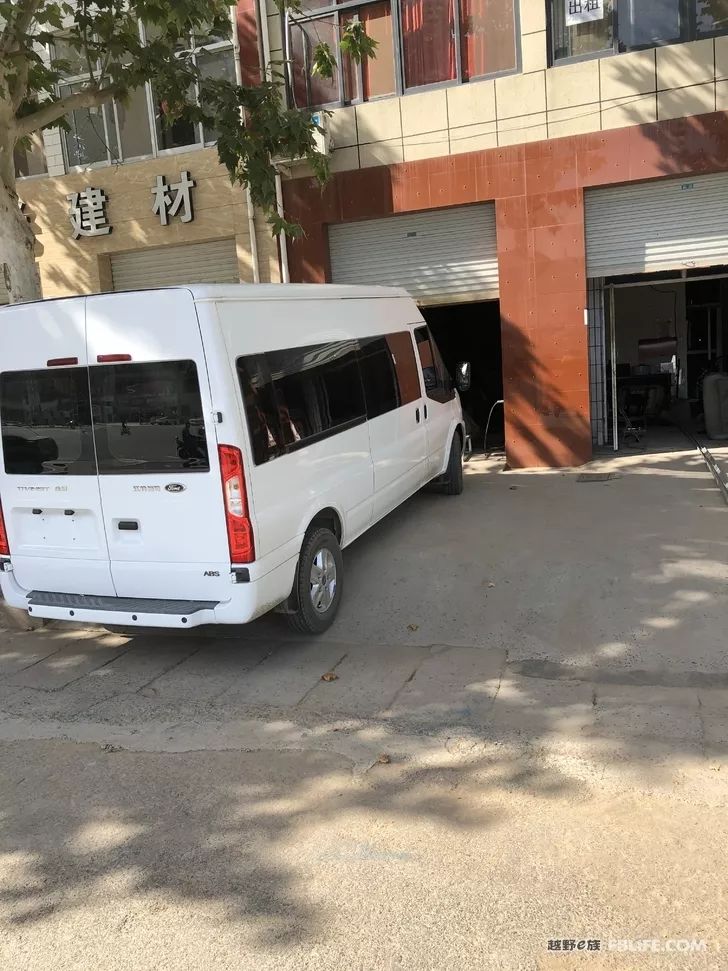
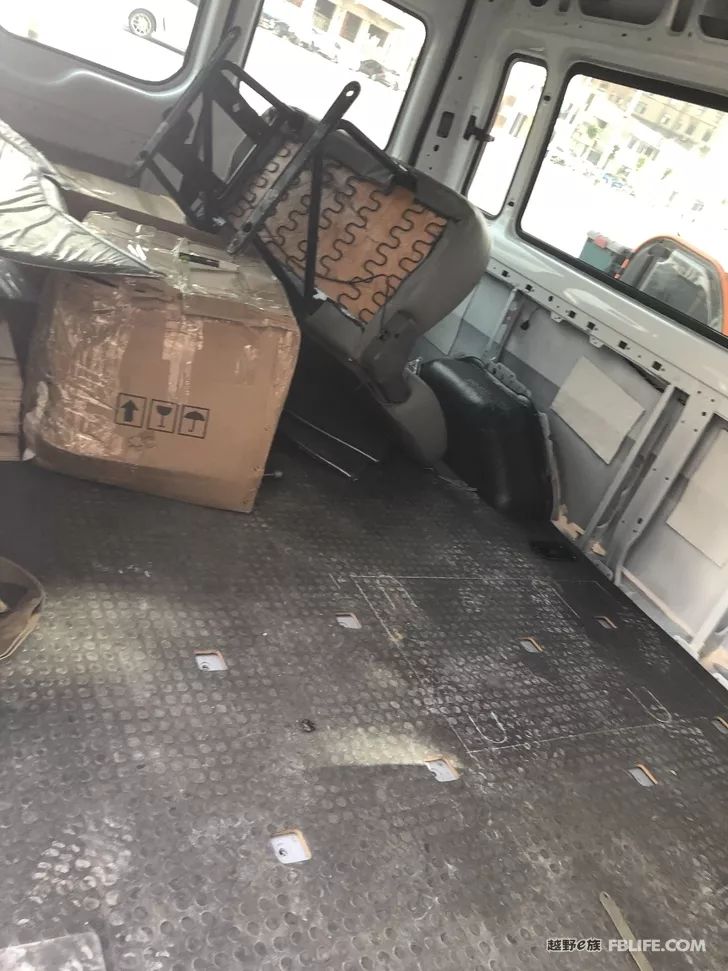
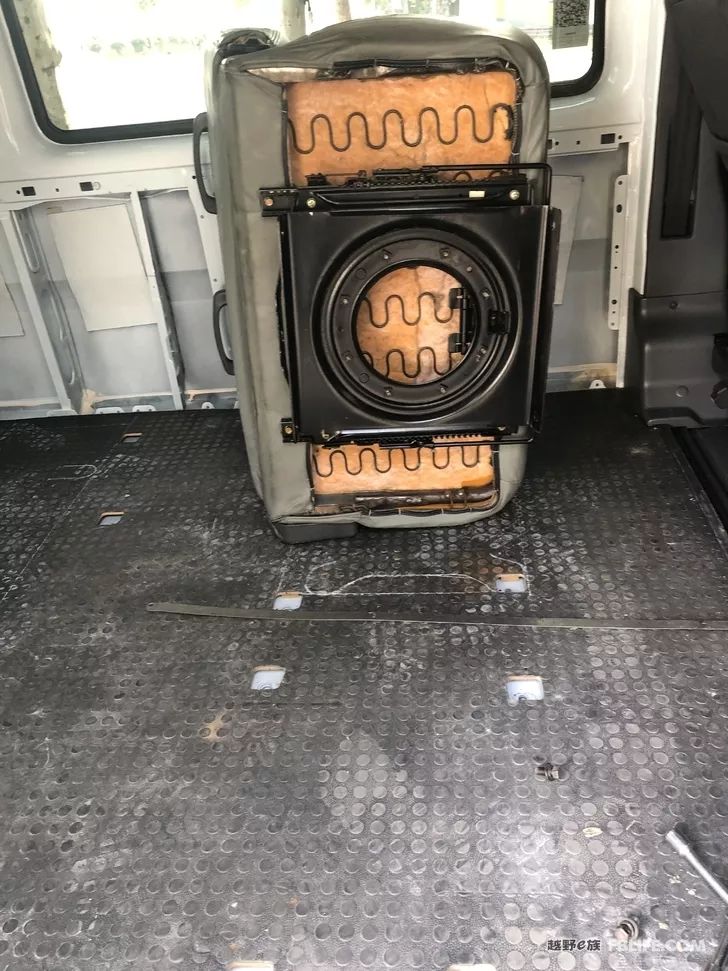
The first thing to do is to unpack
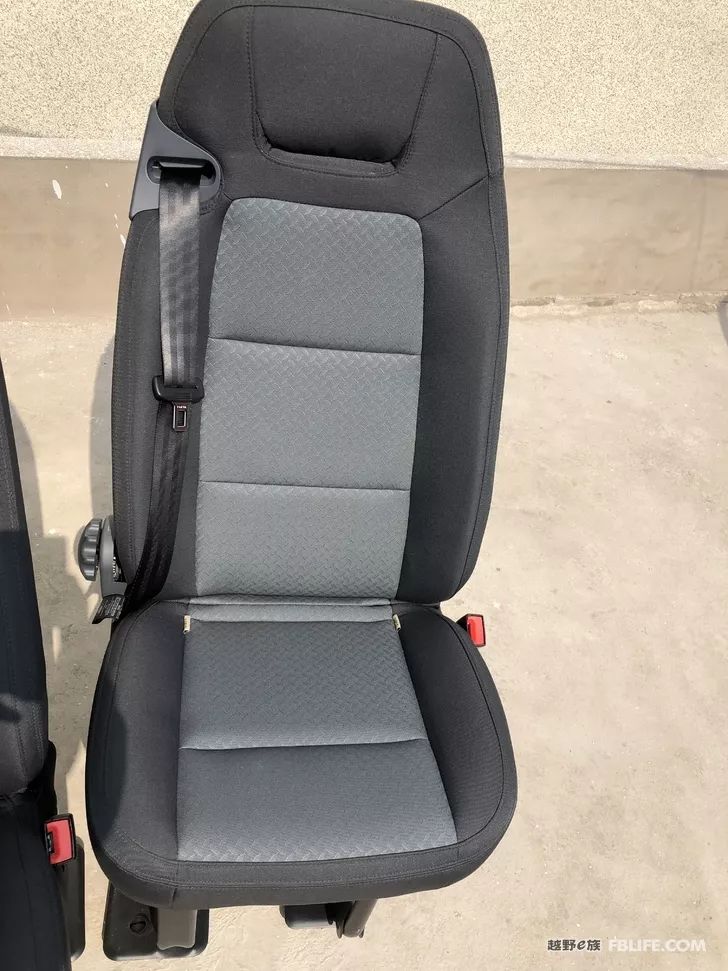
The new age seats are heavy and require help getting them out of the car.
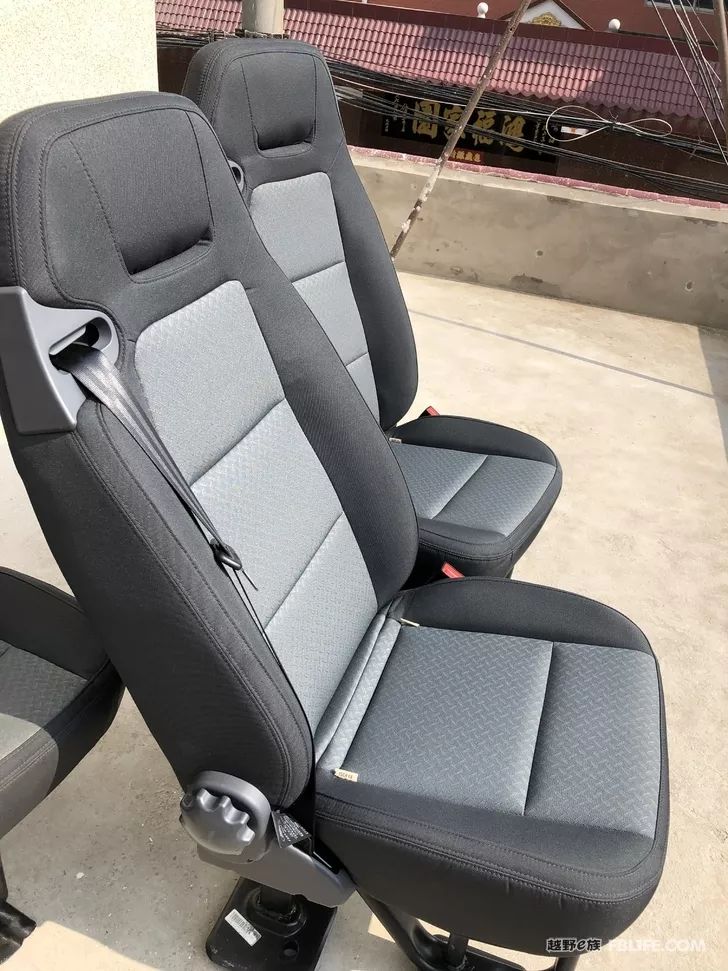
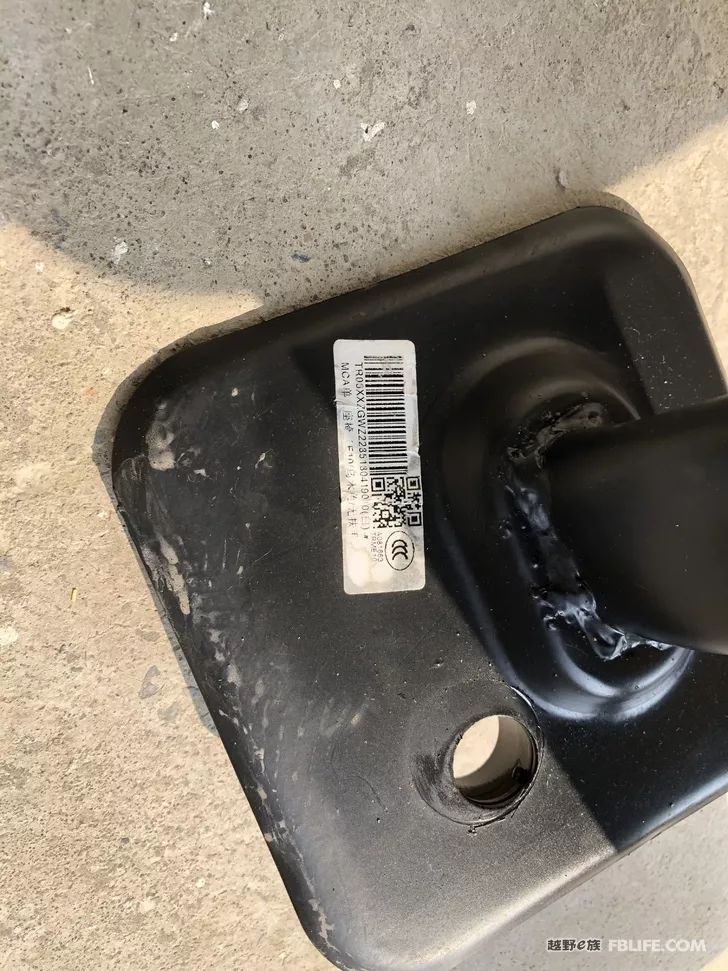
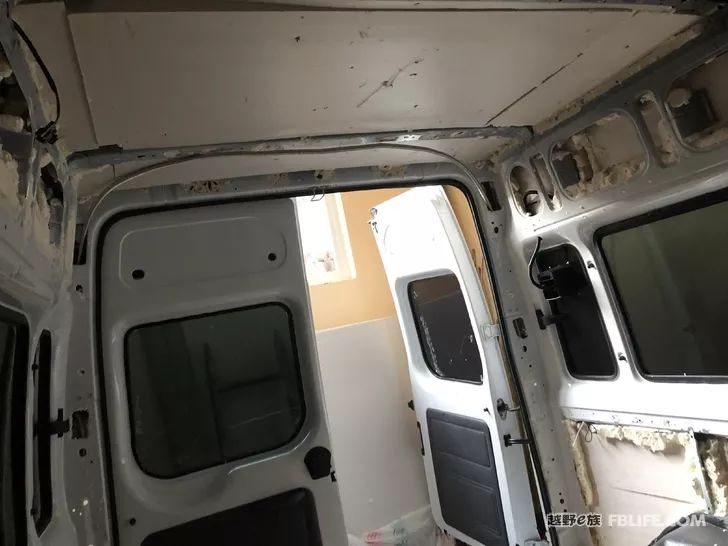
Only when I took it apart did I realize that there is no outer guard plate. I really can’t bear to look directly inside.
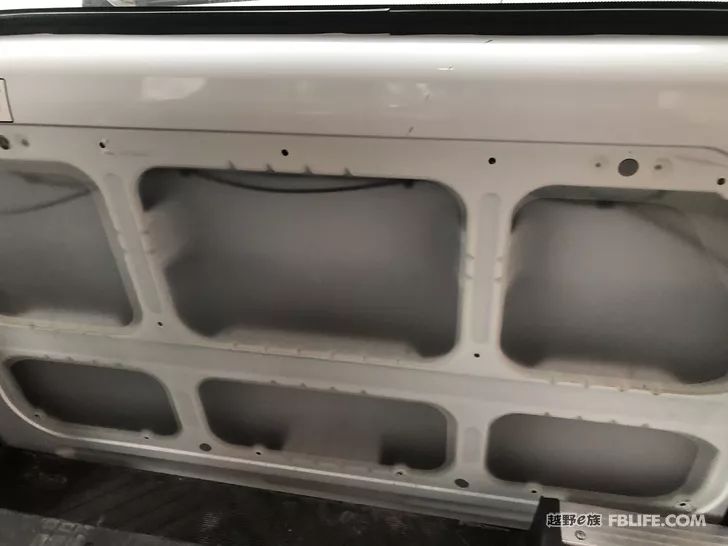
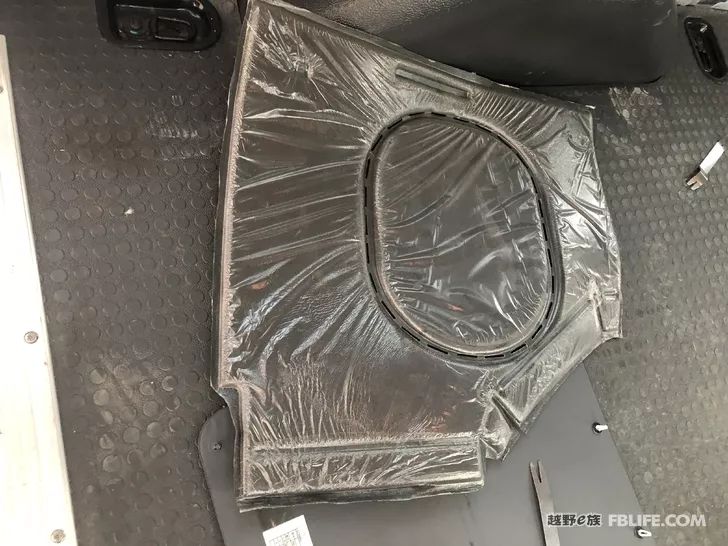
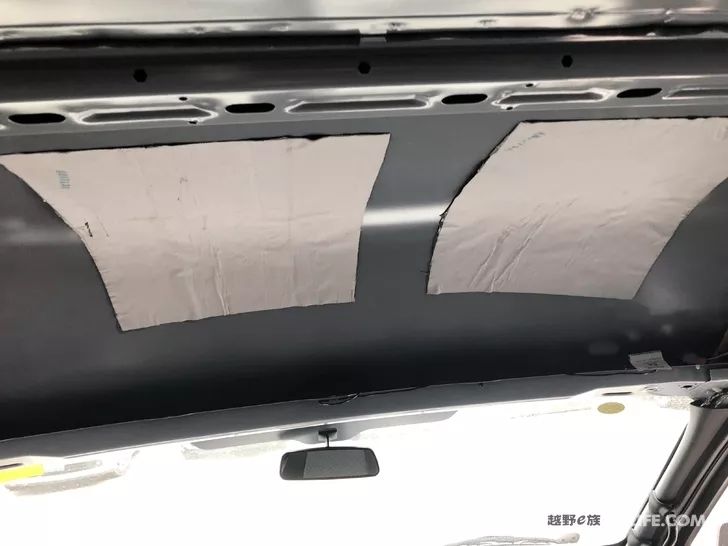
This is the sound insulation panel of the original car
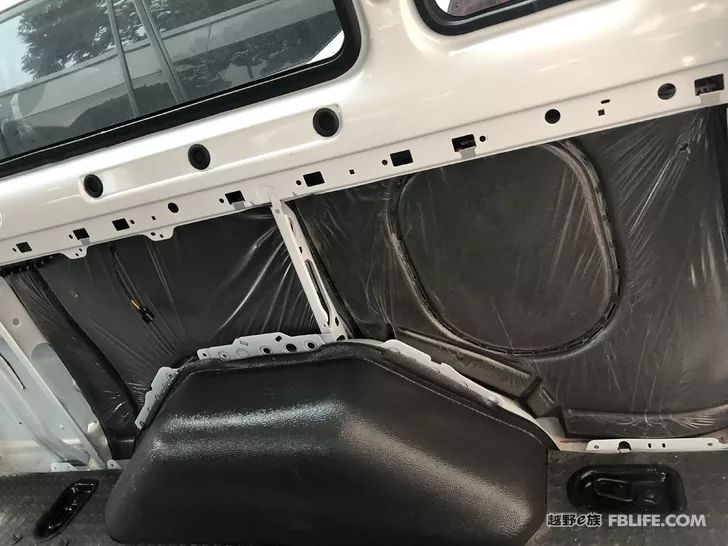
Two on each side, a bit pathetic.
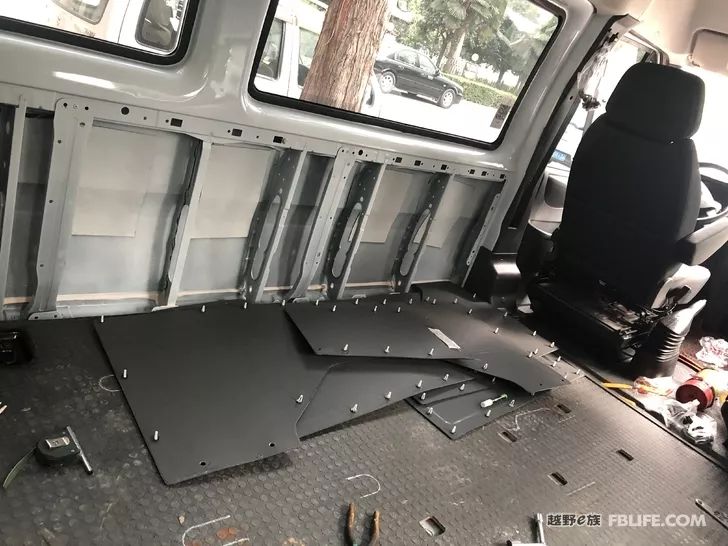
The white part inside the guard plate is the original shock absorber.
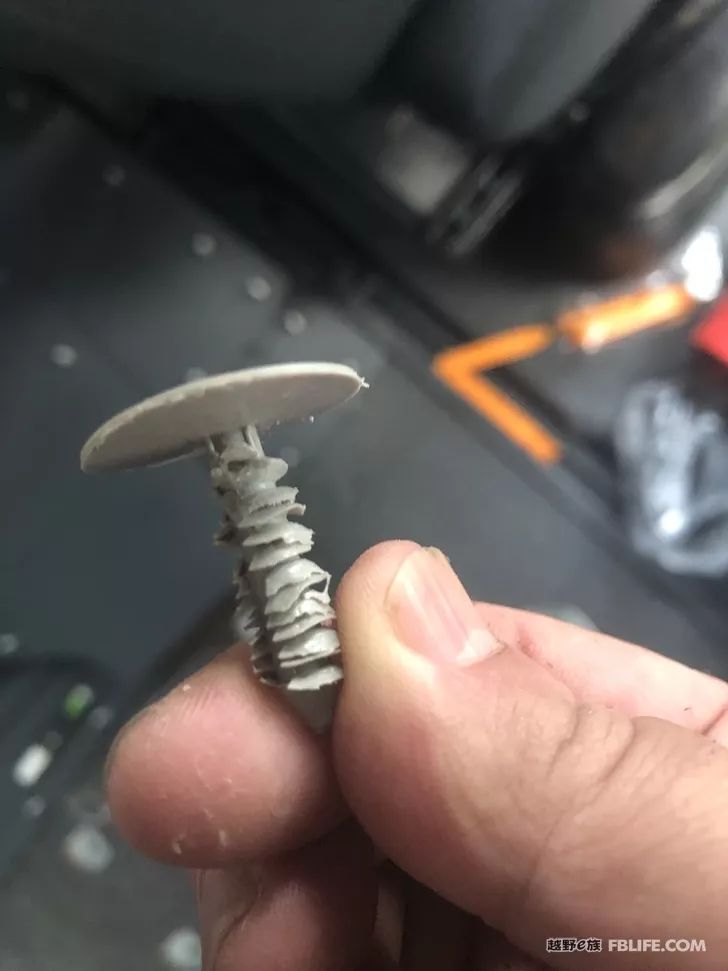
The plastic buckle of the gusset is really difficult to pull out, and it is useless if it is pulled out.
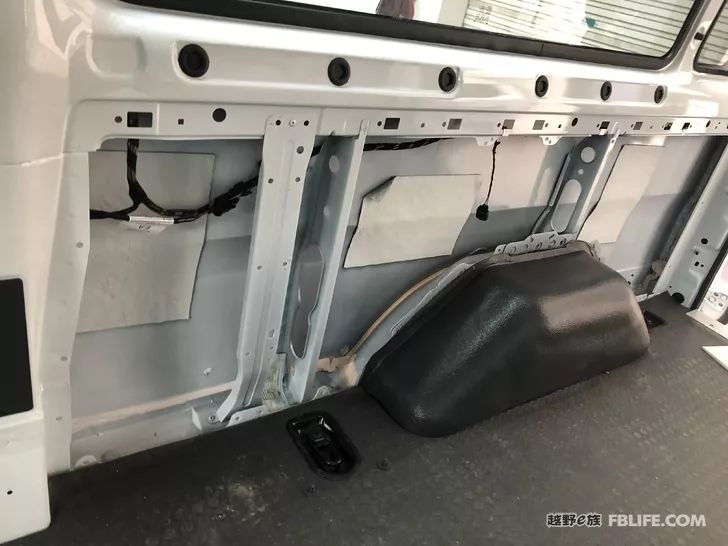
Shock absorbing plate above the main driver
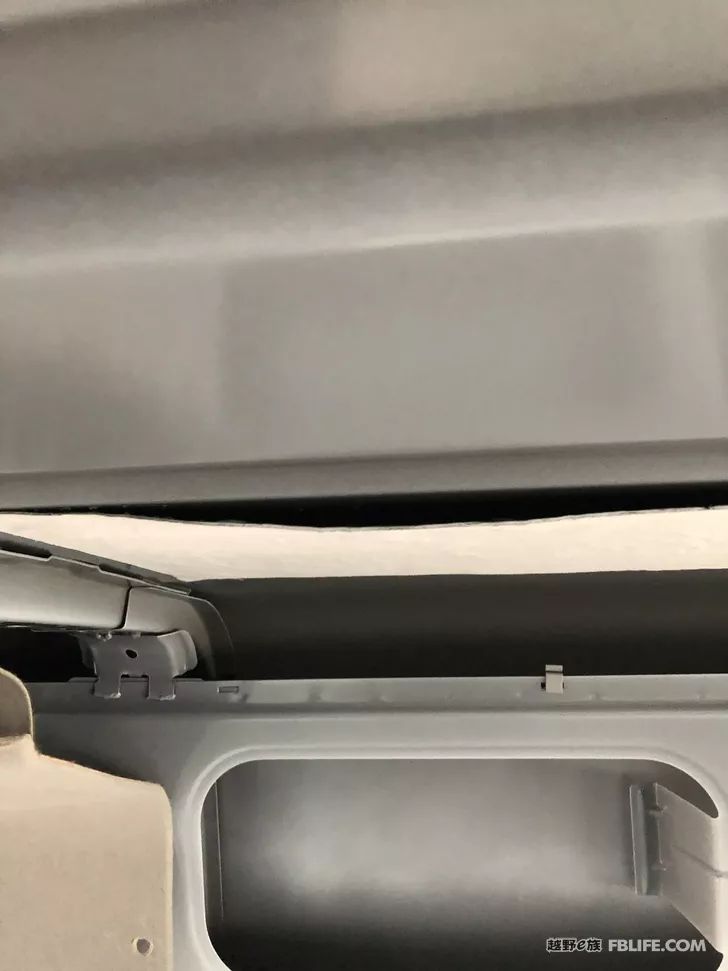
There is another piece warped up, very hard, but it can’t be torn off.
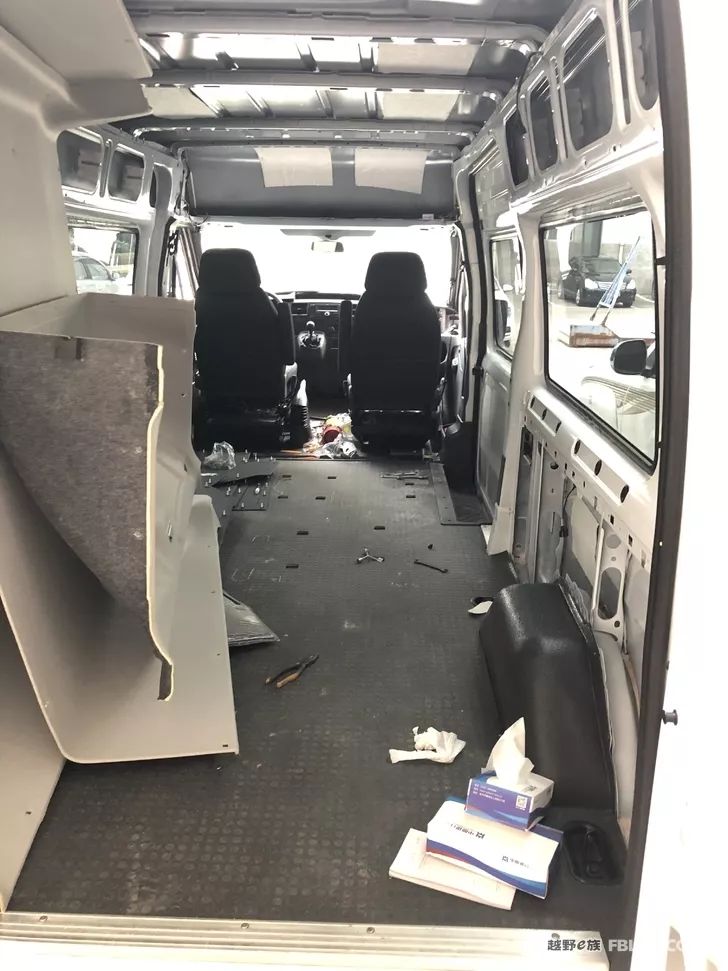
The roof is all removed, and the plastic buckle is broken in half.
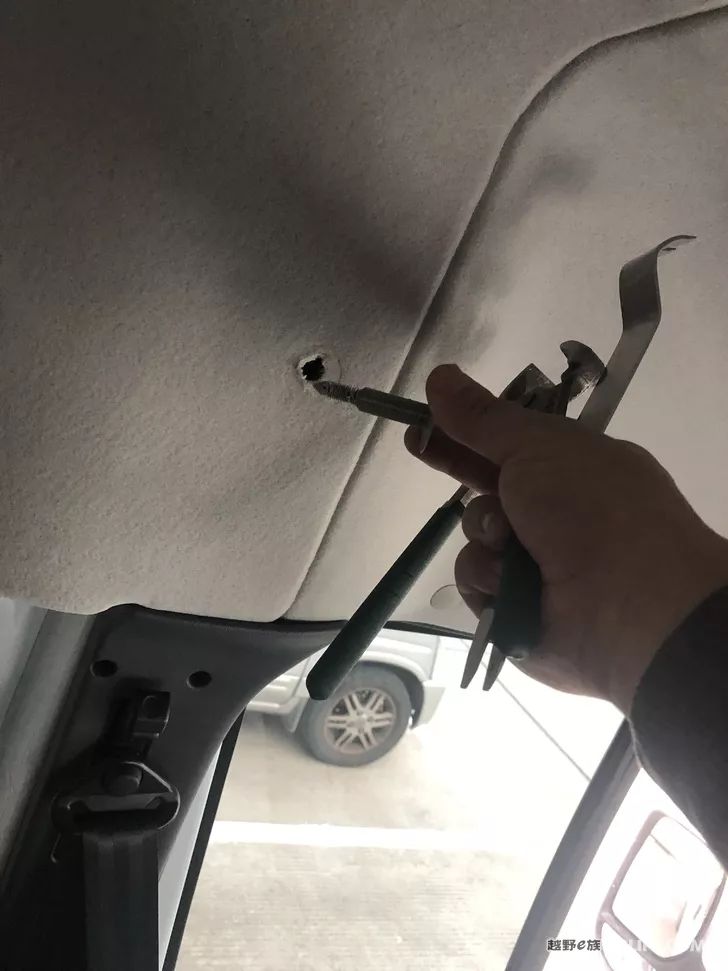
This position is to increase the length of the button
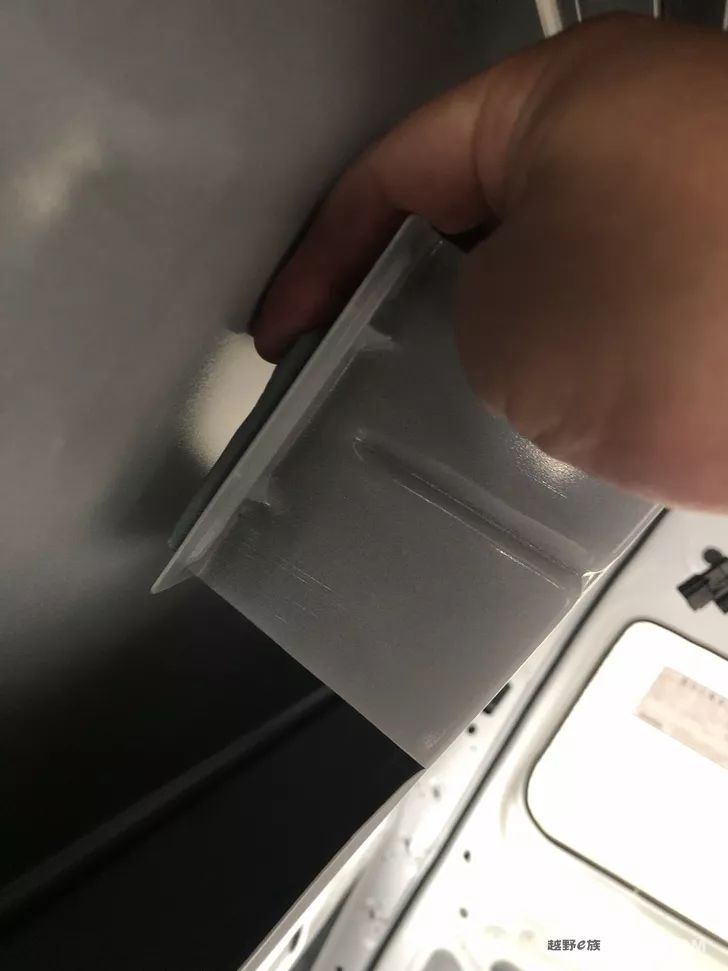
This is the gap on the top side panel inside. I don’t know if it is a reserved space or it is not in place?
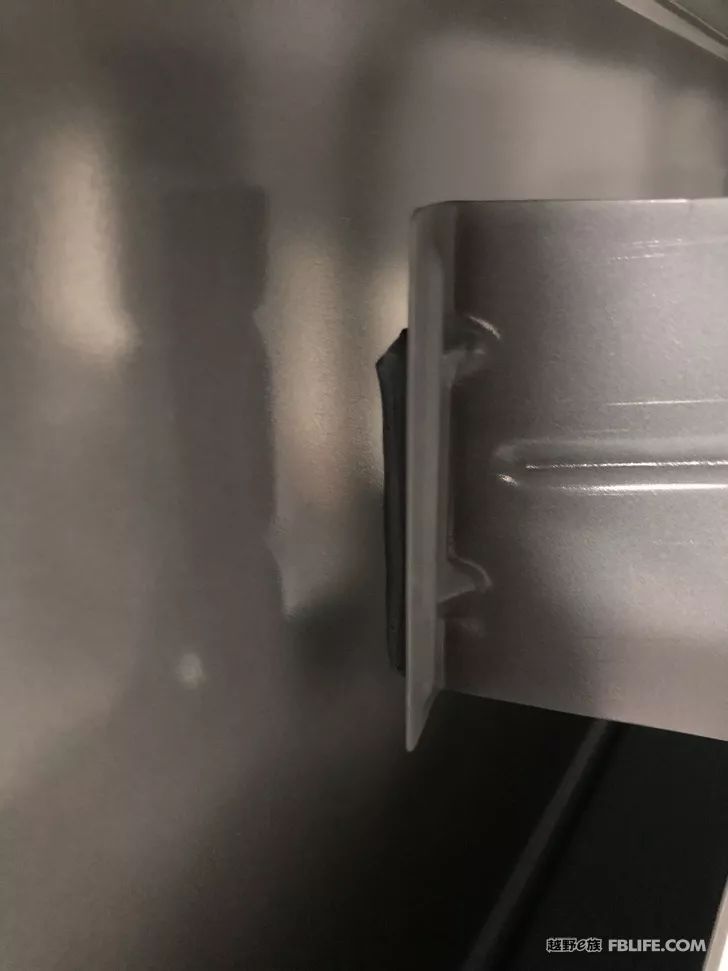
There is a gap of two centimeters
Get two suitable seats and prepare the two seats to make a temporary bed.
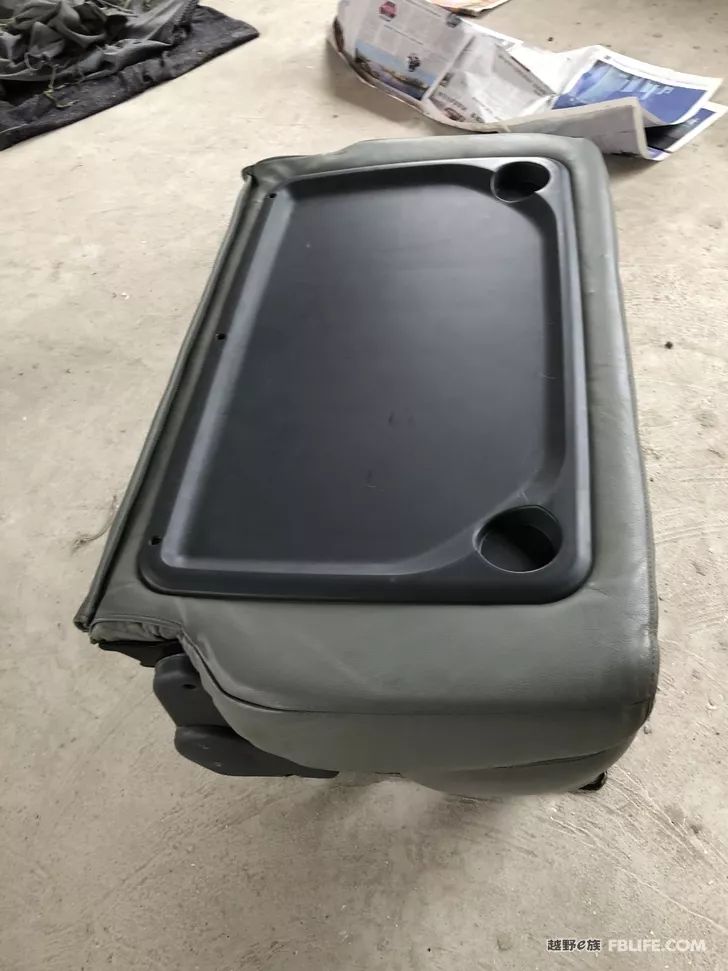
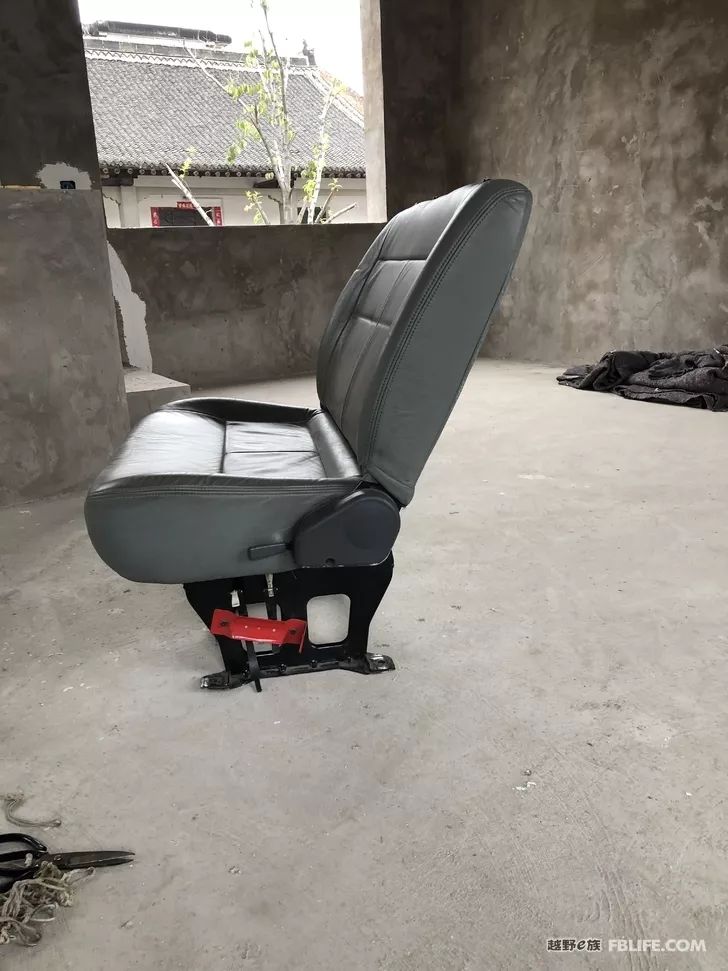
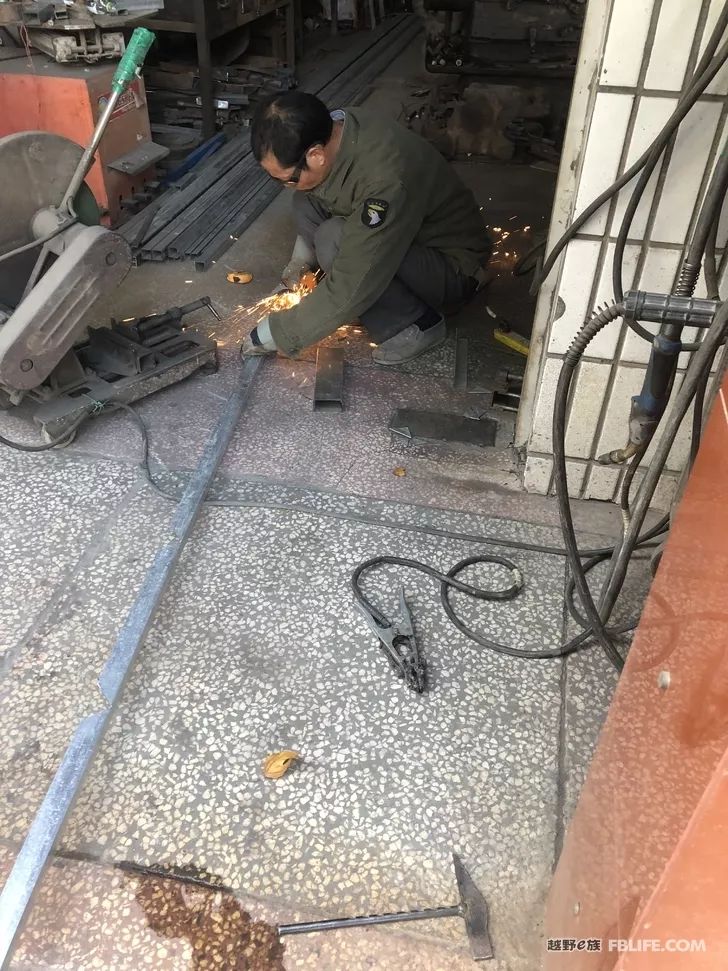
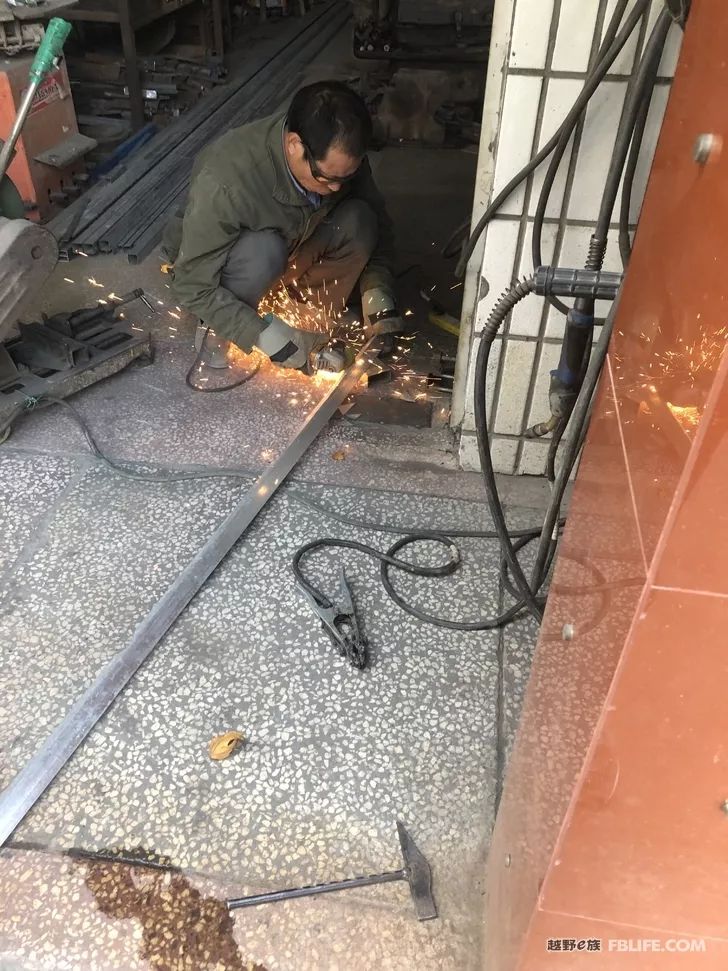
The job of electric welding is better left to professional people, welding by yourself is like a heap of chicken shit!
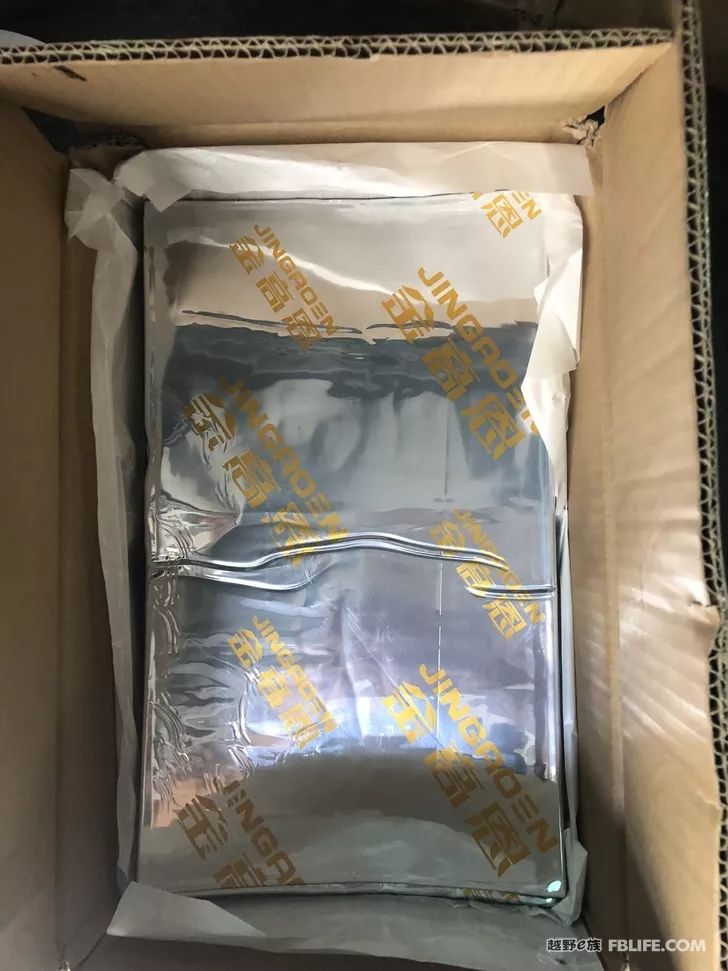
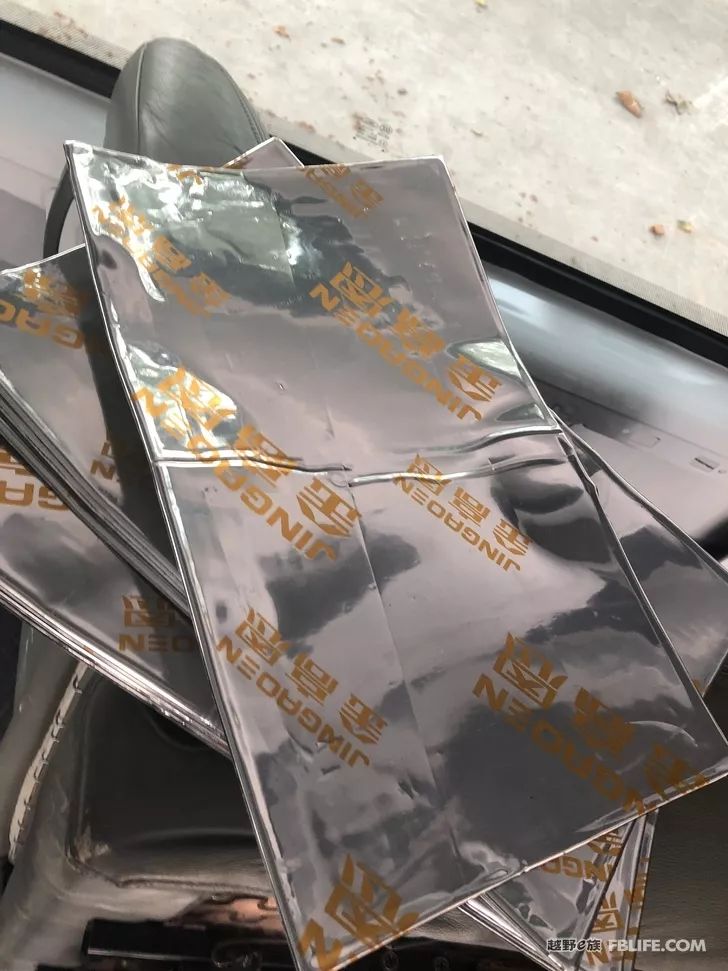
It is still the anti-vibration brand that I saw in the posts of the e-family riders. I bought more than 20 square meters, which is a bit too much. The 15 square meters of the long axis is almost enough.
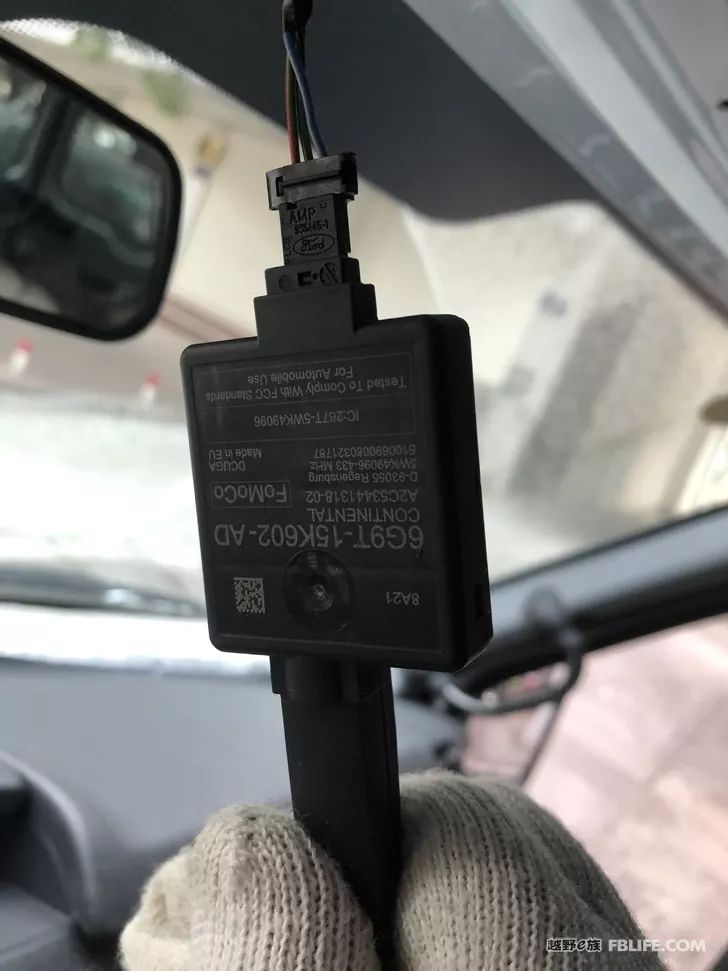
Does anyone in the know know what sensor this is? Attached to the top of the main driver.
Replace seat bottoms with box-style good storage items
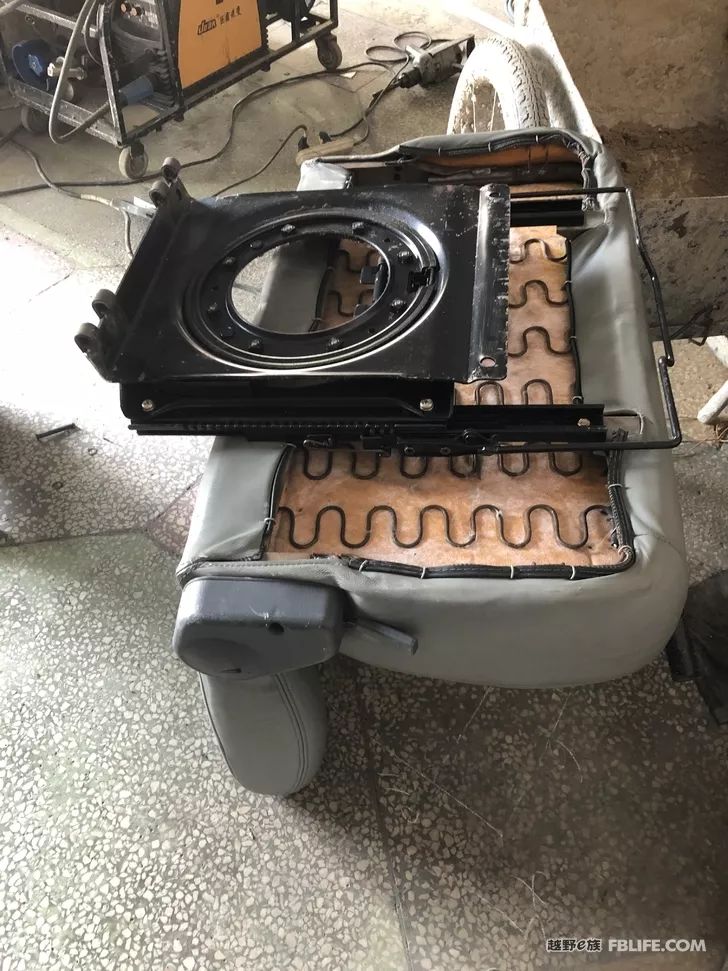
Two heavyweight hinges are welded for easy lifting.
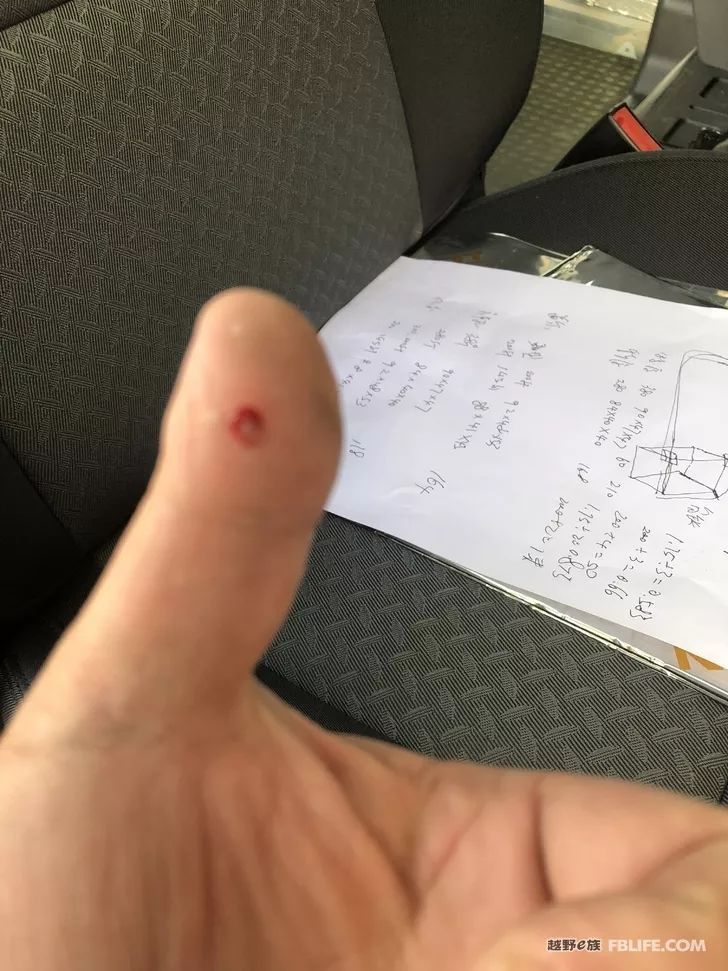
This can be regarded as the first drop of blood in the process of changing the car!
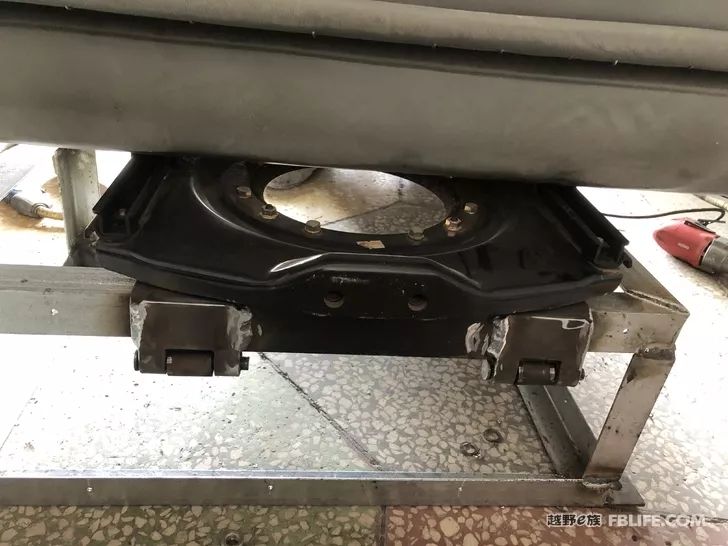
After welding, polish the corners
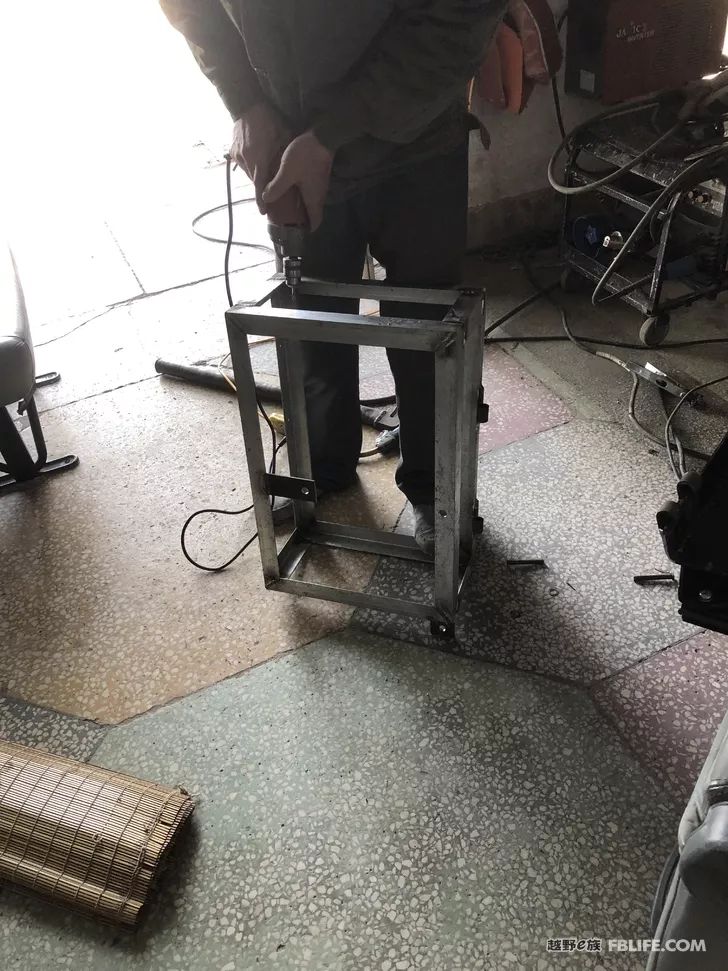
Drill holes on the side for filling the board later. If you want to use a thinner board to reduce weight, you can only rely on small screws.
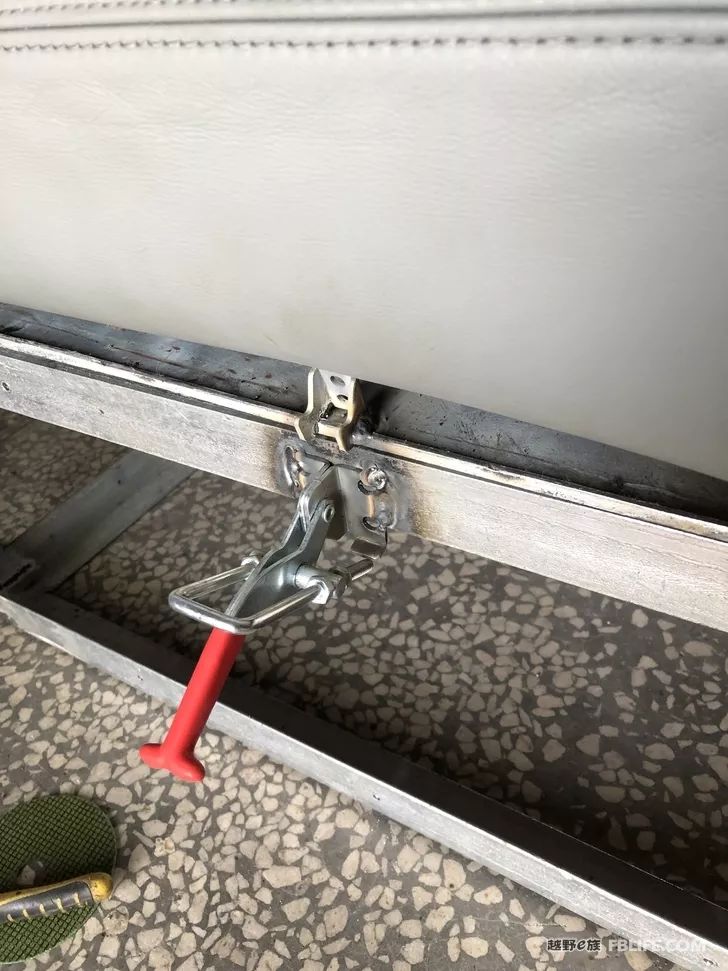
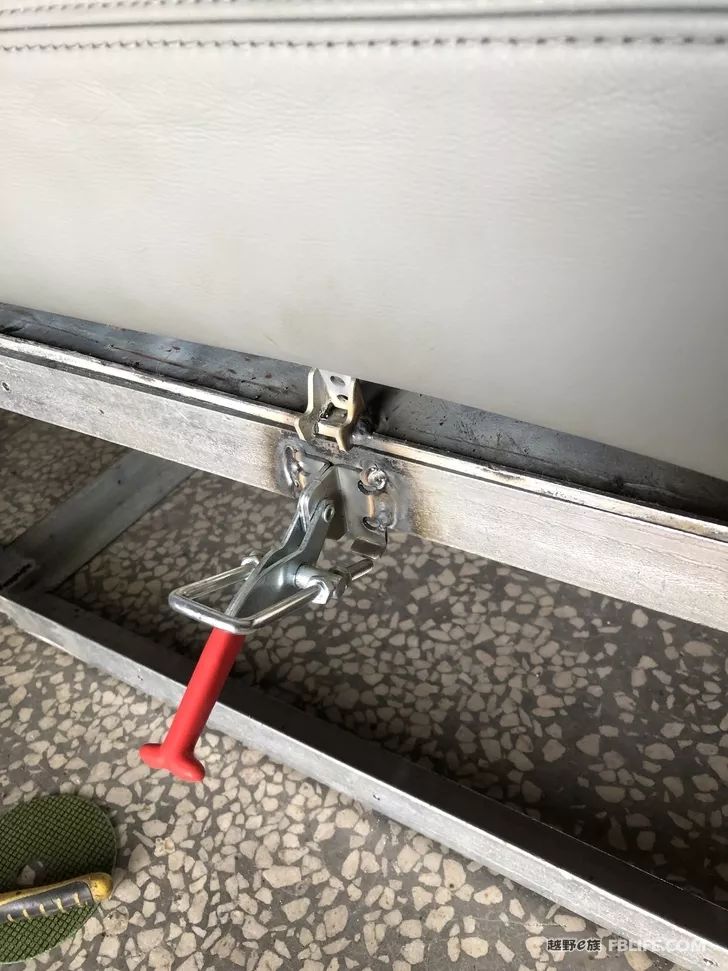
The fast buckle used for the seat was found in the powerful Majia market. I searched a lot of car seats and it didn’t look ideal. This is very convenient and the gap can be adjusted.
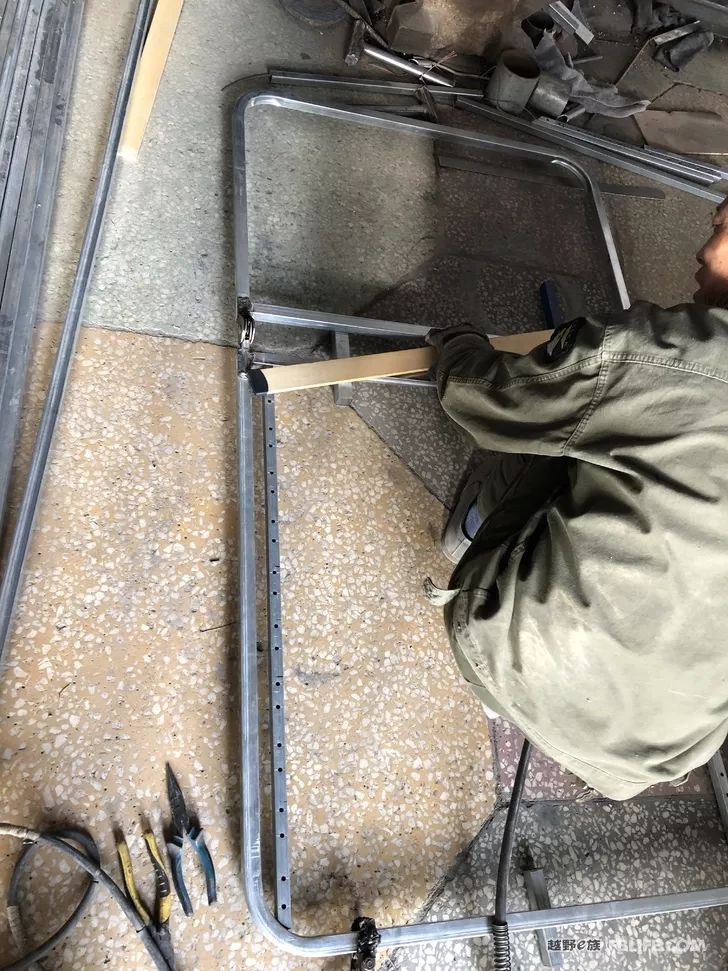
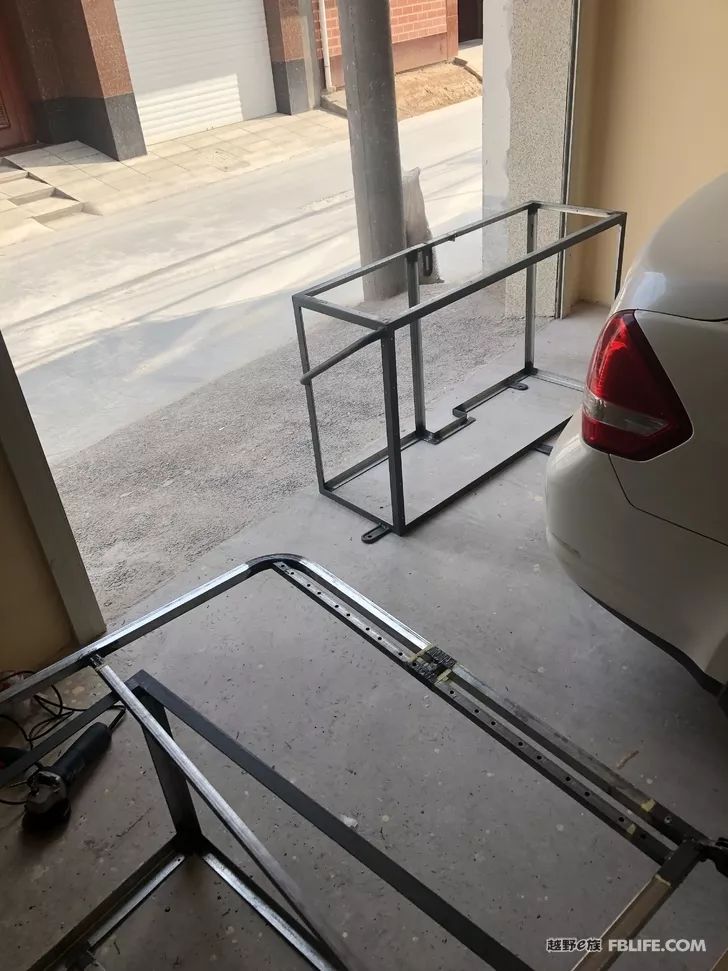
I gave the master a sketch to make the bed board, the rib type, also to reduce the weight, stainless steel is very light but too difficult to drill, it is better to use square steel, fortunately, there are non-standard ones now, which are better than the national standard A bit lighter, but enough for a bed.
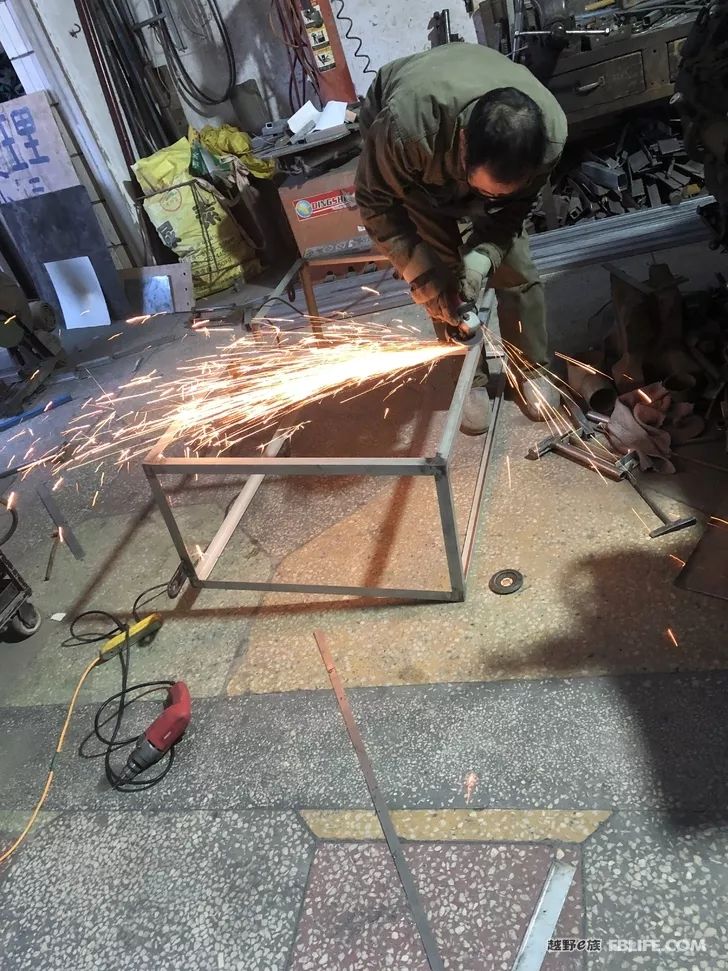
The iron shelves of the cabinets were also made together.
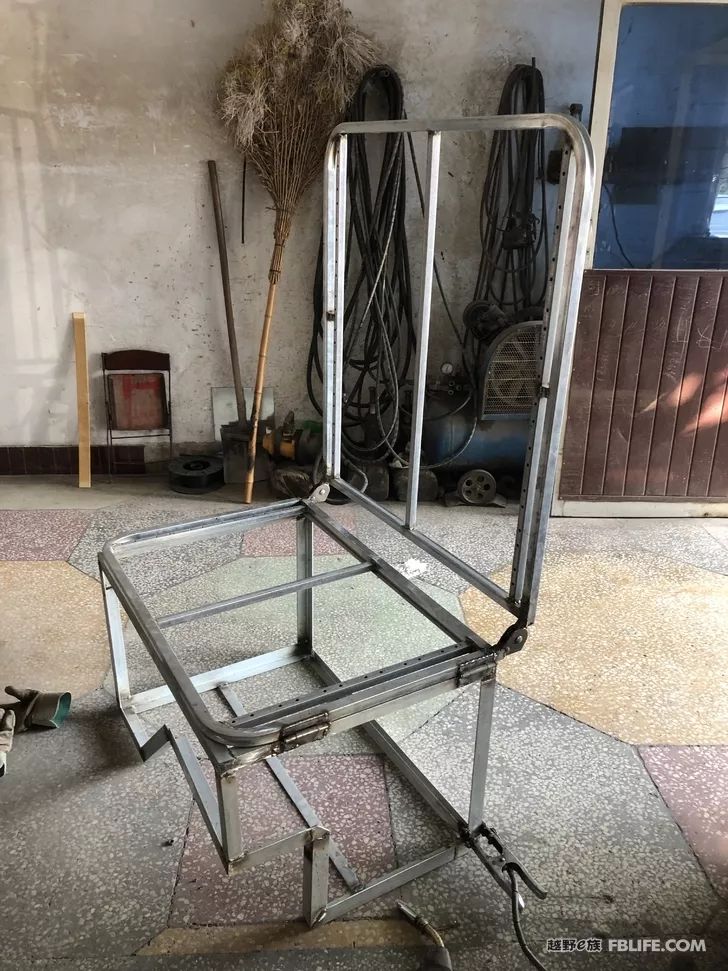
The basic style of the bed frame, it can be folded to save a little space, and it is very convenient to pull something at ordinary times.
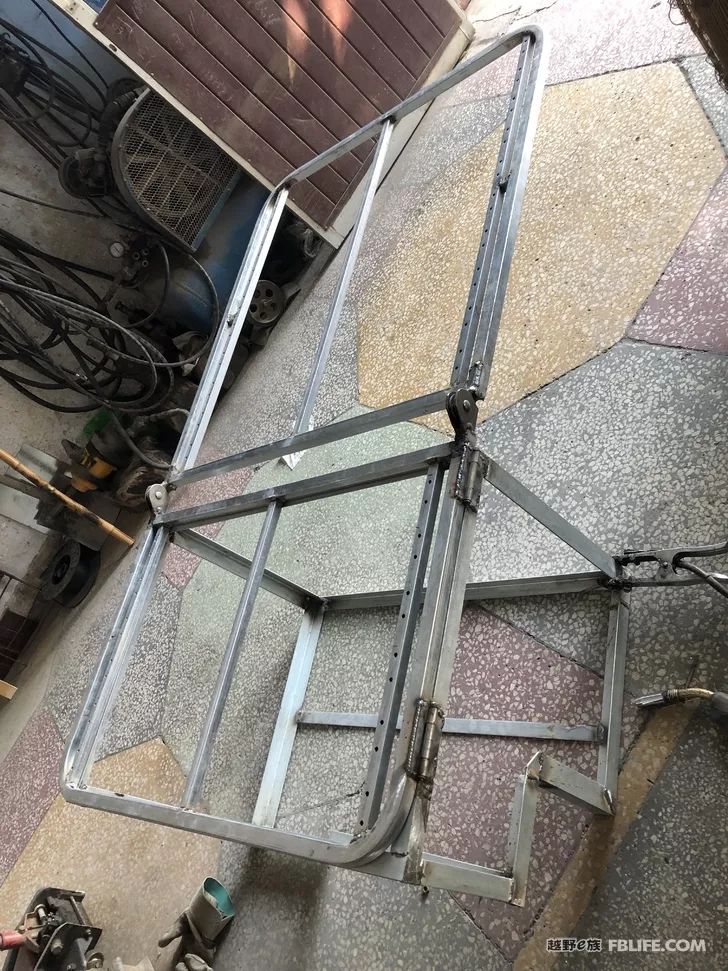
A little regret is that in the new era, if the rear horizontal bed is 1.85 meters above the glass, it will be a little nervous to sleep.
It is all thanks to the Ma family that it is so convenient. During this time, the courier calls are the most frequently received. I have seen many modification cases on the forum, but I still feel a little confused at the beginning. I have to keep thinking about how to make it better. Here It’s just that the journal mode records the whole process of changing the car, so I hope car friends don’t make jokes.
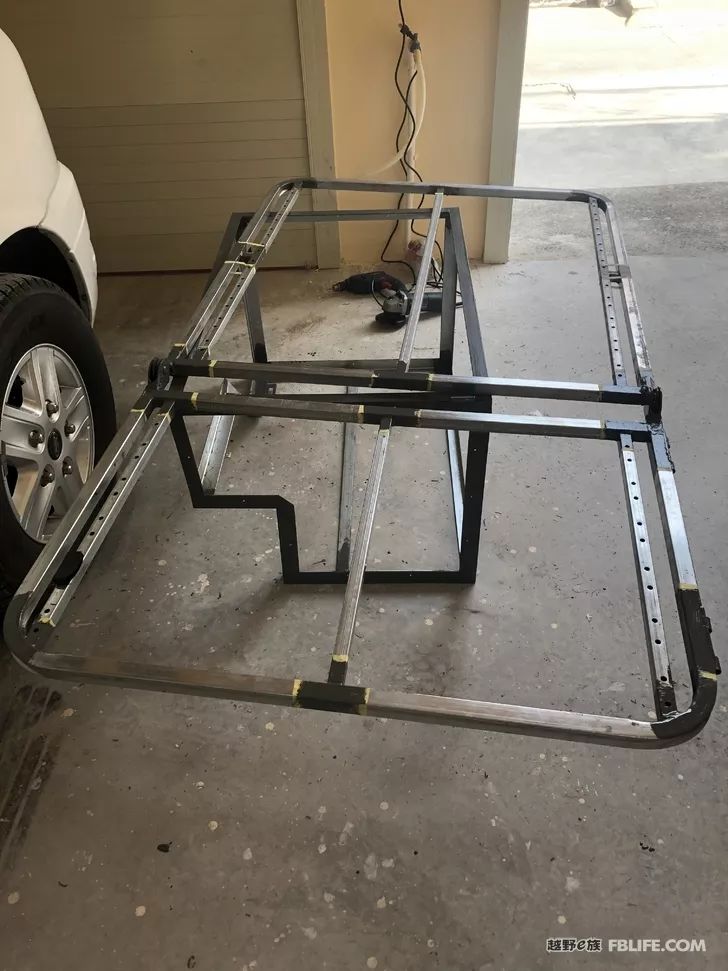
The original square pipe was galvanized, and I didn’t want to paint too much. I tried to reduce the release of formaldehyde, so I just painted anti-rust paint on the welding joint.
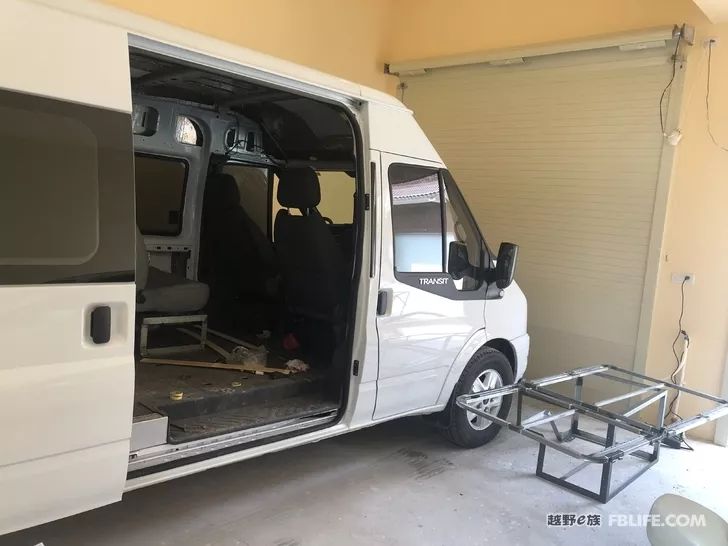
In order to change this car, I spent a lot of money. I specially renovated the garage. Otherwise, the height of the car would not be able to enter or stop. Now I can open the back door after parking. I am quite satisfied with the venue.
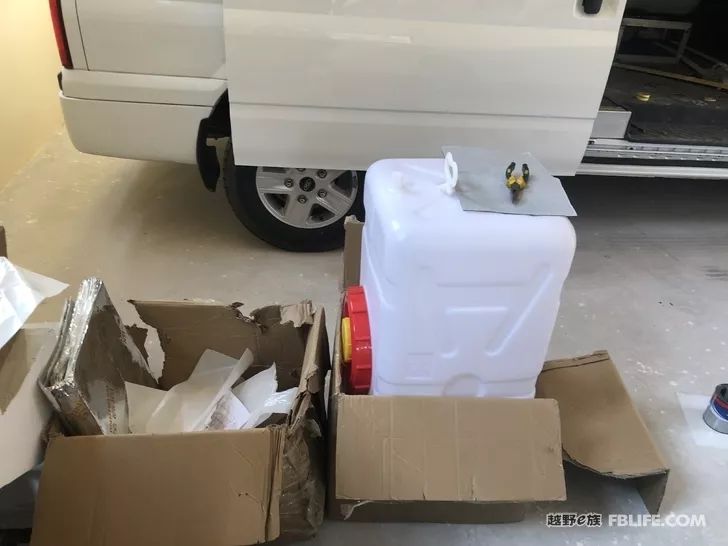
The clean water tank is placed in the car, and the bean sprouts are easy to clean and also antifreeze.
After applying some anti-rust paint, the smell is very strong, and it still doesn’t work after opening the door for a day.
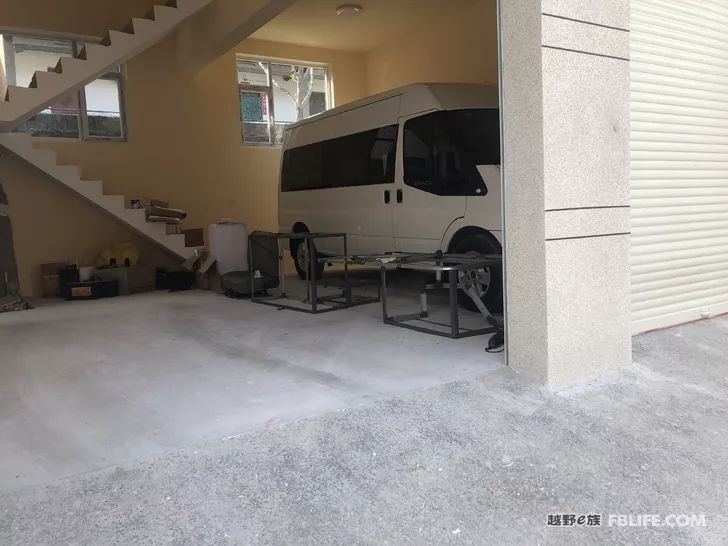
The space is fairly spacious, but the disadvantage is that there is no trench.
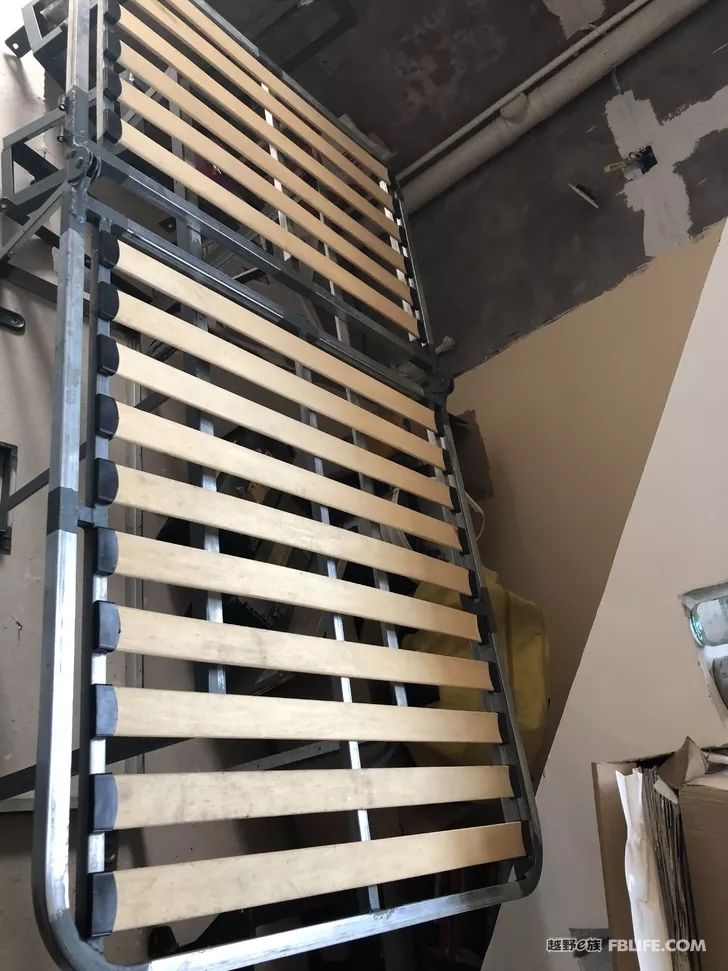
You can’t see the difference in the gap before installing the wooden strips. After installing it, you feel that the gap in the middle is a bit large.
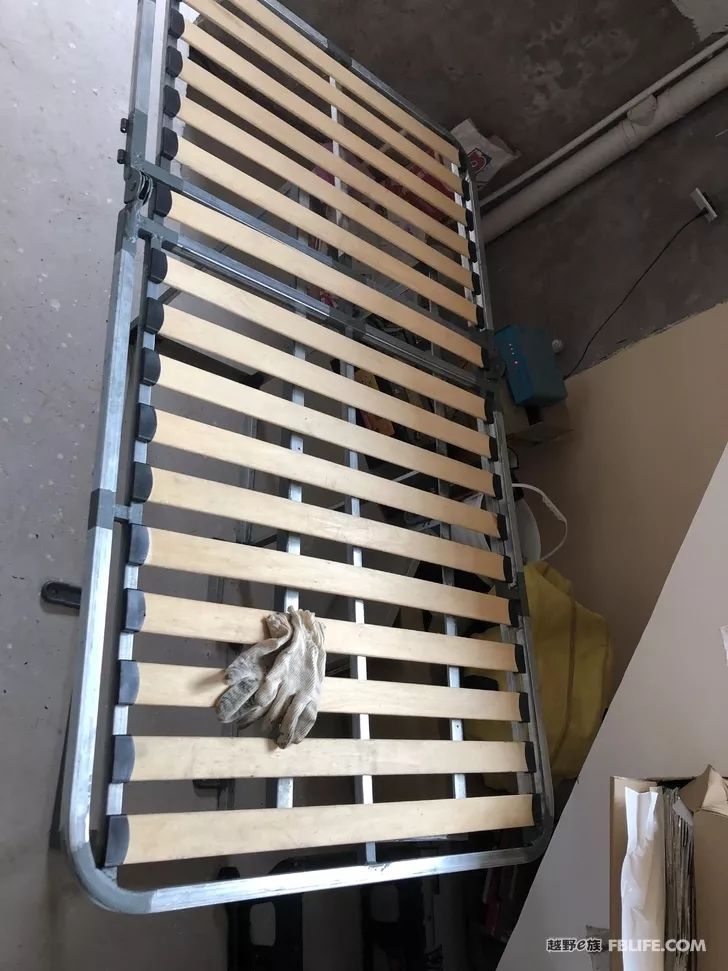
The effect of asking the master welder to add some steel pipes and then install wooden strips
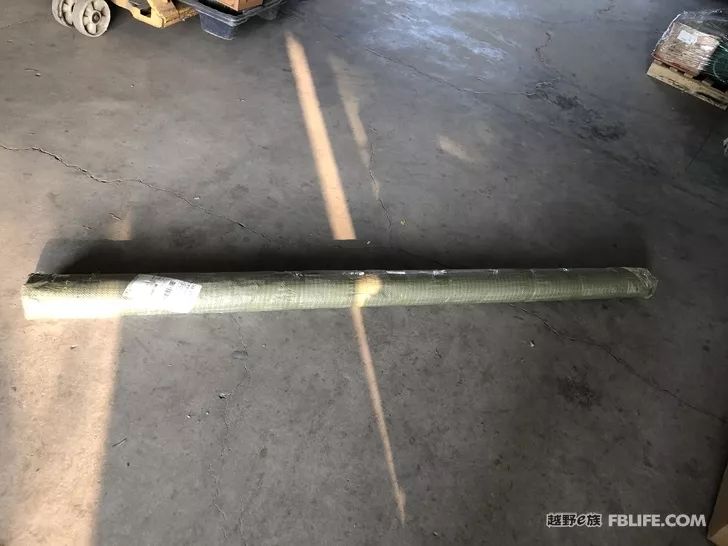
I bought a piece of floor leather online, and when I came back and took it apart, I found it a bit thin. The seller was quick enough to return it.
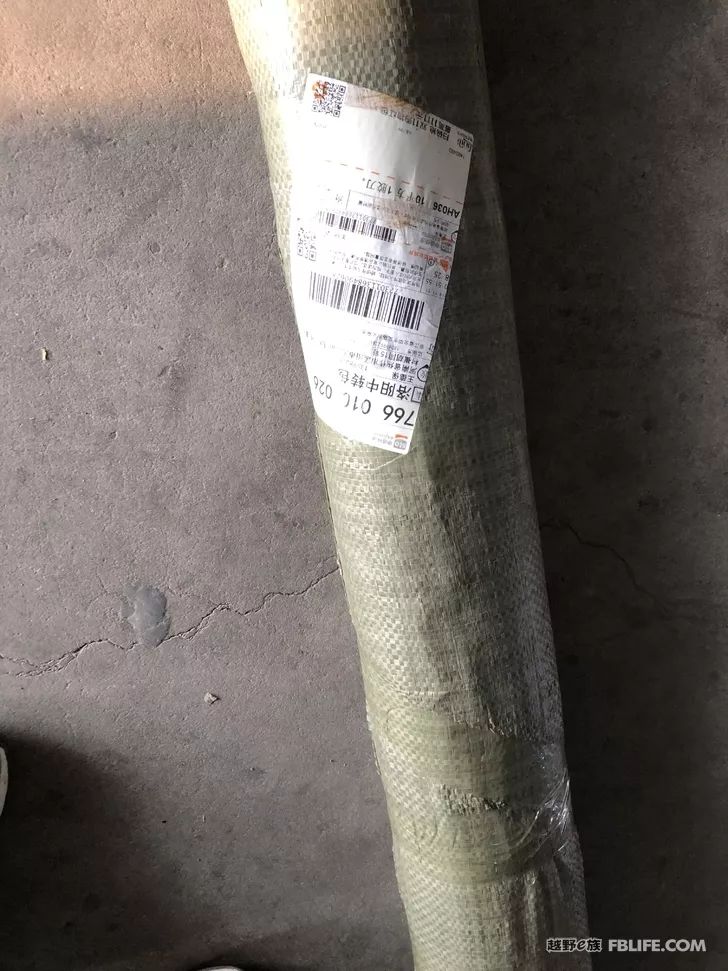
I found several couriers for the original packaging and they all refused to accept it. The reason is too long. I can receive it but not send it. What does this mean?
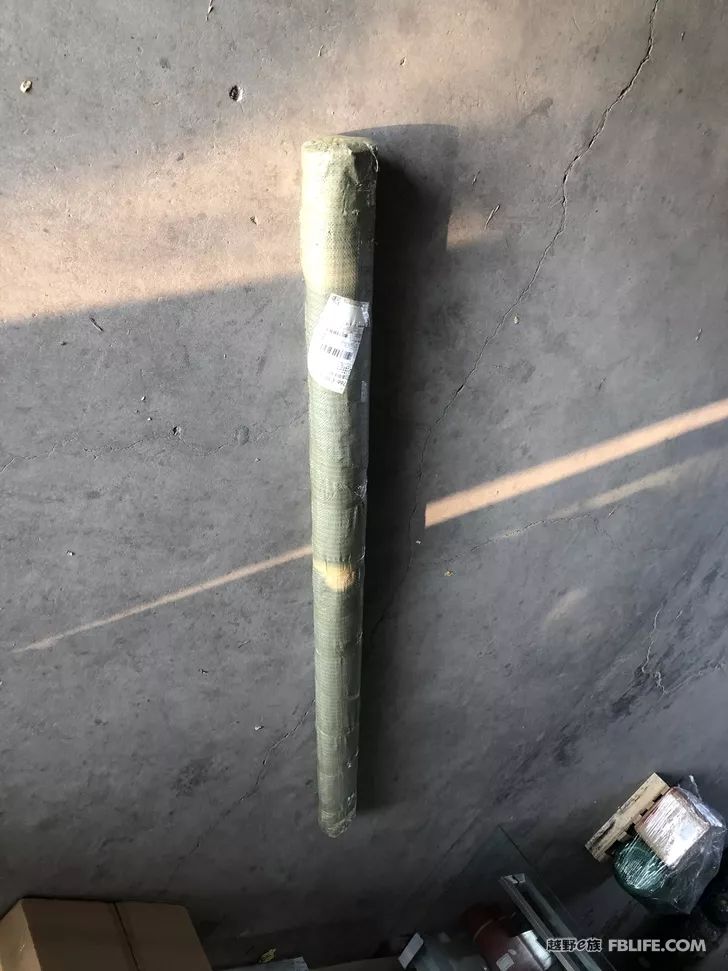
I ran a long way to find Debang, and after talking for a long time, I asked to pack it again, and finally said that the postage was 78 yuan! Not counting the money for the packaging! never mind! Not refunded, left idle.
If there are too many screws removed, I am afraid that I will not be able to remember the difference between the length and length when I install it. I will leave a photo for future reference. I have no choice but to use up my brain.
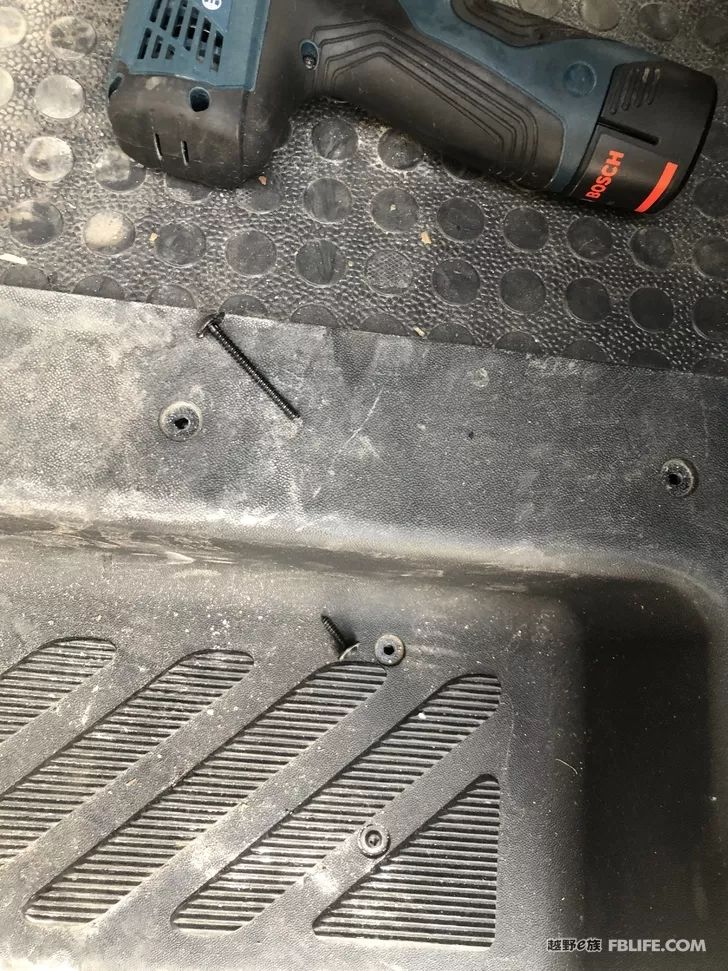
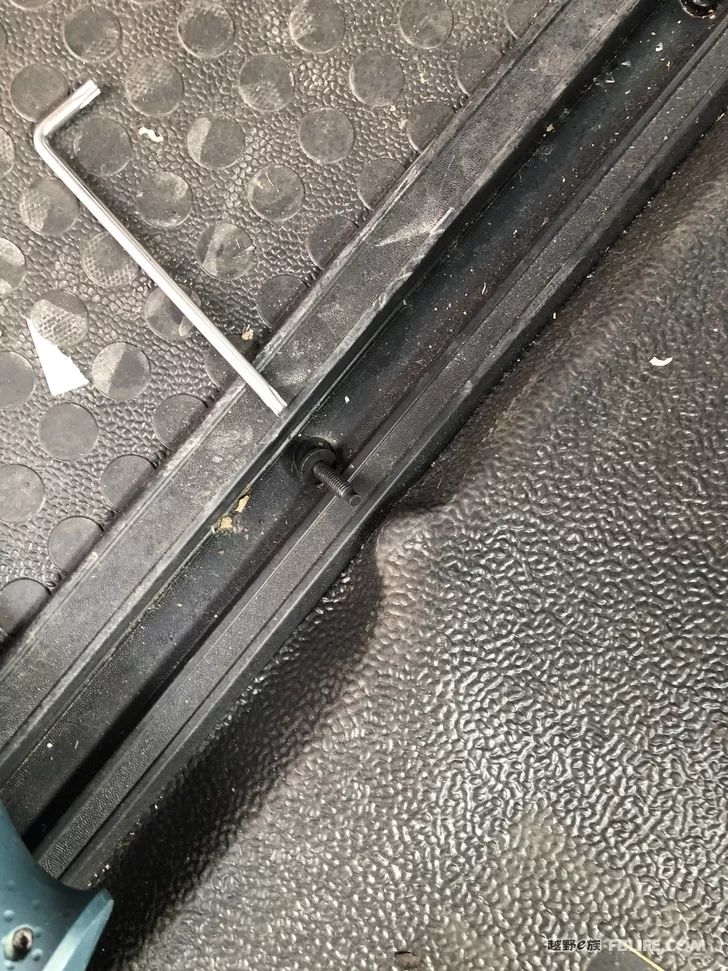
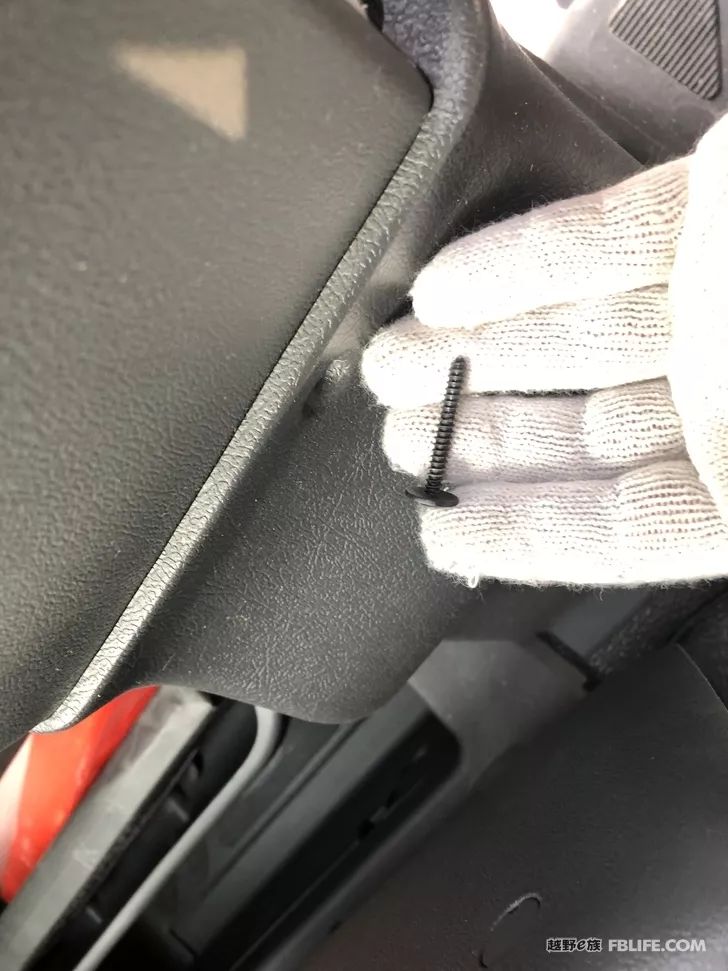
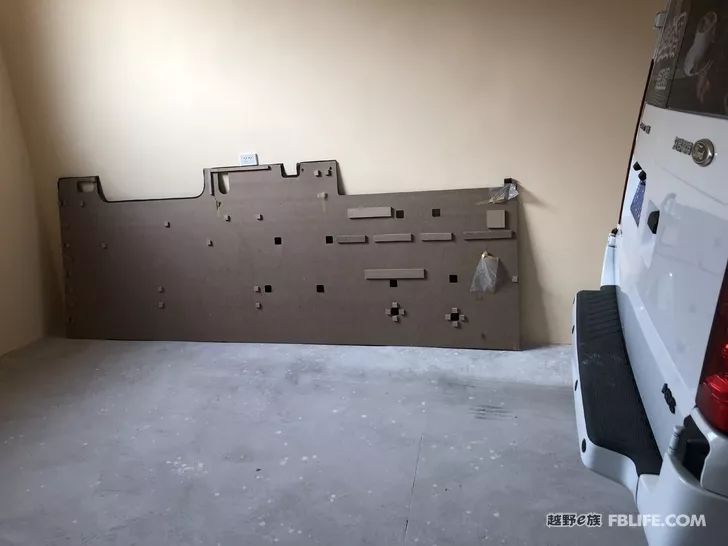
This floor is very heavy, and it is very difficult for one person to get it off the car. The plastic skin on the original car floor is very strong, but the bottom plate is a garbage board, and it will be replaced with a wood board in the future.
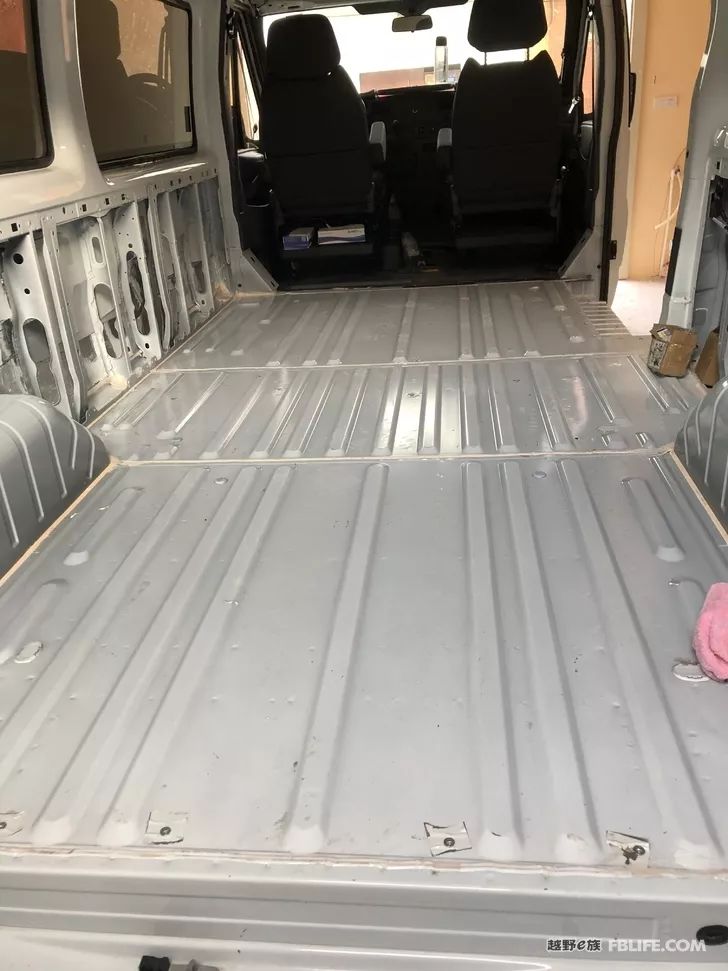
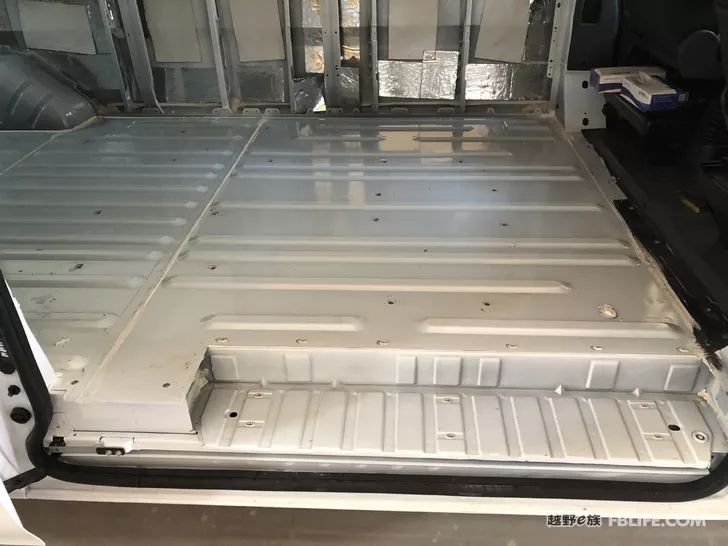
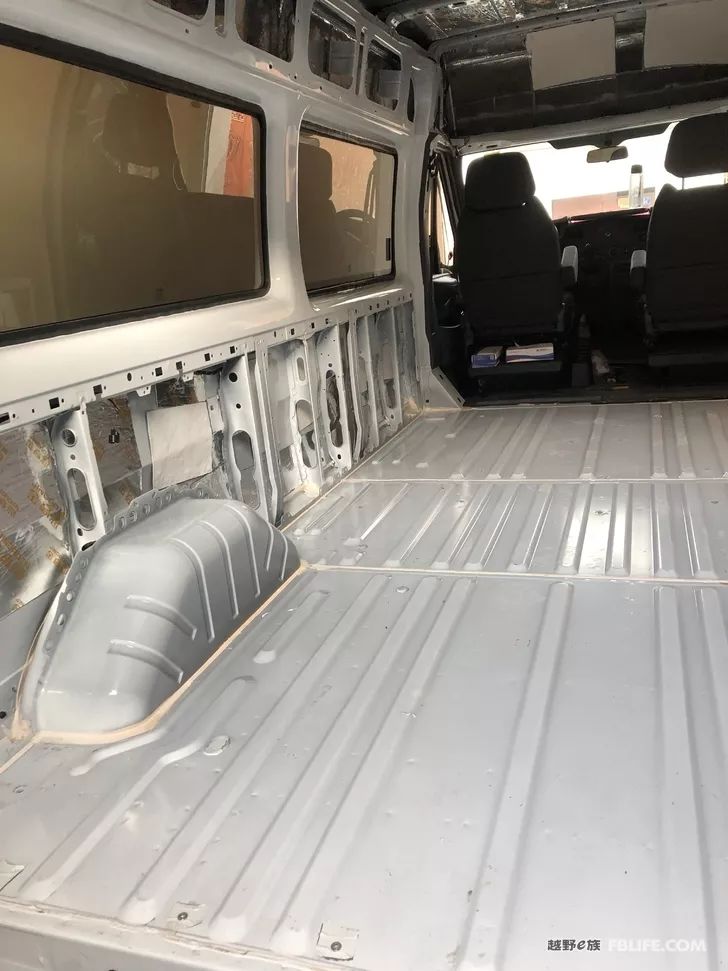
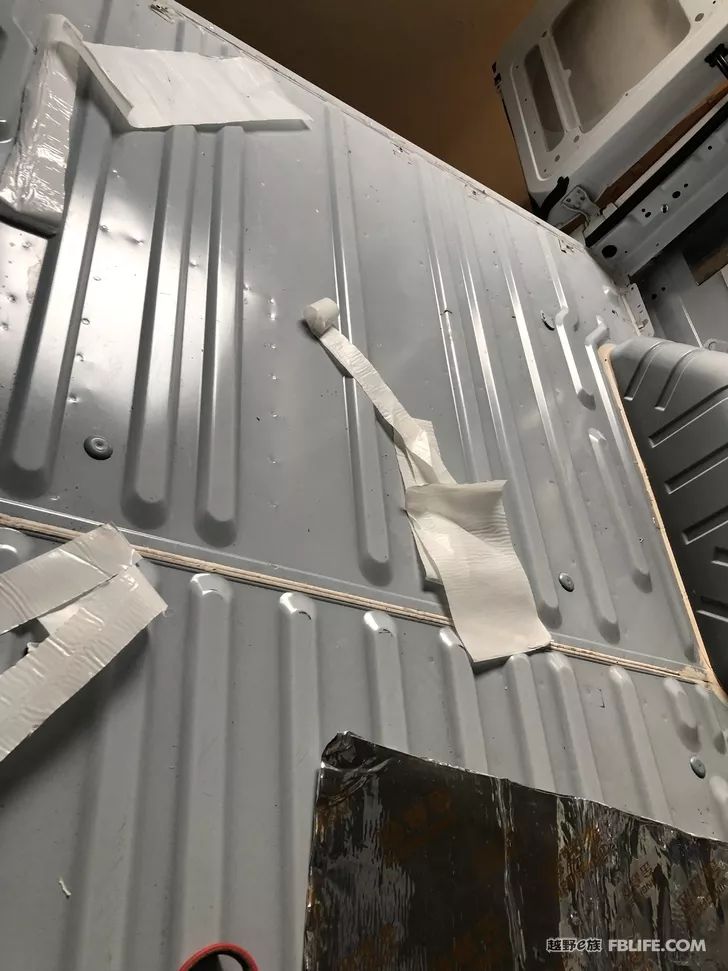
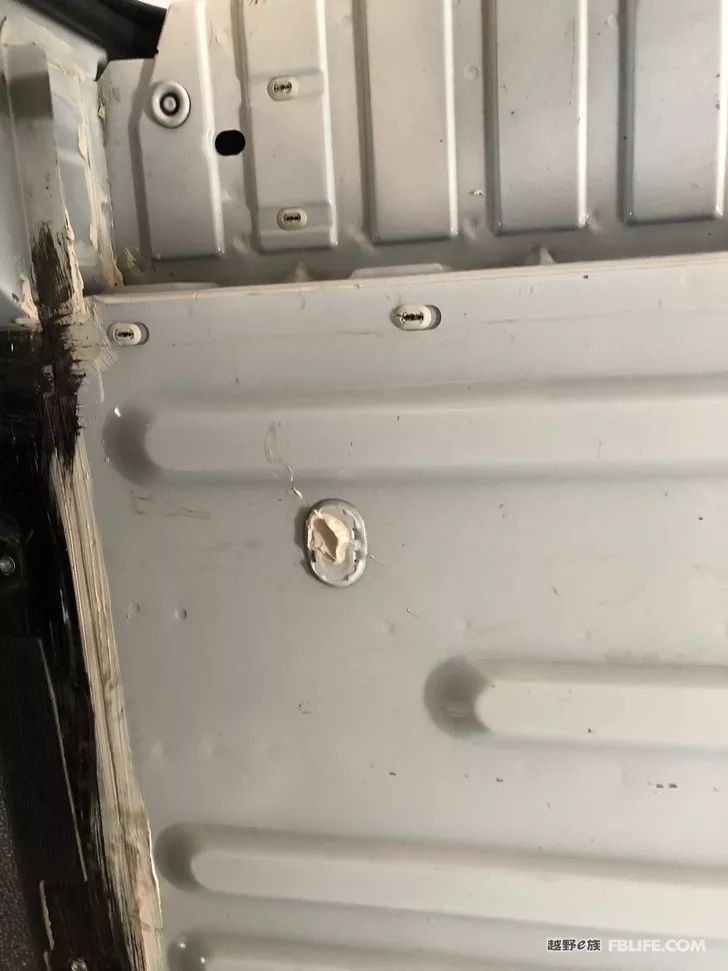
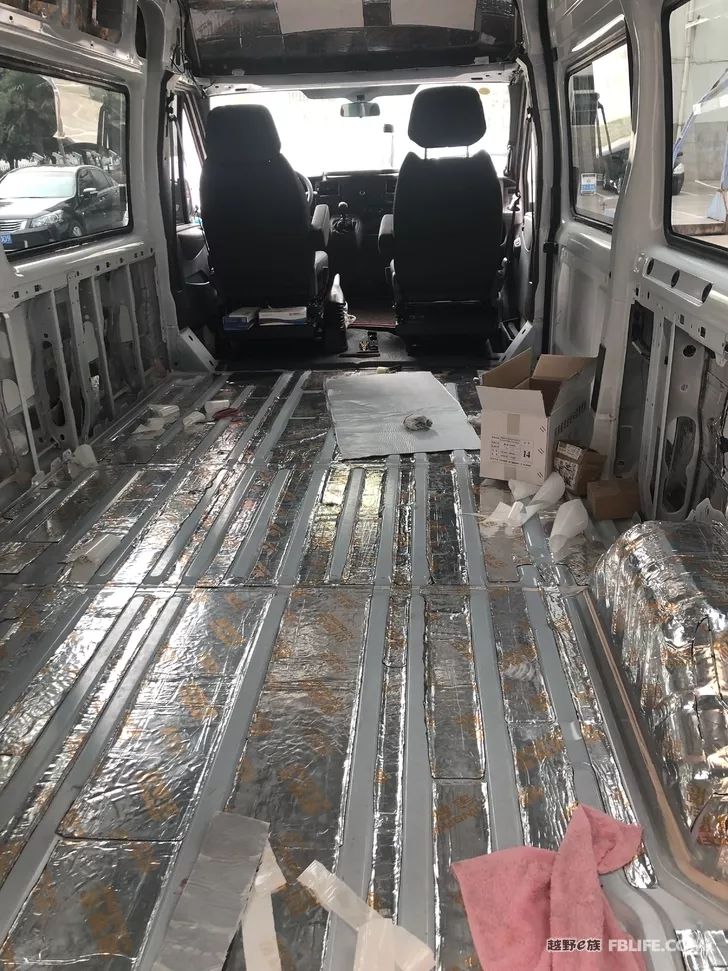
The seller of the anti-vibration board said that it should be fully pasted. The forum said that it should be pasted with gaps. The thickness of the car floor is not as thick as the woodworking board, and the thickness problem must be considered when changing the woodworking board in the future.
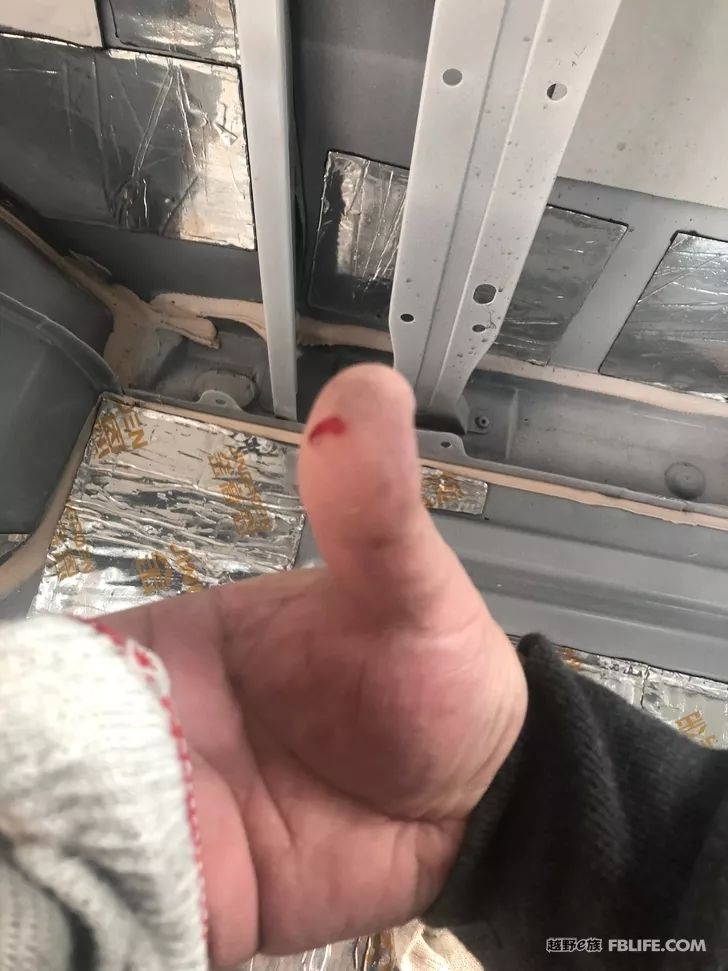
second time winning
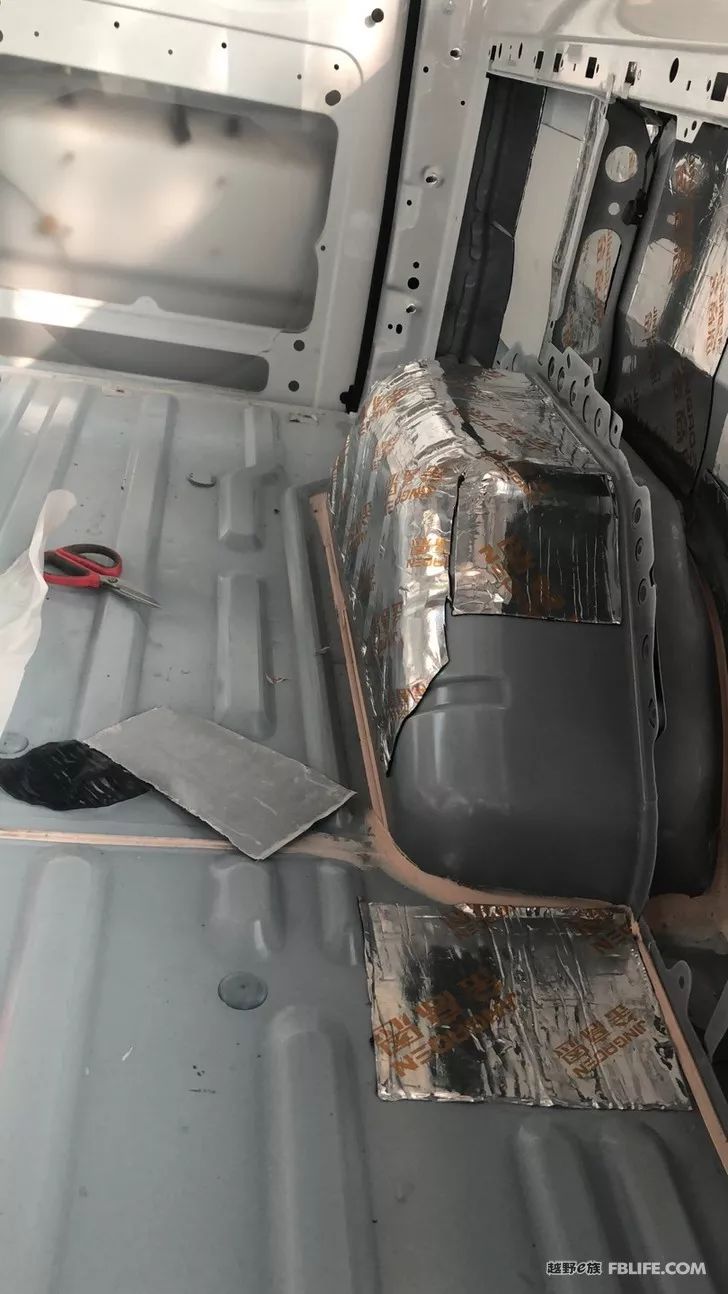
We also need to study how to stick it to make it look tight and beautiful
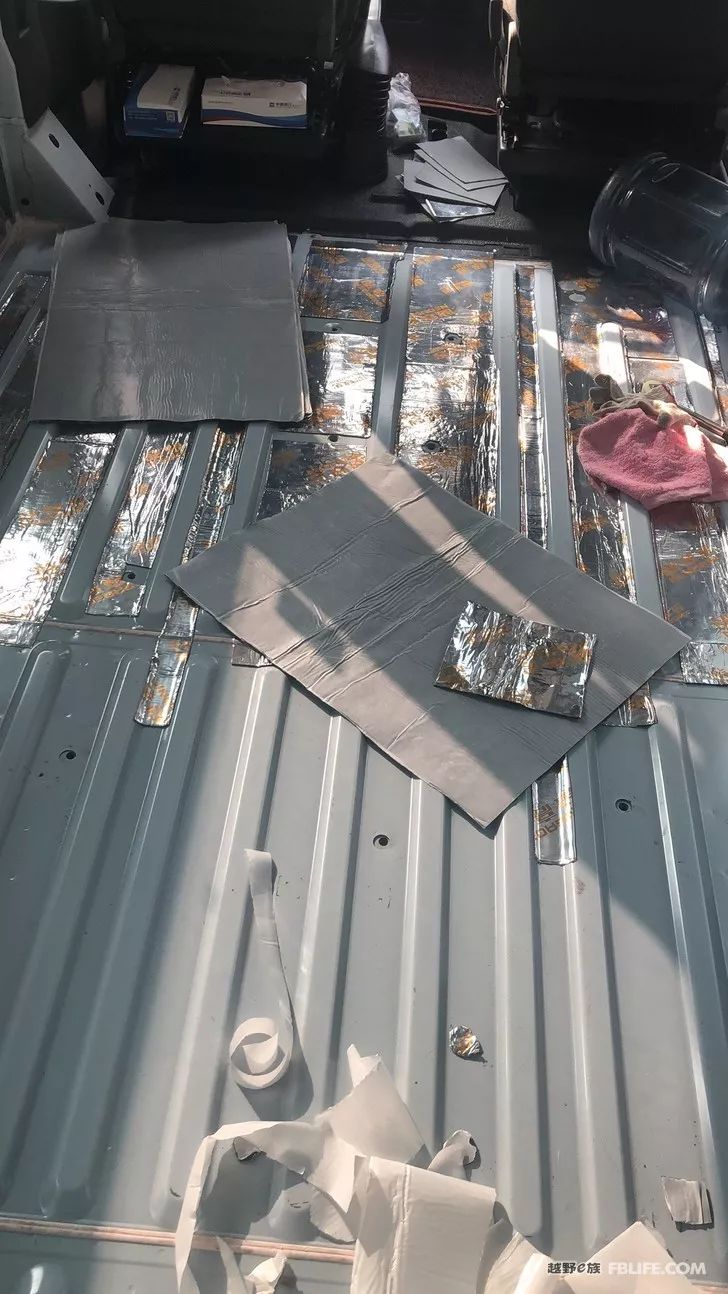
I bought two sizes of shock-absorbing plates, and the smaller ones are good. You don’t need to cut too much for the top. The owner also gave some small pieces as gifts, but there are no words, which may be leftovers.
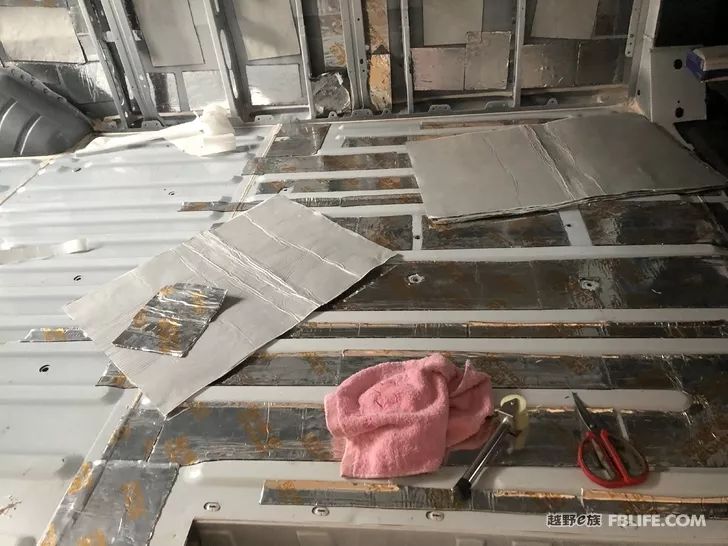
The small pieces are all attached to the gaps on the side, and the shock absorber plate of the original car belt is not easy to remove, the texture is very hard, and the bond is very firm, so it is not removed, and the shock absorber effect is still there.
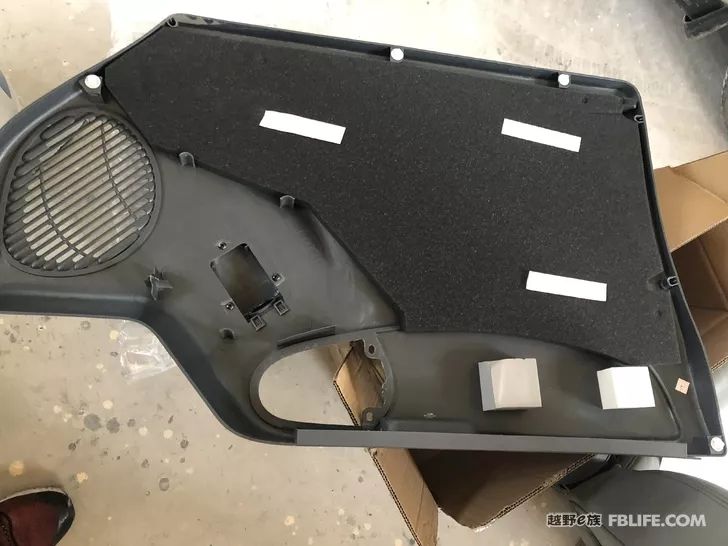
Soundproofing in the front door panel
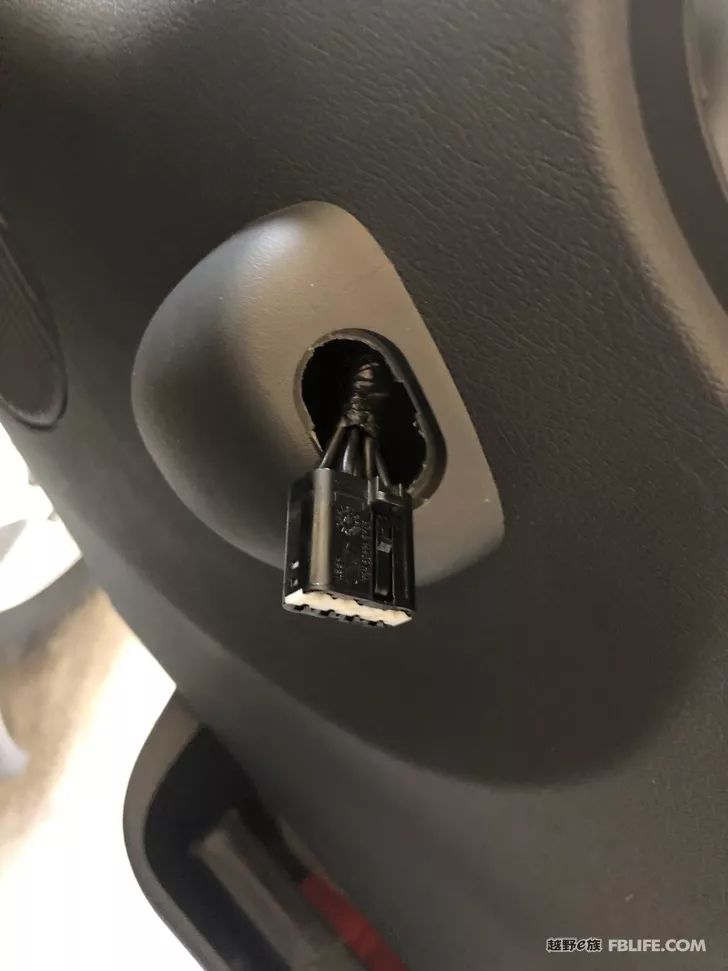
In this case, the switch comes out as soon as it is pushed outward, which is not difficult.
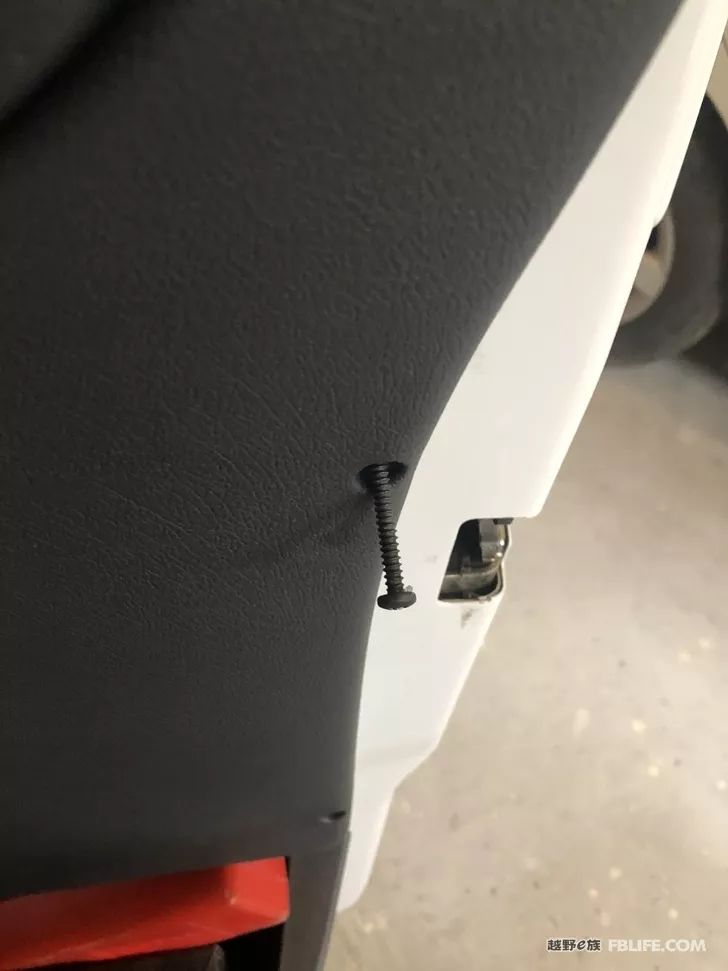
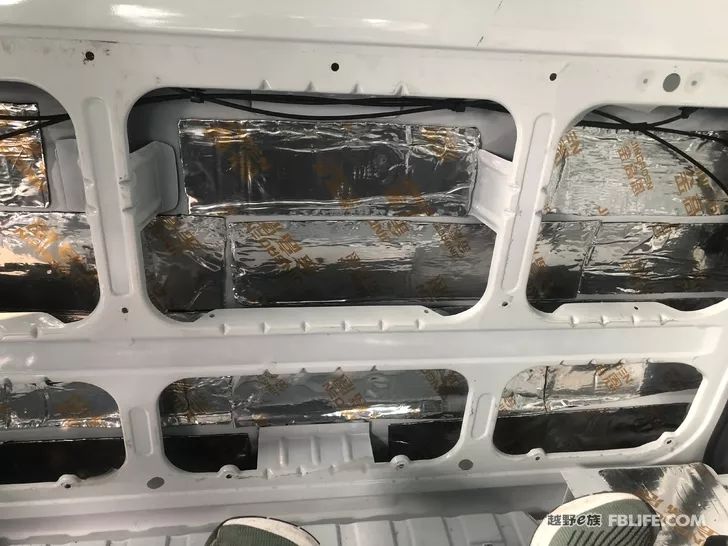
The inside of the middle door should be plastered as much as possible, the door is too big, and the iron sheet makes a loud noise when it is closed.
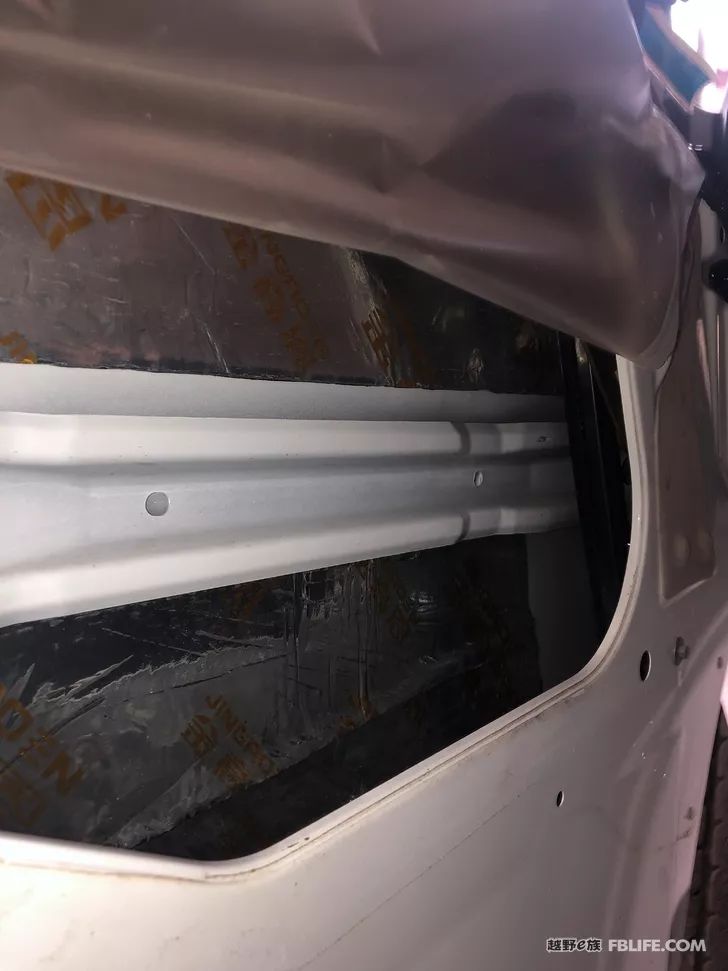
stick it inside the front door
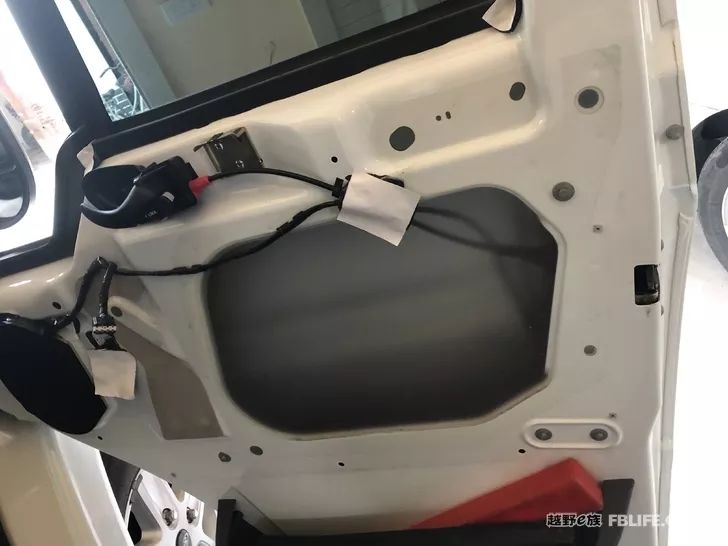
The floor leather in the cab was also removed to cover the main driver and the co-driver.
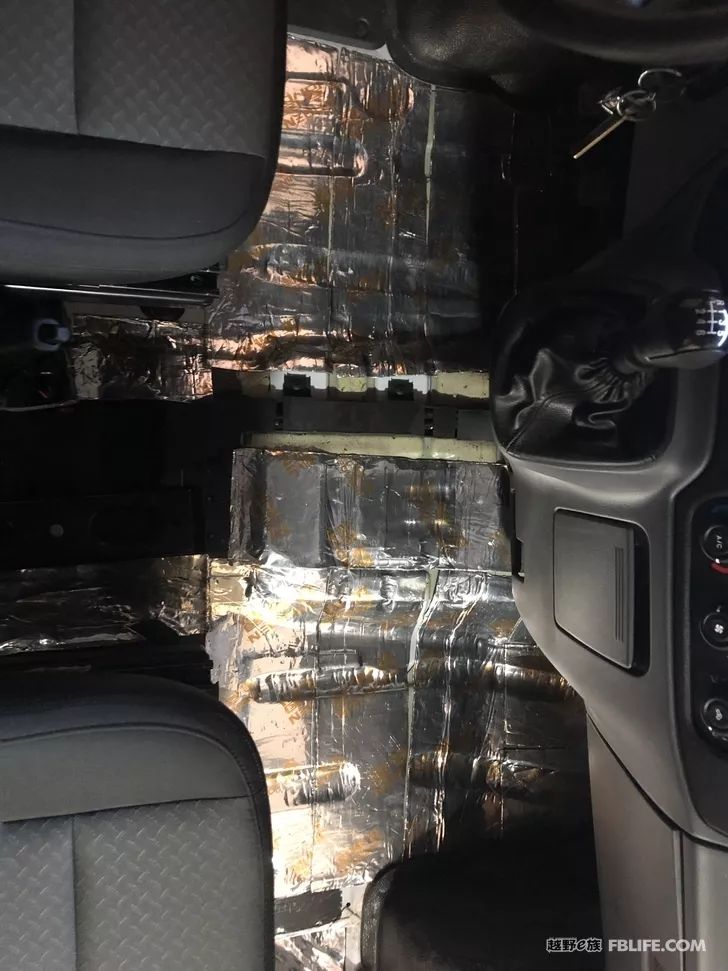
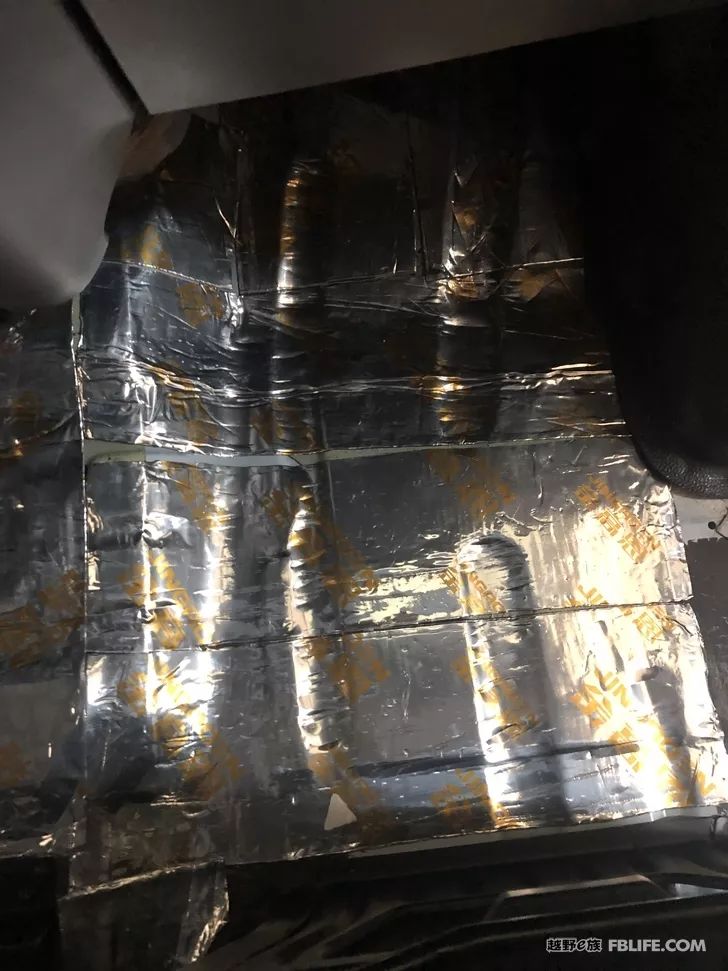
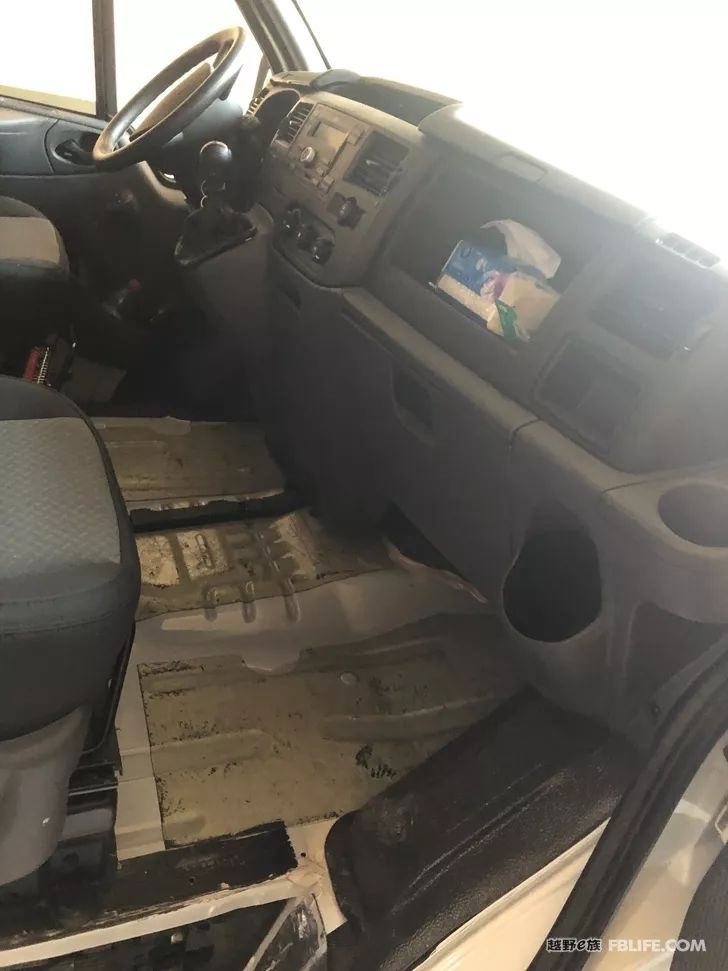
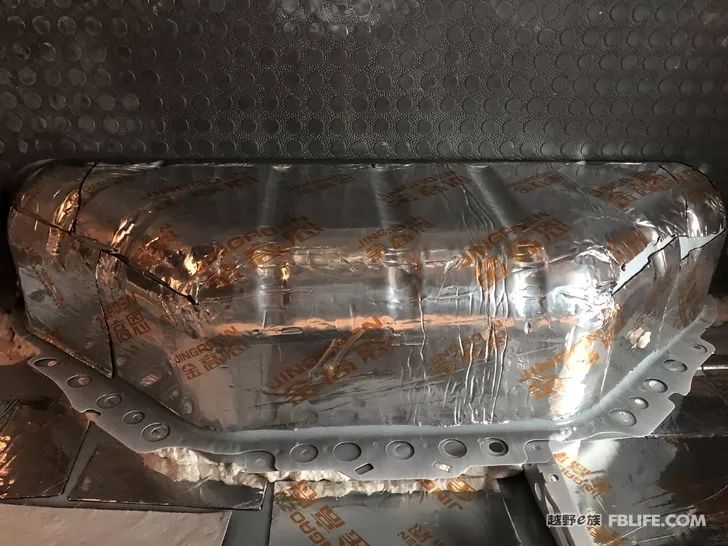
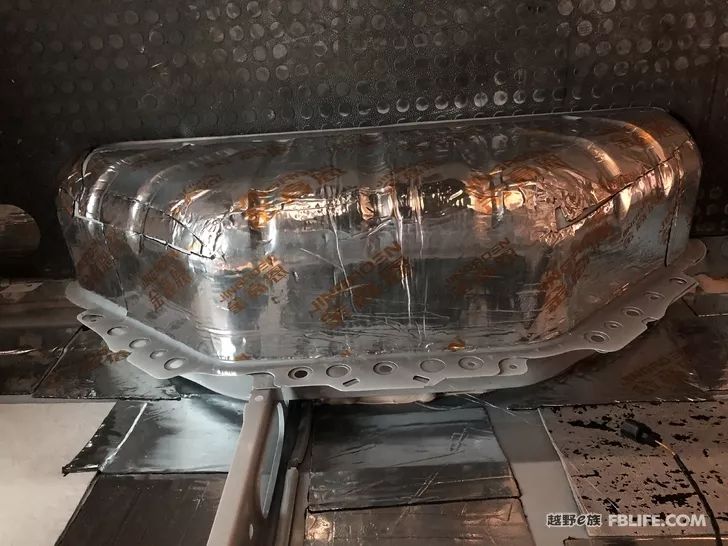
The raised parts above the two hubs tried their best to make it look better, but they did not meet their aesthetic requirements. After all, it was the first time to stick it, so it was so-so.
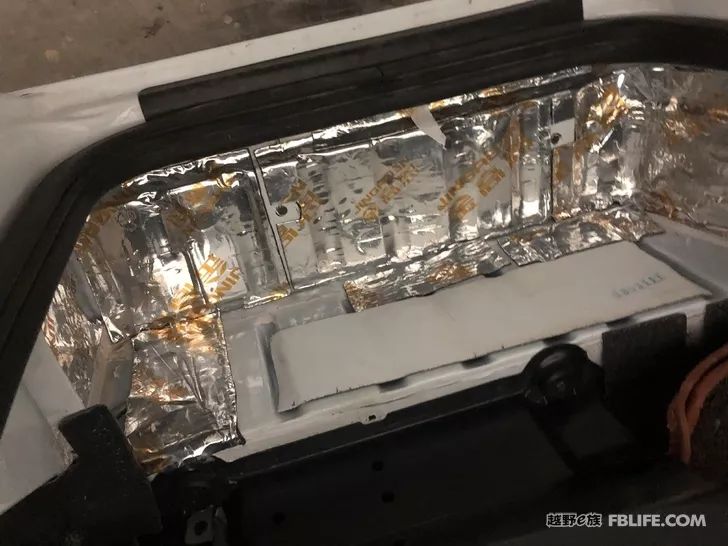
The pedals of the main and co-drivers are also covered
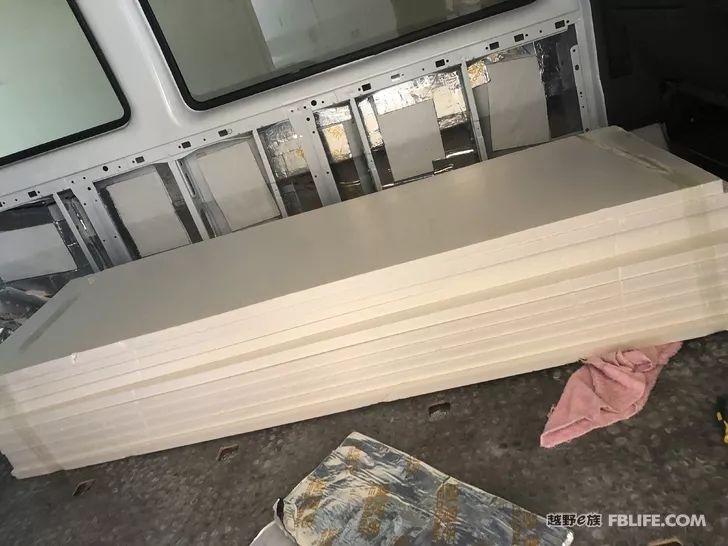
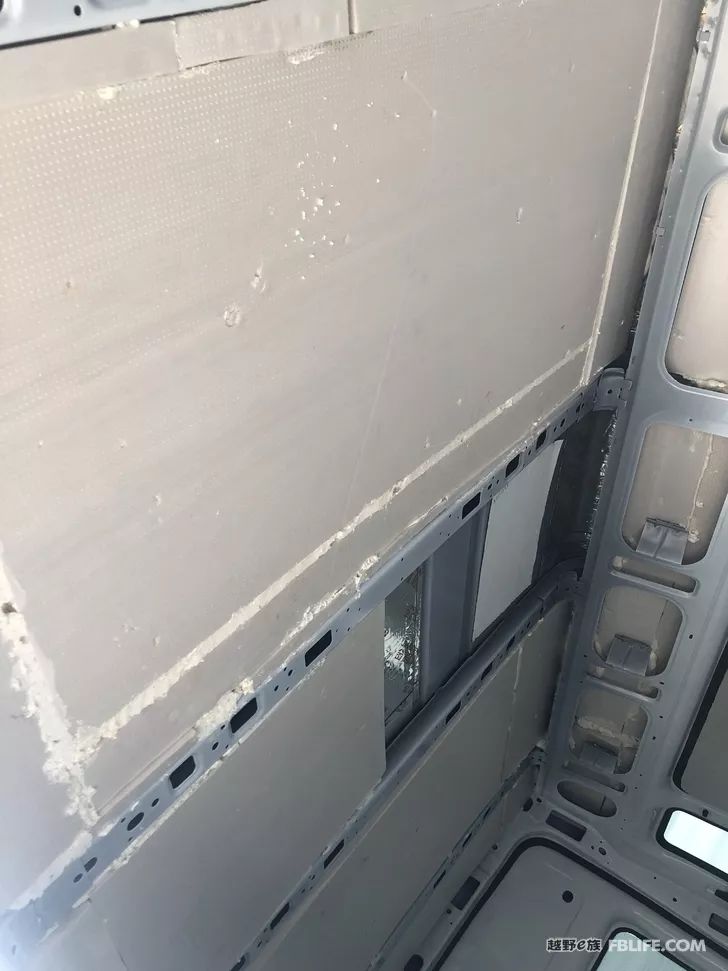
There happened to be a thermal insulation material factory in the local area. I went to the factory to have a look, and chose a three-centimeter thick foam board for insulation. I heard from the boss of the factory that there are two-centimeter boards used by professional vehicle modification factories, and the price is the same. I bought 20 square meters of insulation boards at the price of cubic meters.
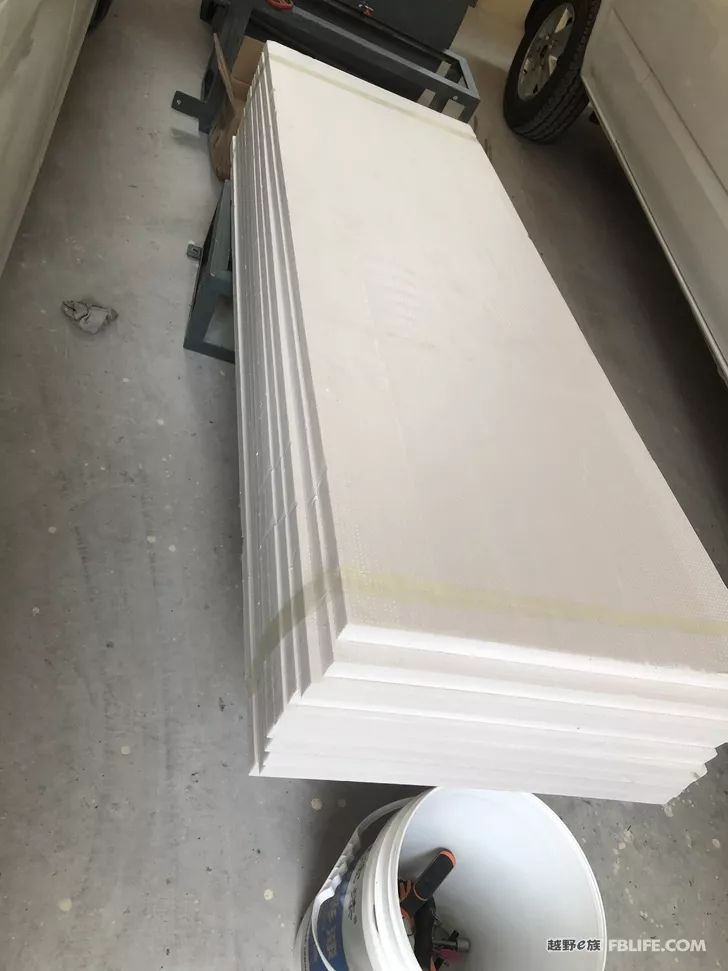
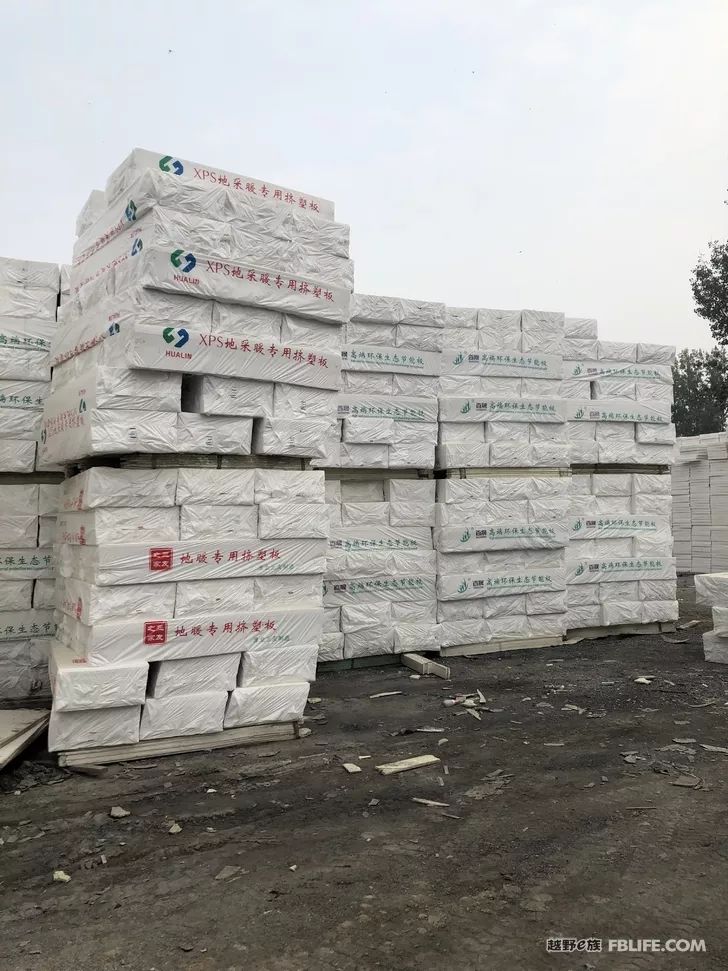
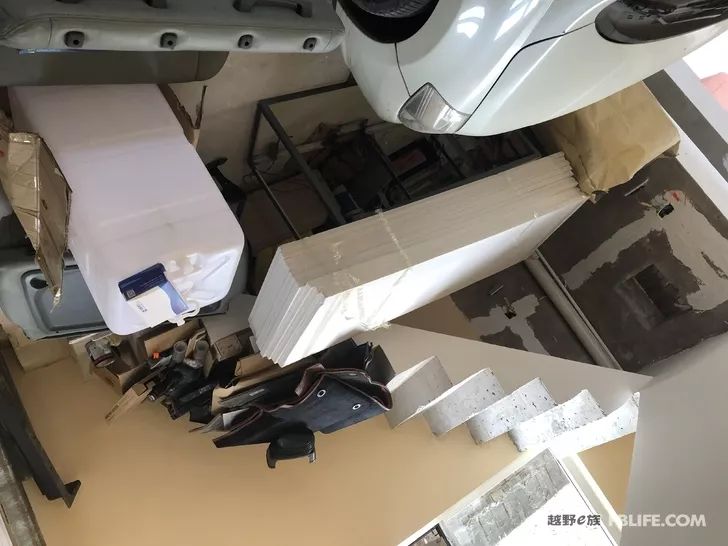
Finished products piled up in the factory
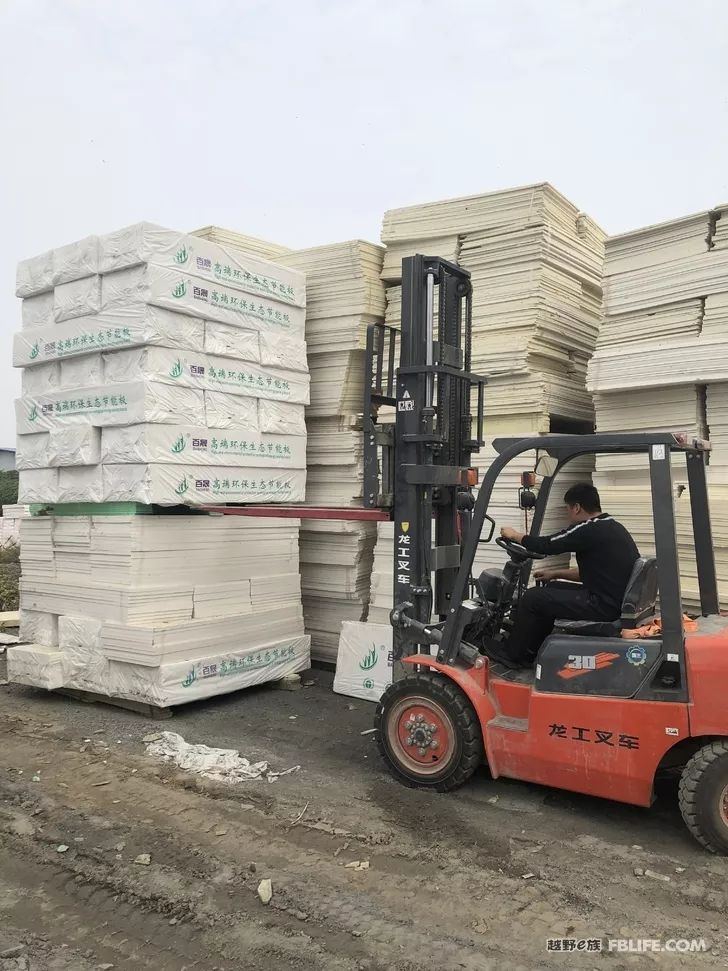
The boss used a forklift to pick out the three-centimeter insulation board below
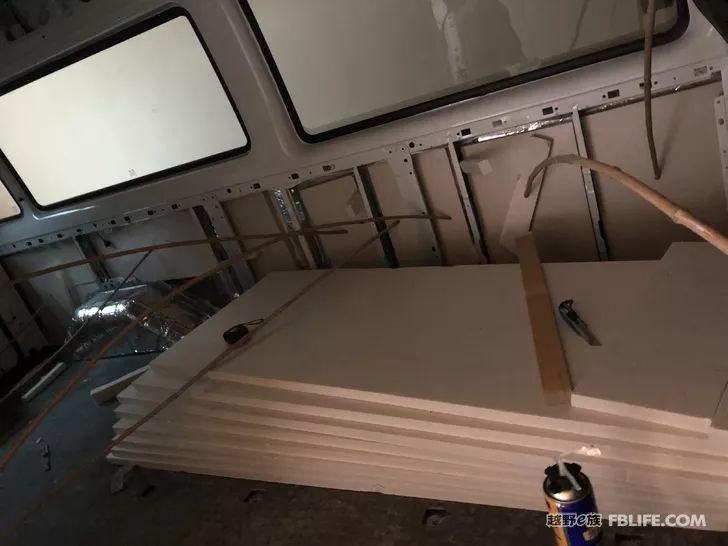
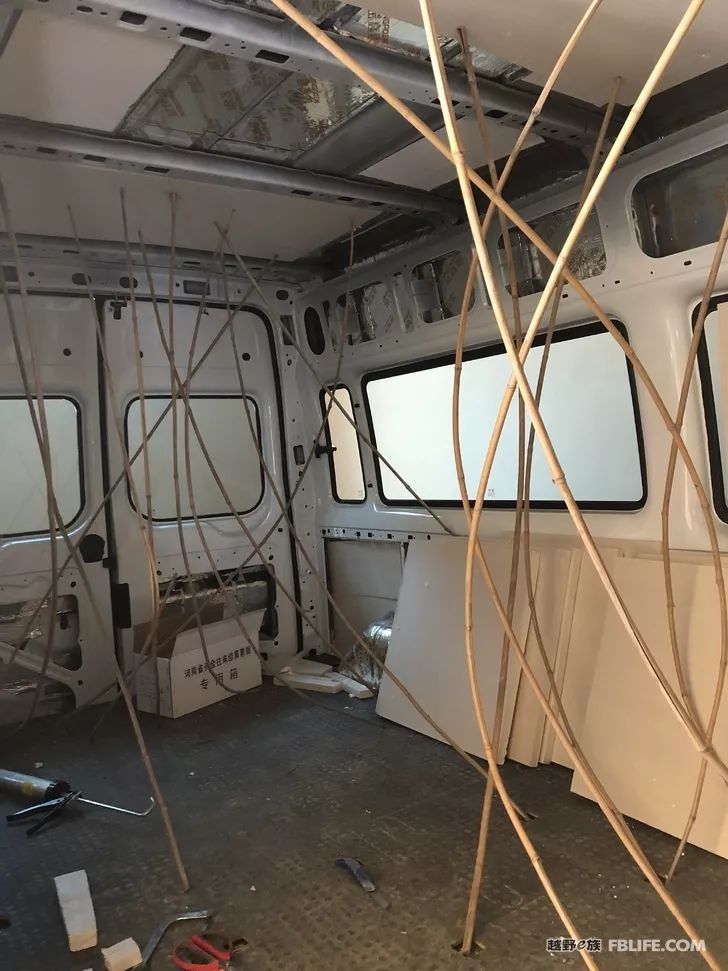
Start with the two sides first, the inside uses styrofoam, so use a small bamboo pole to support it and wait until the styrofoam is set.
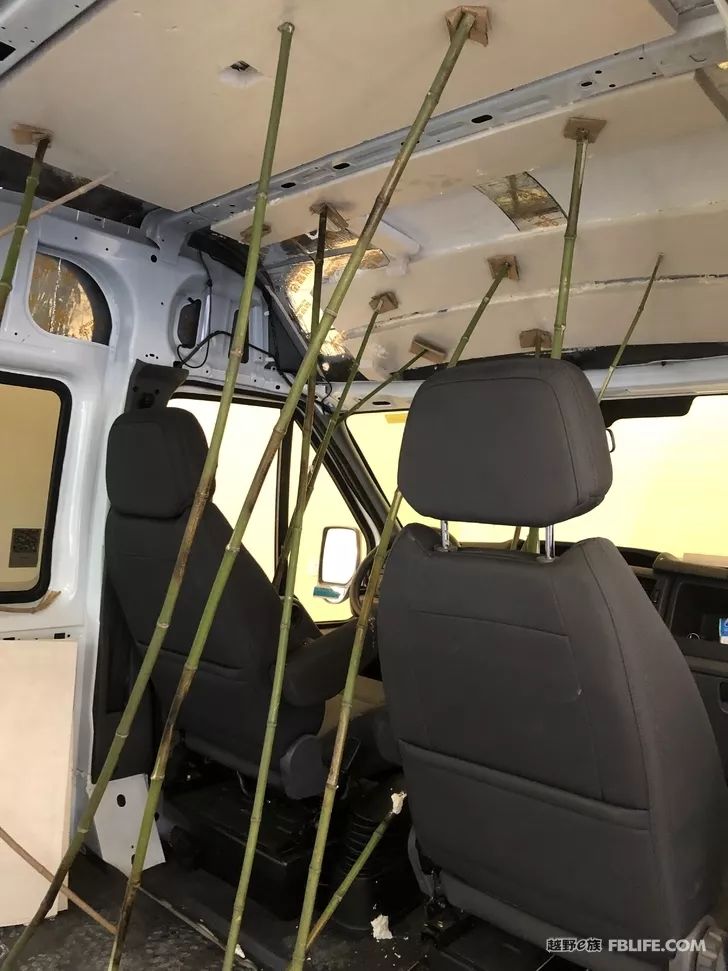
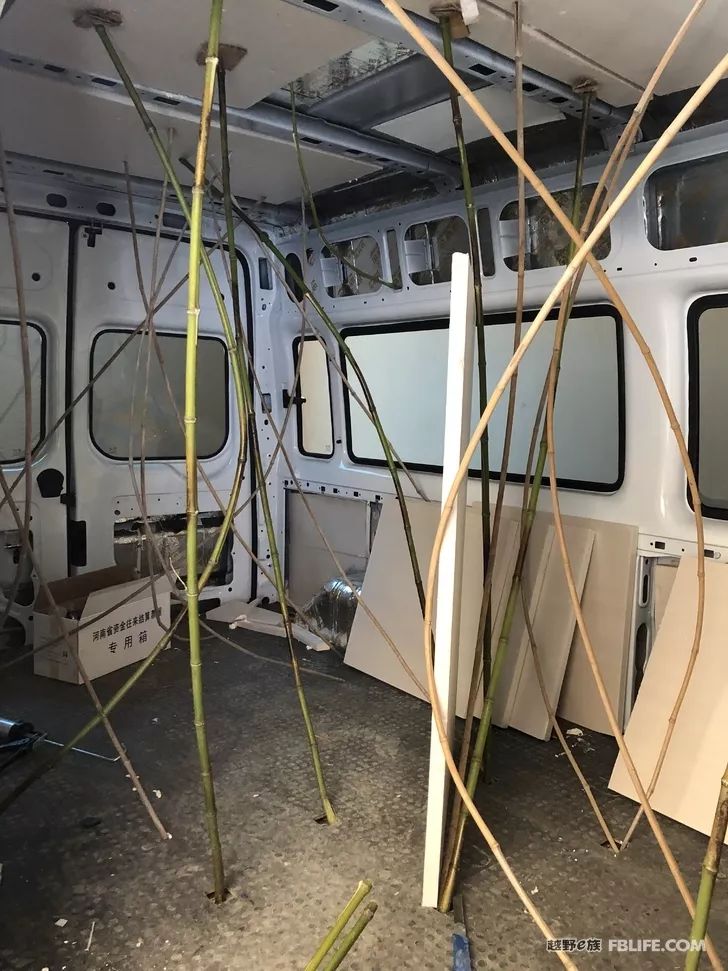
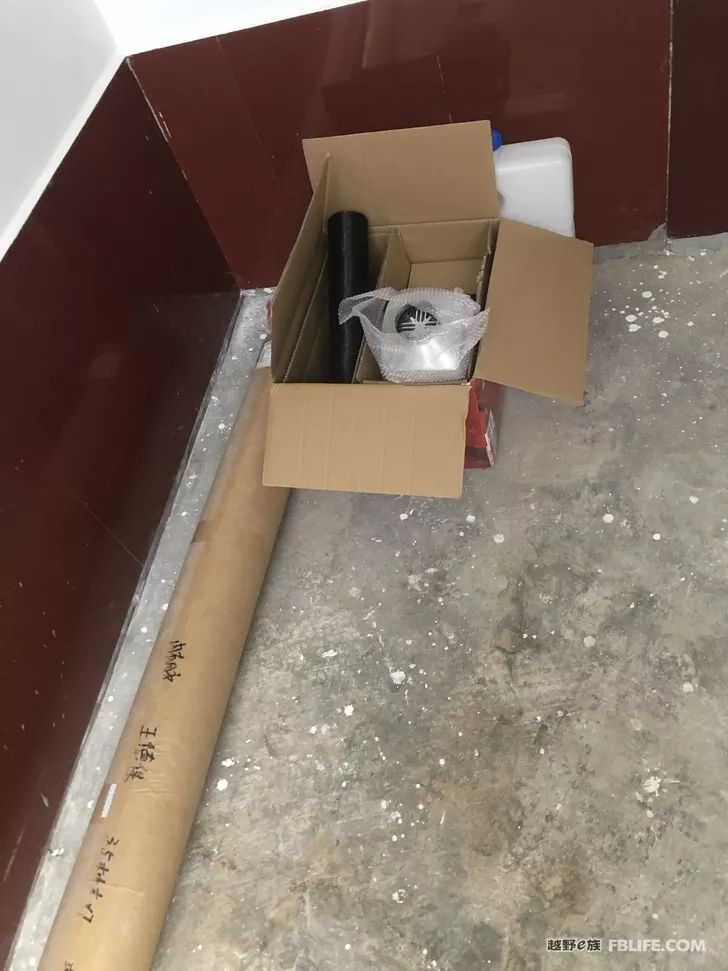
The newly purchased floor leather and firewood warmers have arrived.
The car is a quasi-new car with 6 seats, and it has run for a little over 3,000, 17.
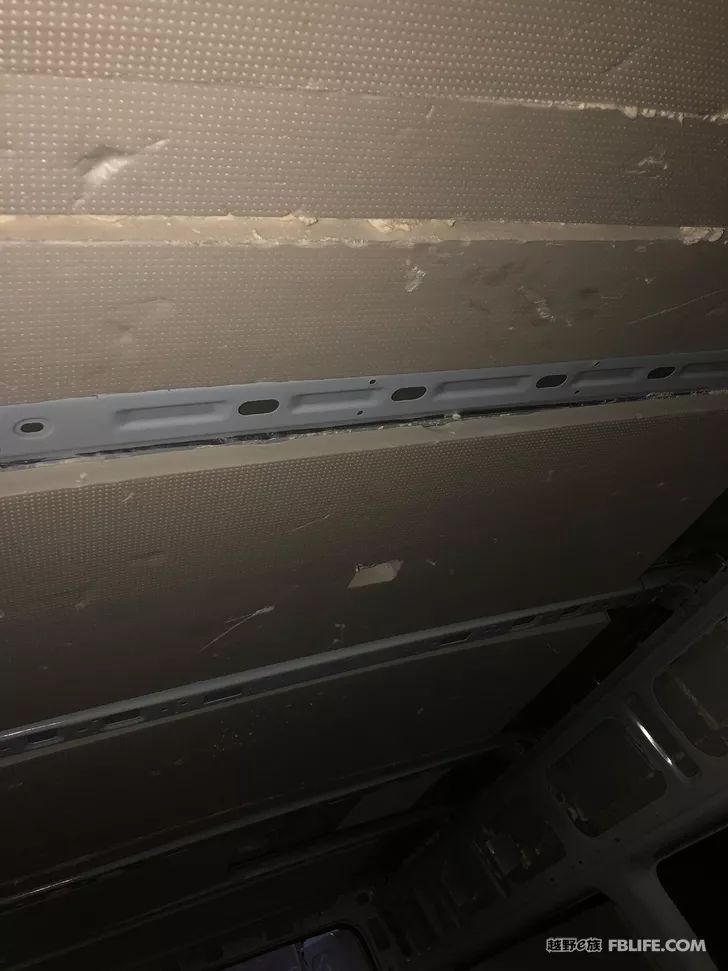
Remove the top of the bamboo pole and trim it with a paper knife
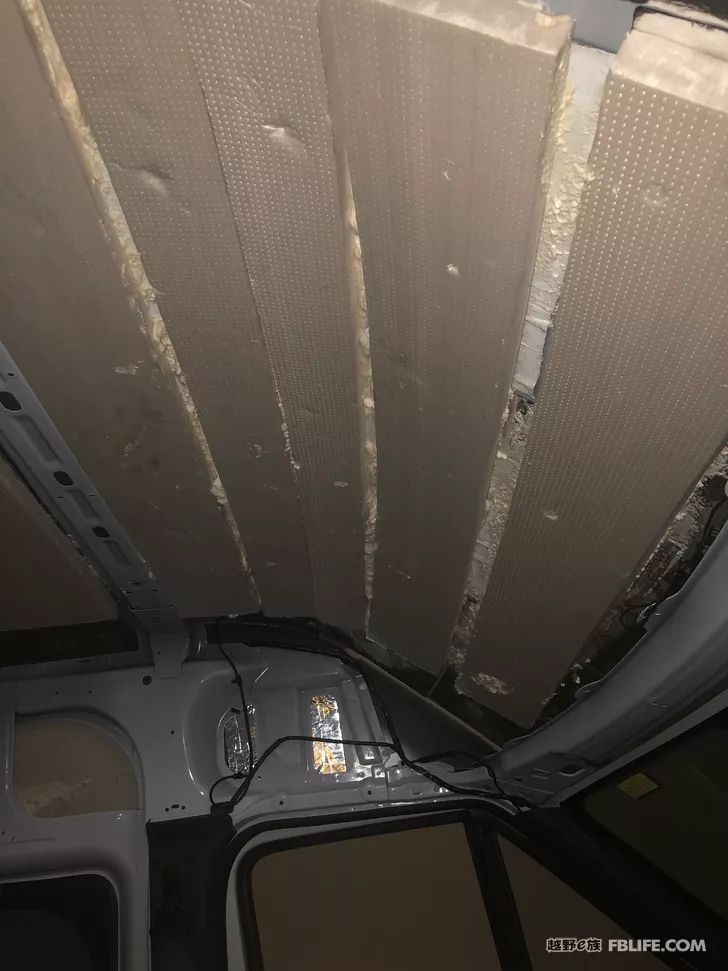
The arc above the cab was too large, so it had to be cut into narrow strips.
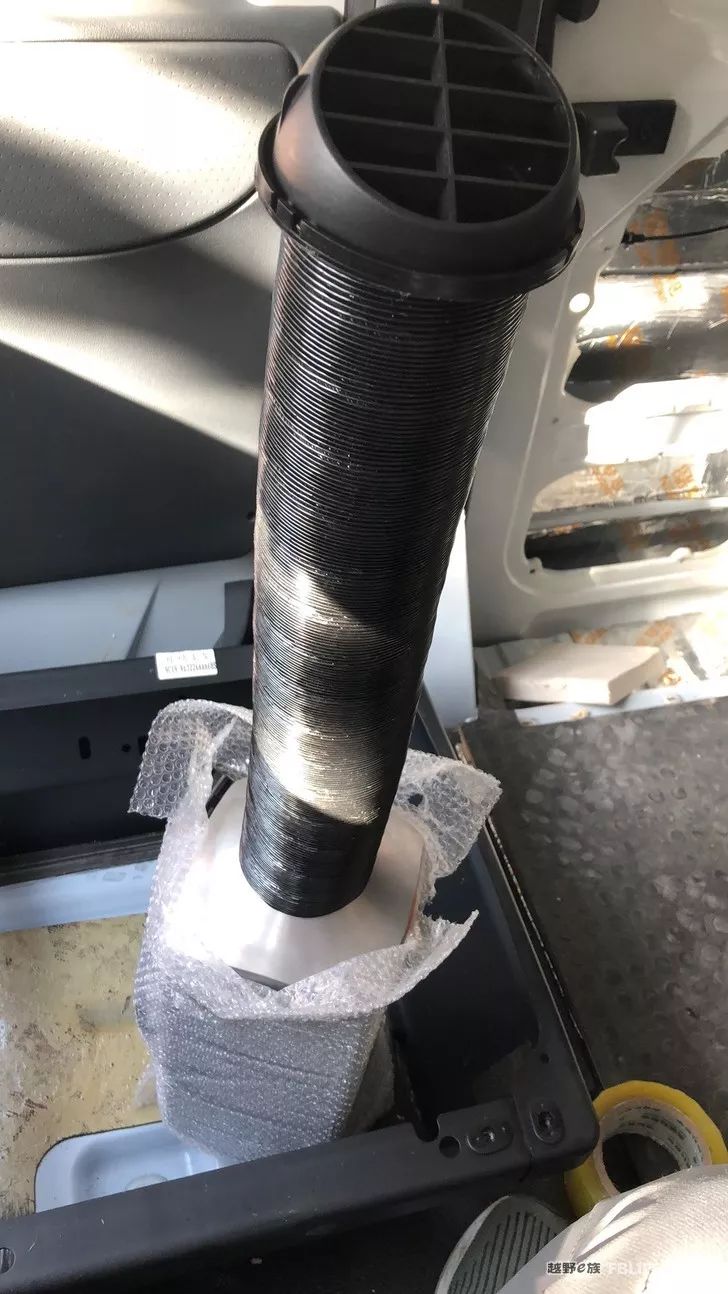
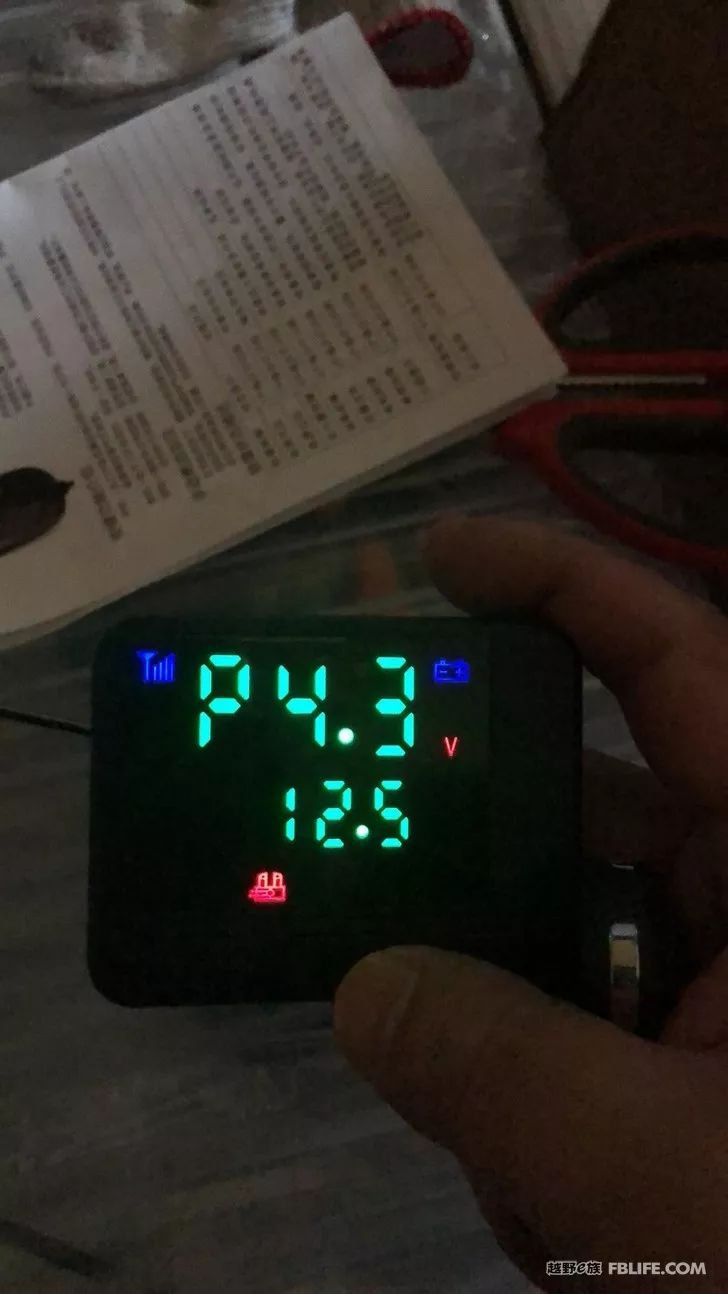
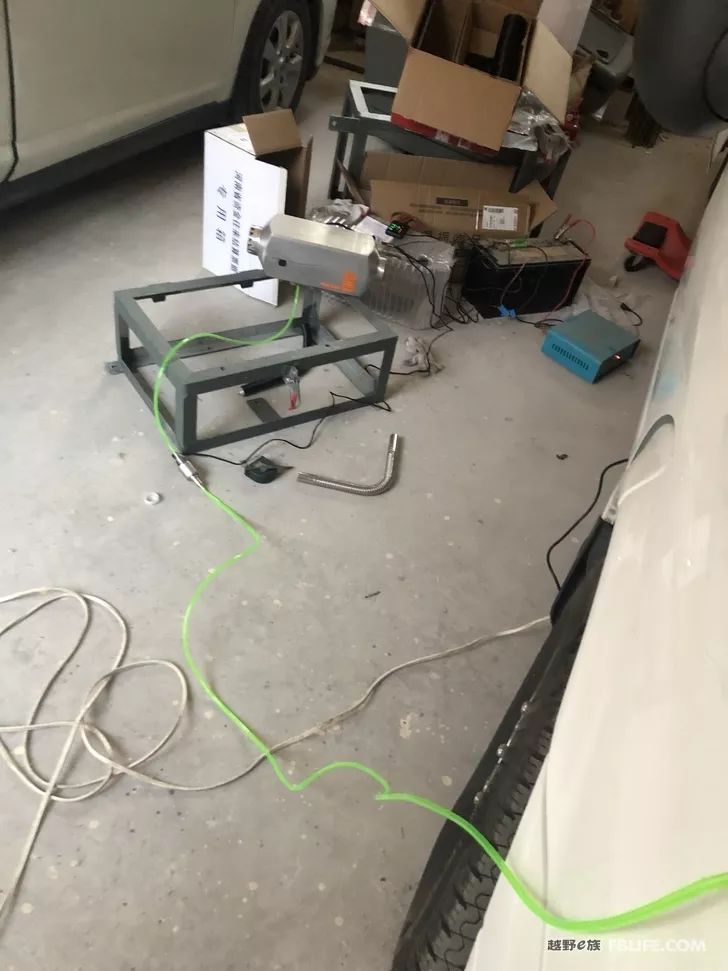
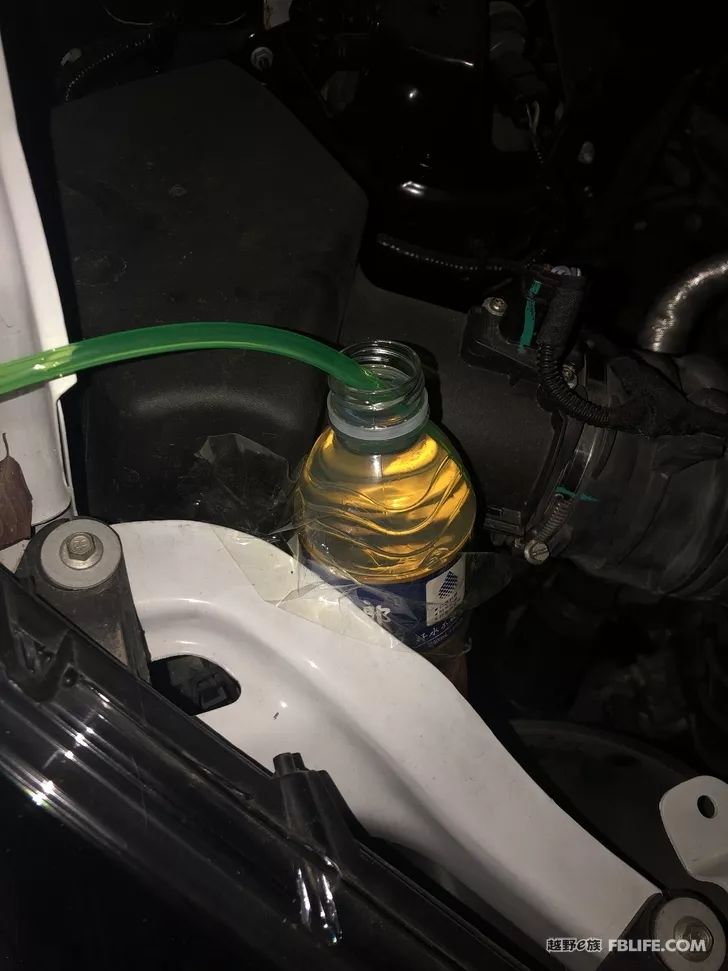
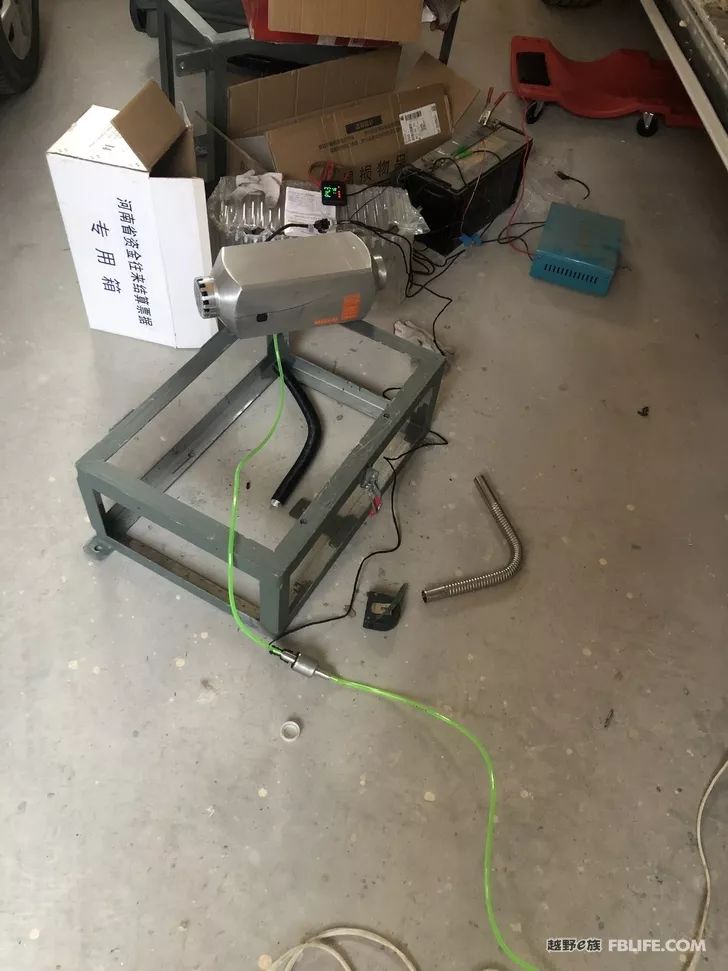
First, I simply assembled Chai Nuan and tried the machine. I tried it for more than two hours under the guidance of the after-sales master. I used a bottle of mineral water and a bottle of diesel oil. I felt that the wind was a bit loud, and the heating effect was good. The temperature of the air outlet very high.
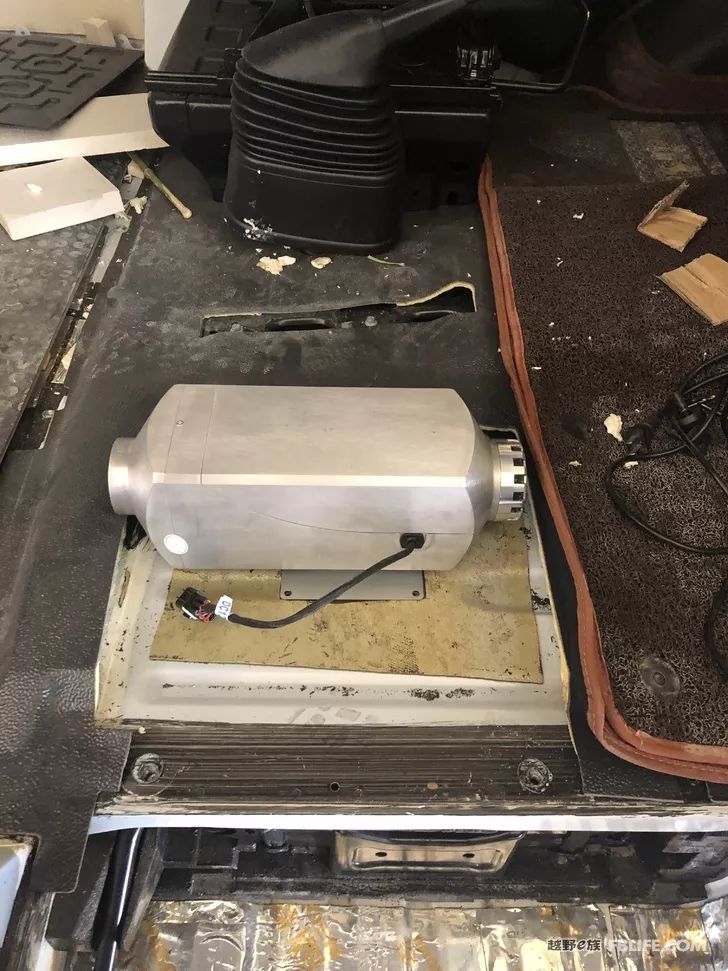
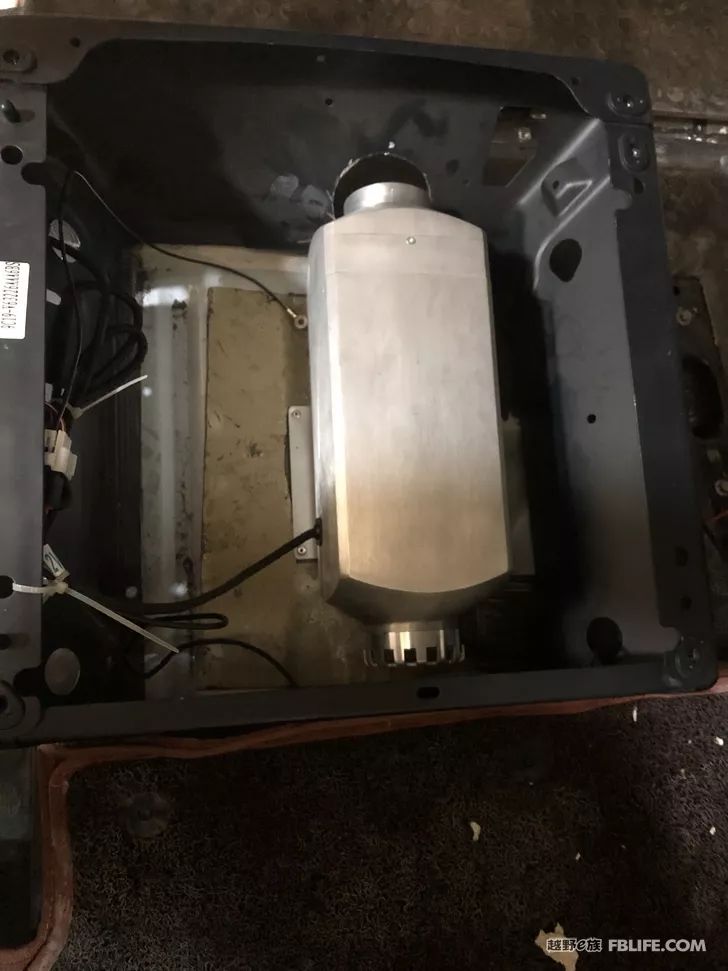
Remove the co-pilot’s seat, and prepare to install the firewood heating engine under the co-pilot’s seat. The length and size are just right, but the oil pot can’t find an ideal place to put it.
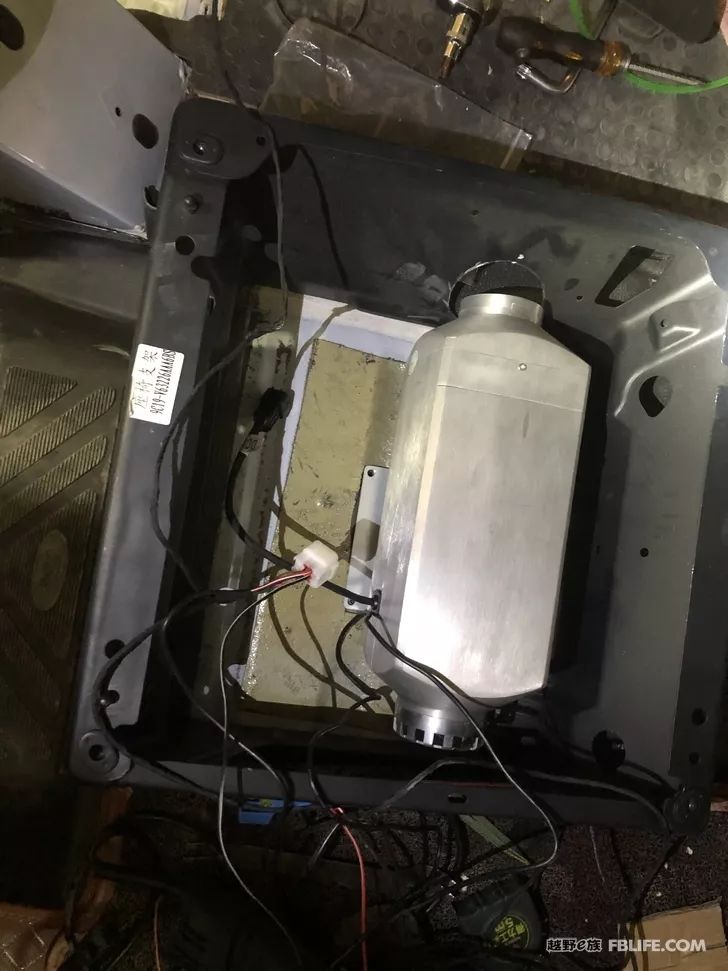
Use a grinder to cut a round hole at the air outlet position, and blow it directly to the rear compartment.
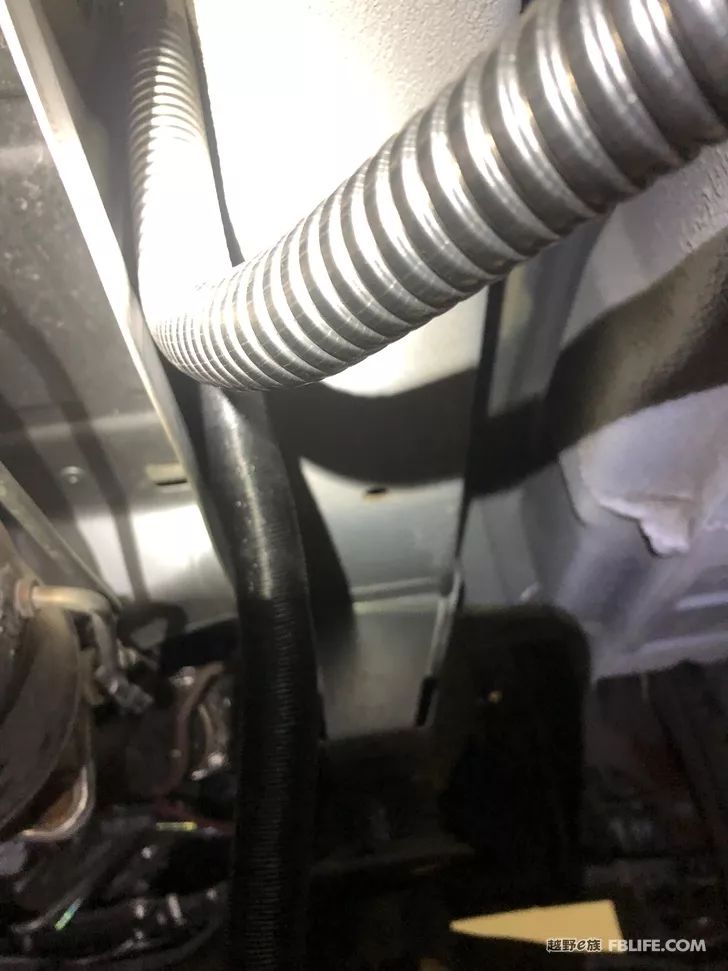
Drill down to the bottom of the car to measure the position. There is only about 10 centimeters below the co-pilot to install. The exhaust pipe and the beam are only 3 to 4 centimeters to pass the pipe. This position is not easy to install, and it is a bit troublesome. The main reason is that there is no room for the screwdriver to move on the bottom of the car. .
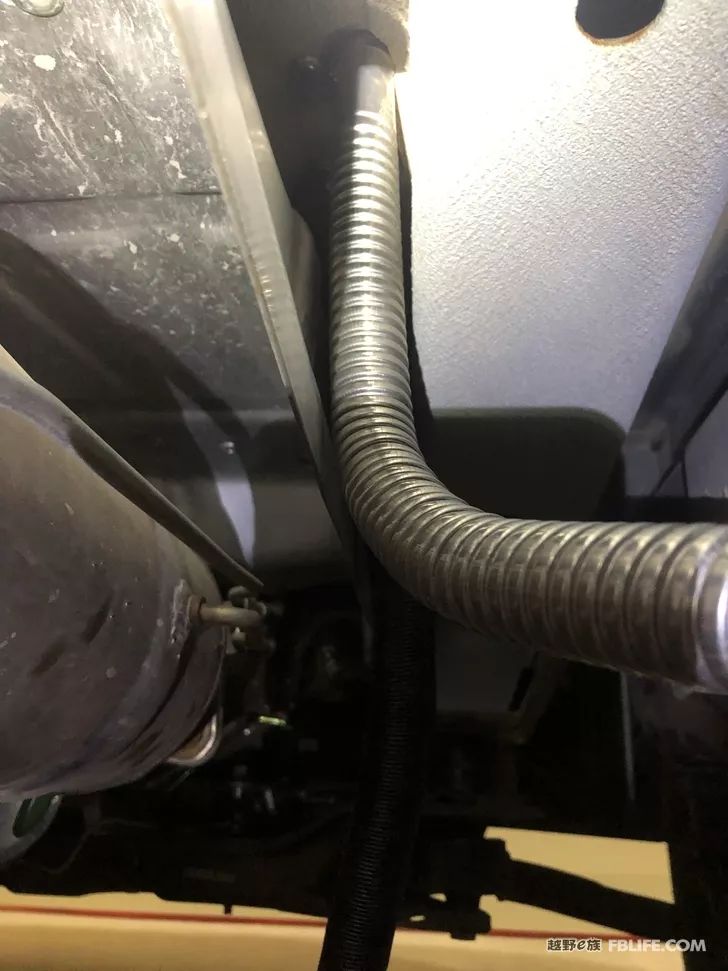
I am quite satisfied with the effect of the installation.
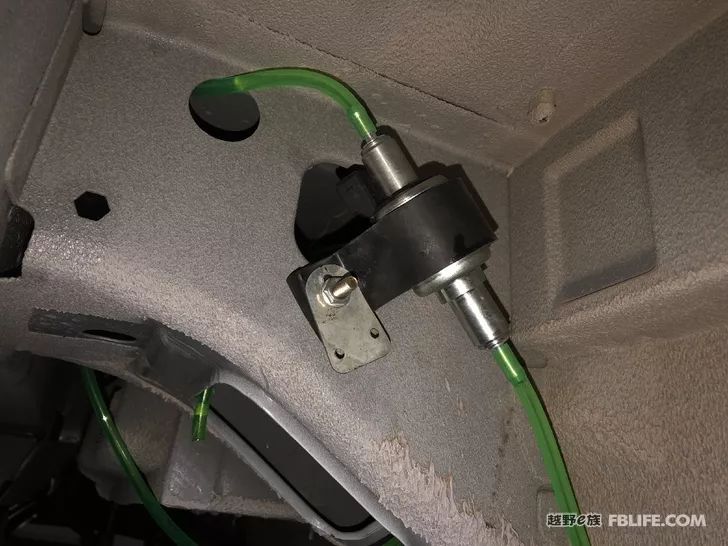
Find a place for the oil pump, and use the holes in the original car to install the screws.
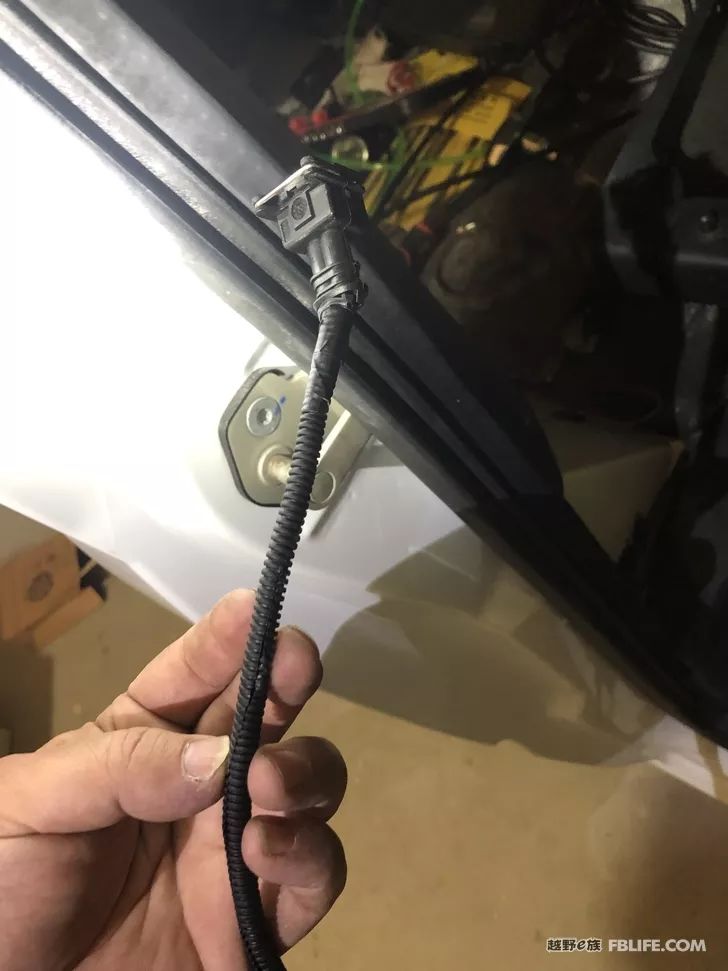
Put the firewood warm line through a layer of plastic tube to prevent long-term wear and tear.
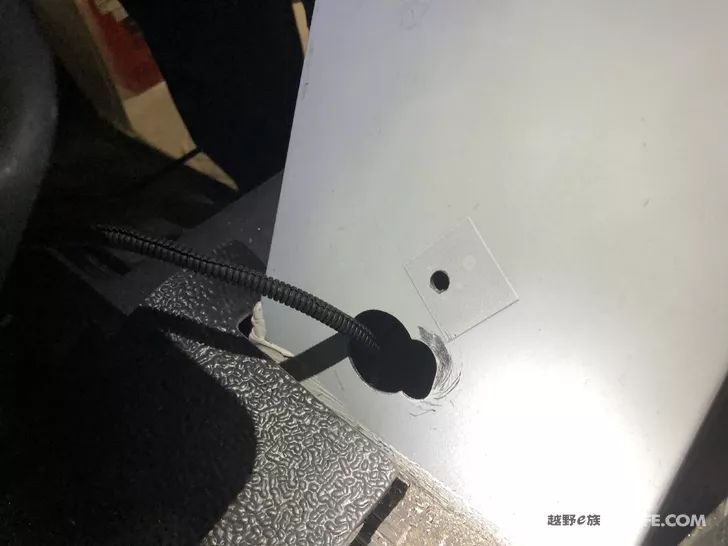
The plug of the wire is too big to pass through, and there is a small hole in the car.
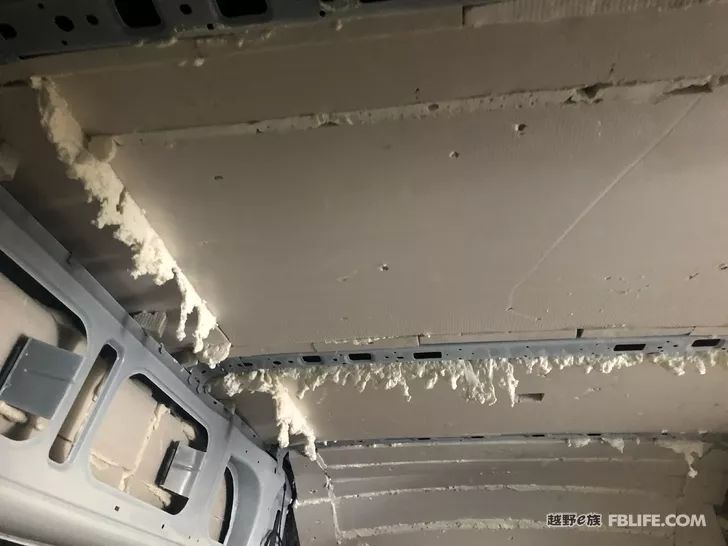
It’s a bit wasteful to fill in the gaps.
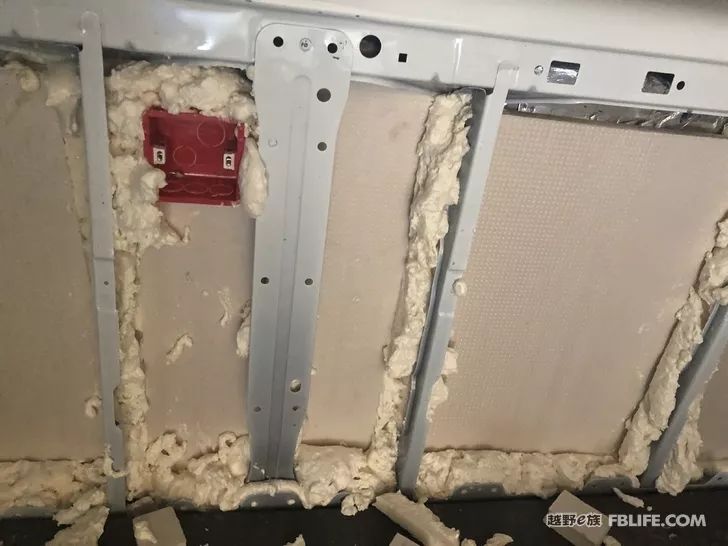
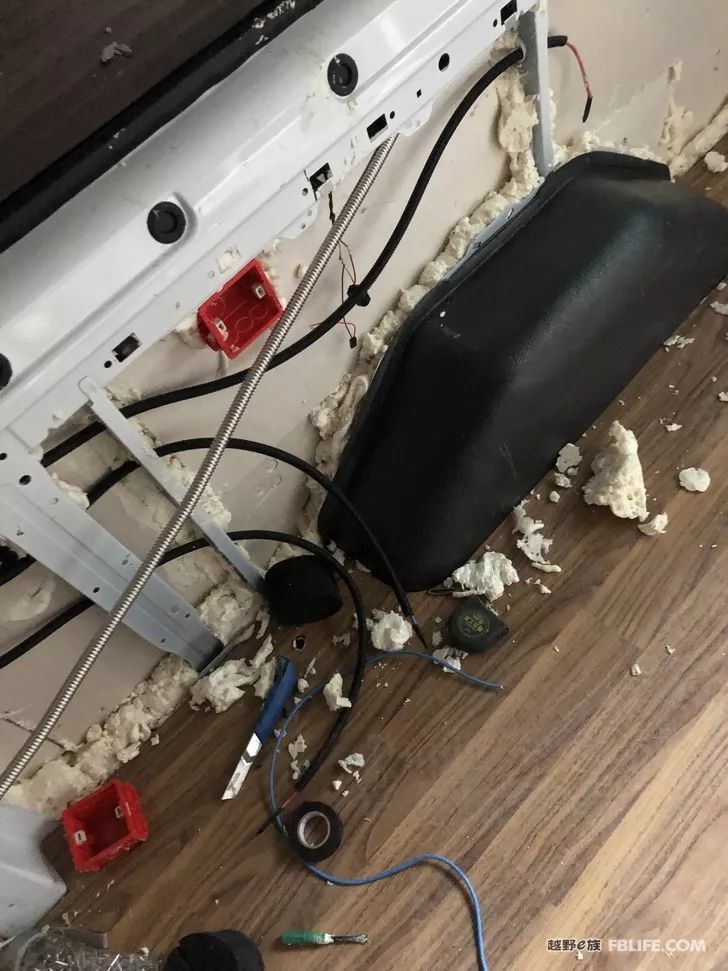
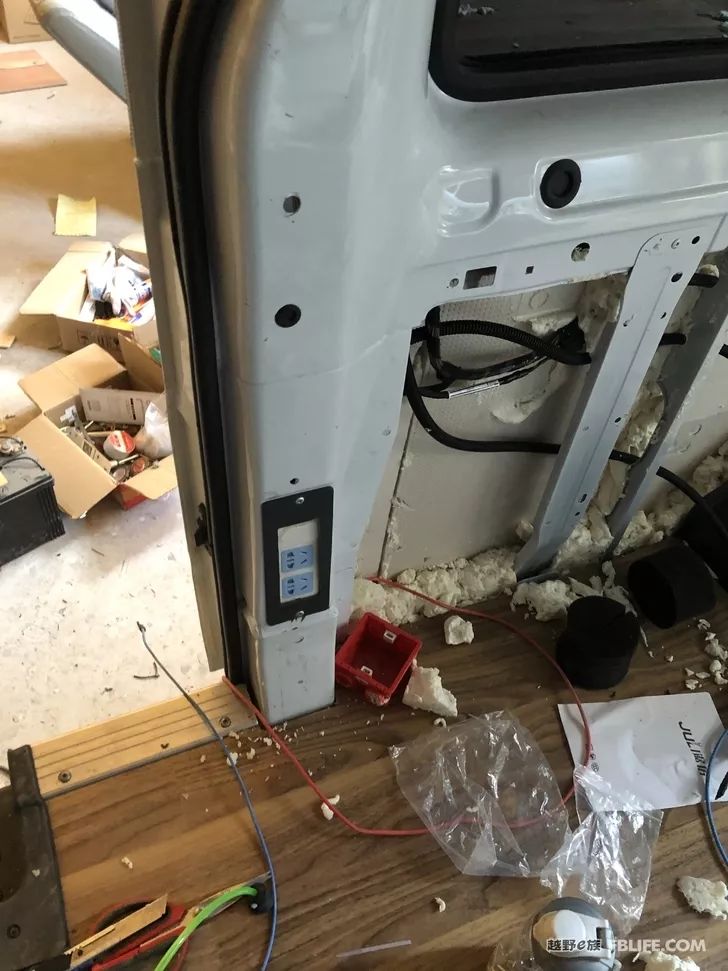
Prepare to install a 220-volt power socket, first fix the bottom box of the socket with styrofoam.
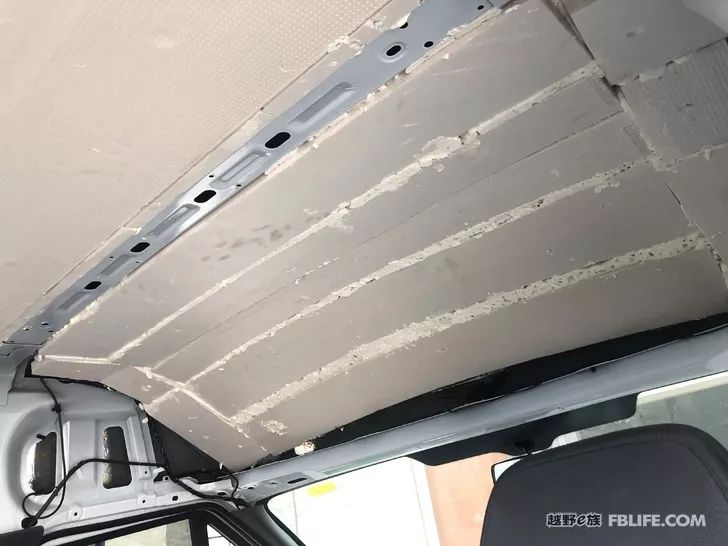
The repaired look after filling the gaps
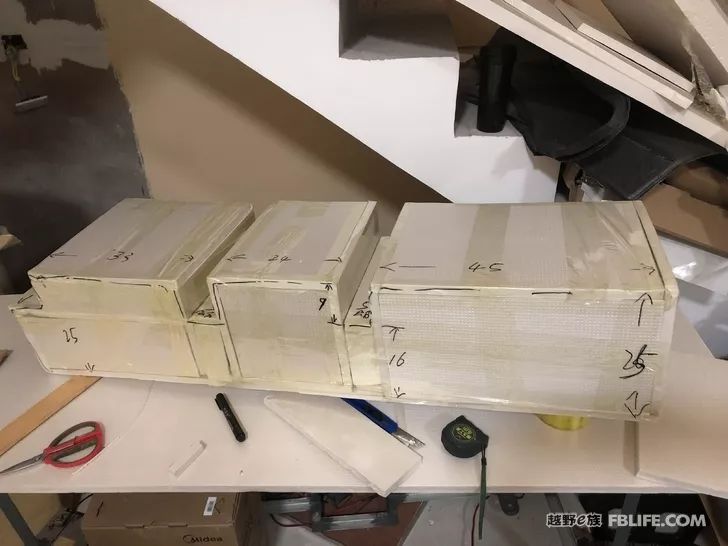
This water tank model took almost a day to complete
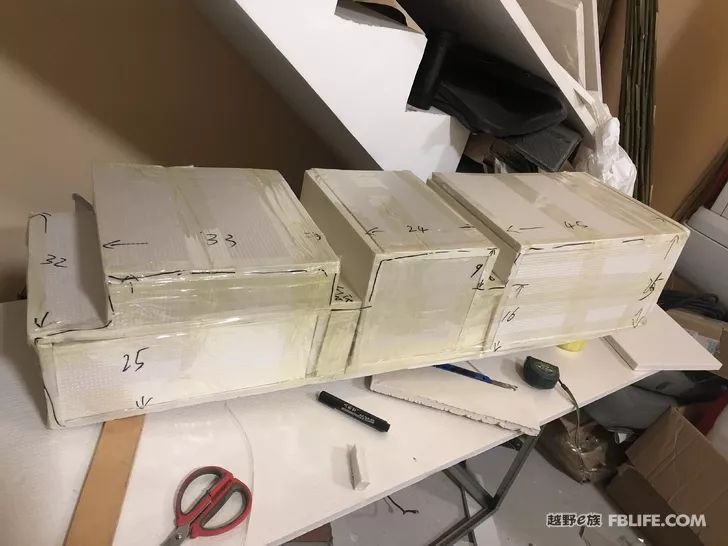
I got in and out of the bottom of the car many times by myself before deciding on the specific size.
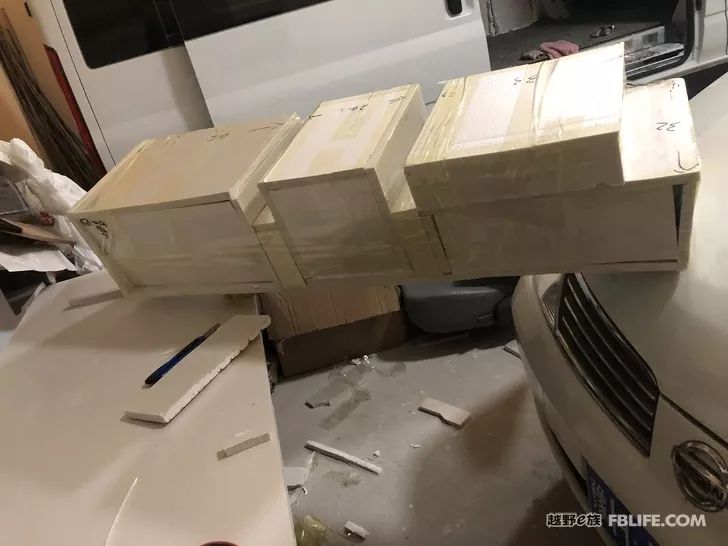
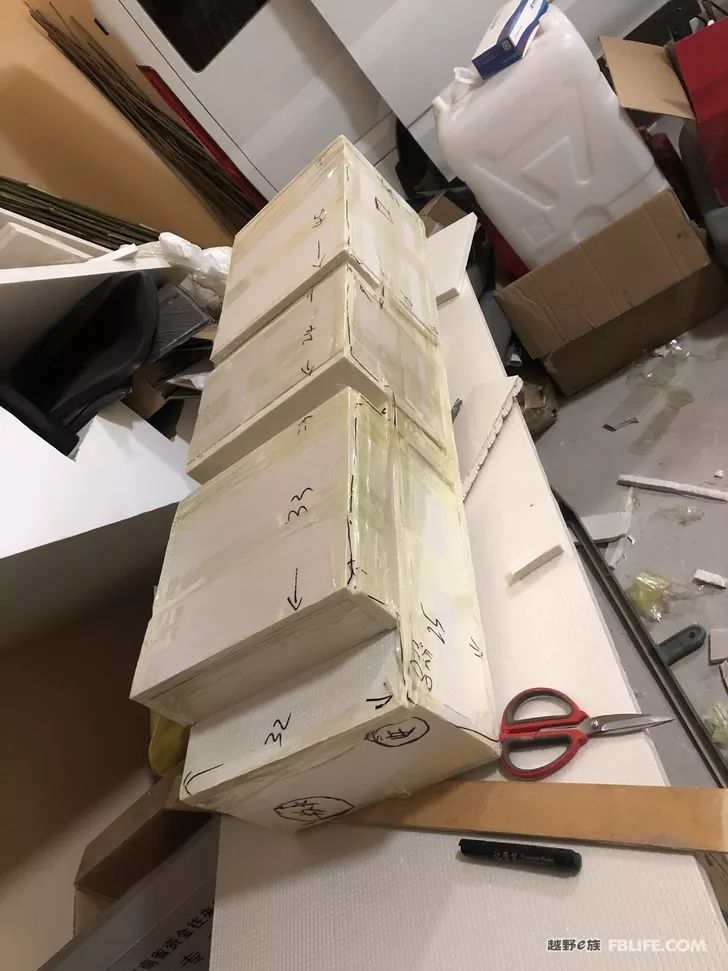
I took photos for Majia, a professional stainless steel seller, and ordered a 304 1.5-thick stainless steel water tank online.
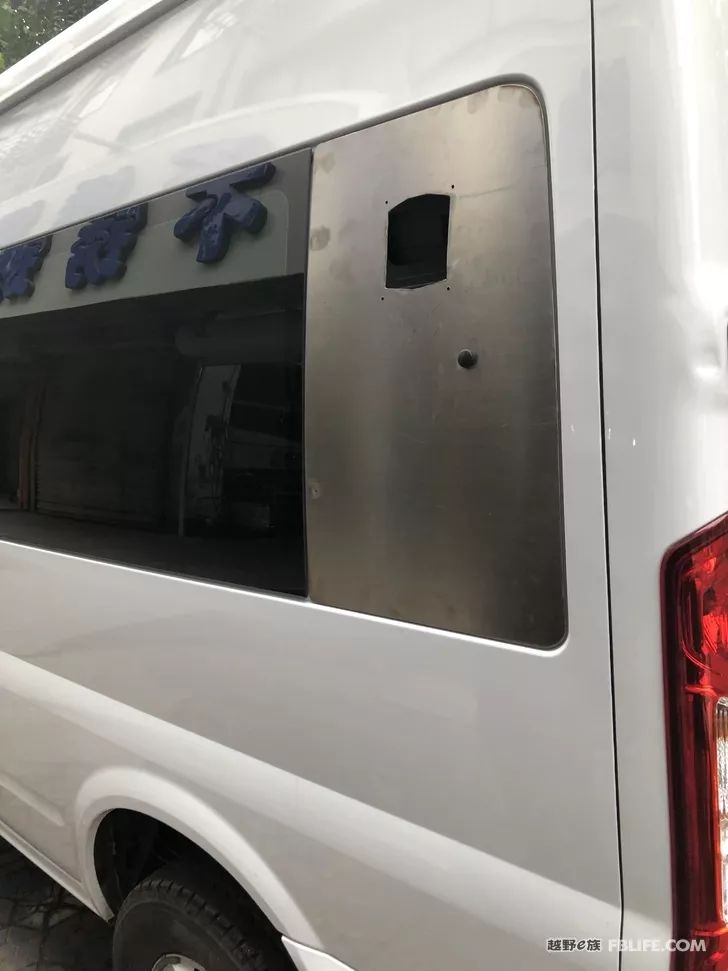
Reluctant to make a hole in the sound of the car, I tried to use the smallest piece of glass on the car to customize a stainless steel plate, and cut a hole on it to install an external power socket.
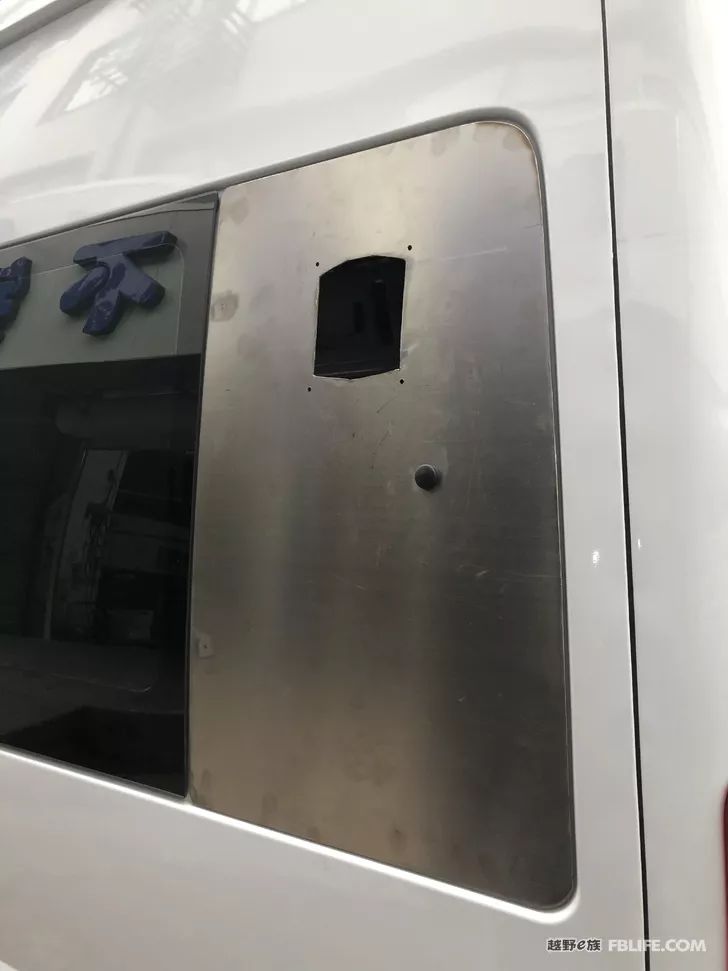
The 1.5 thickness stainless steel plate is a bit thick, and its weight is much heavier than that of glass. If someone does it again, I think it is enough to use one millimeter thick.
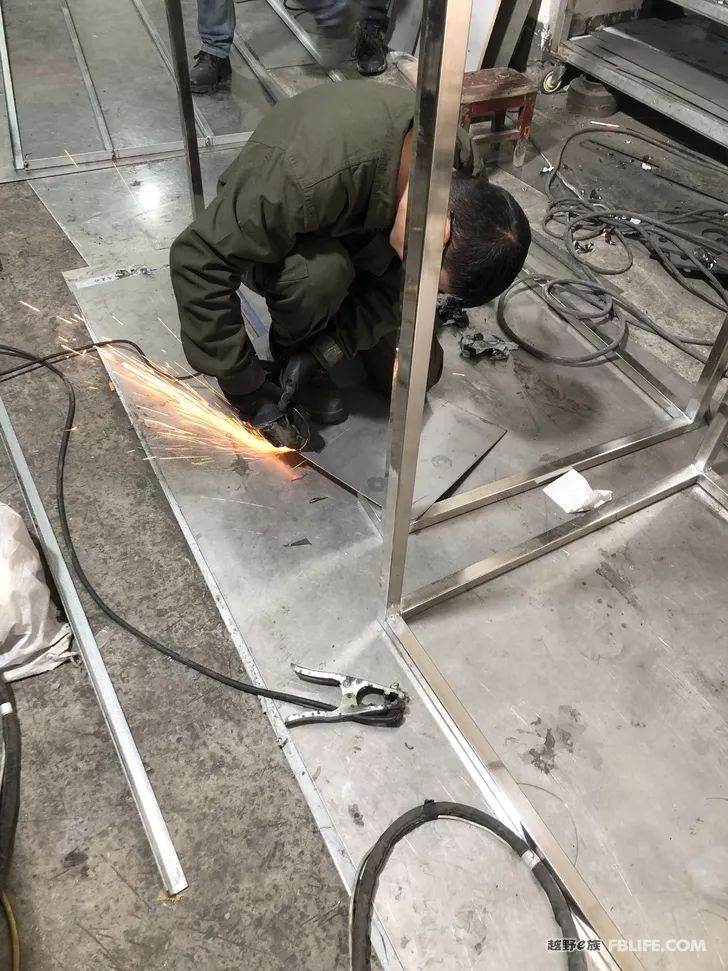
The little master is trimming, he is young and has good craftsmanship.
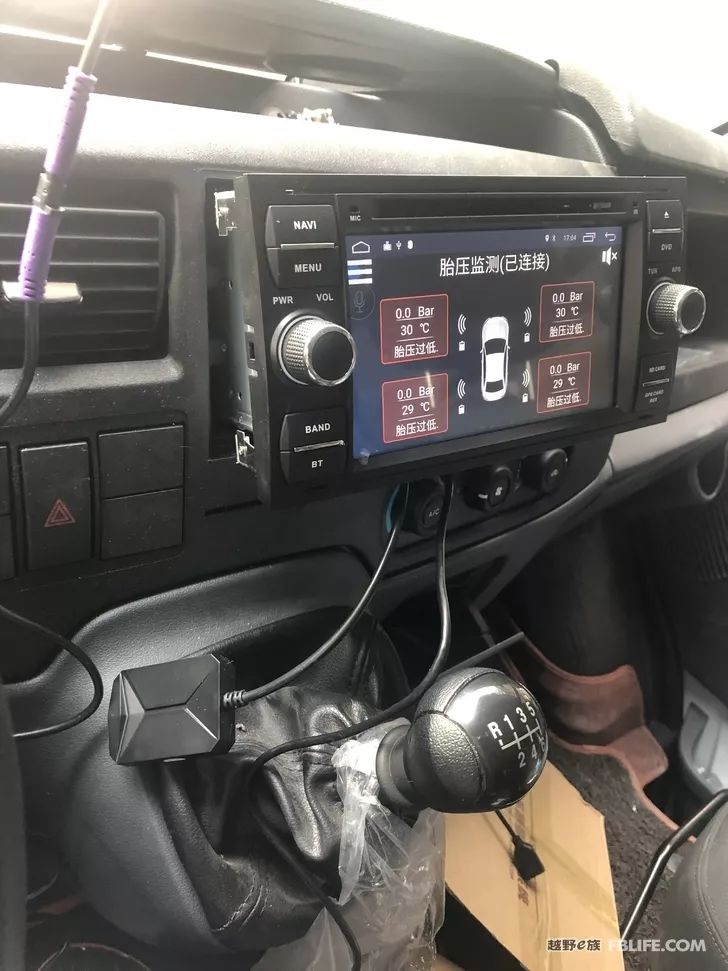
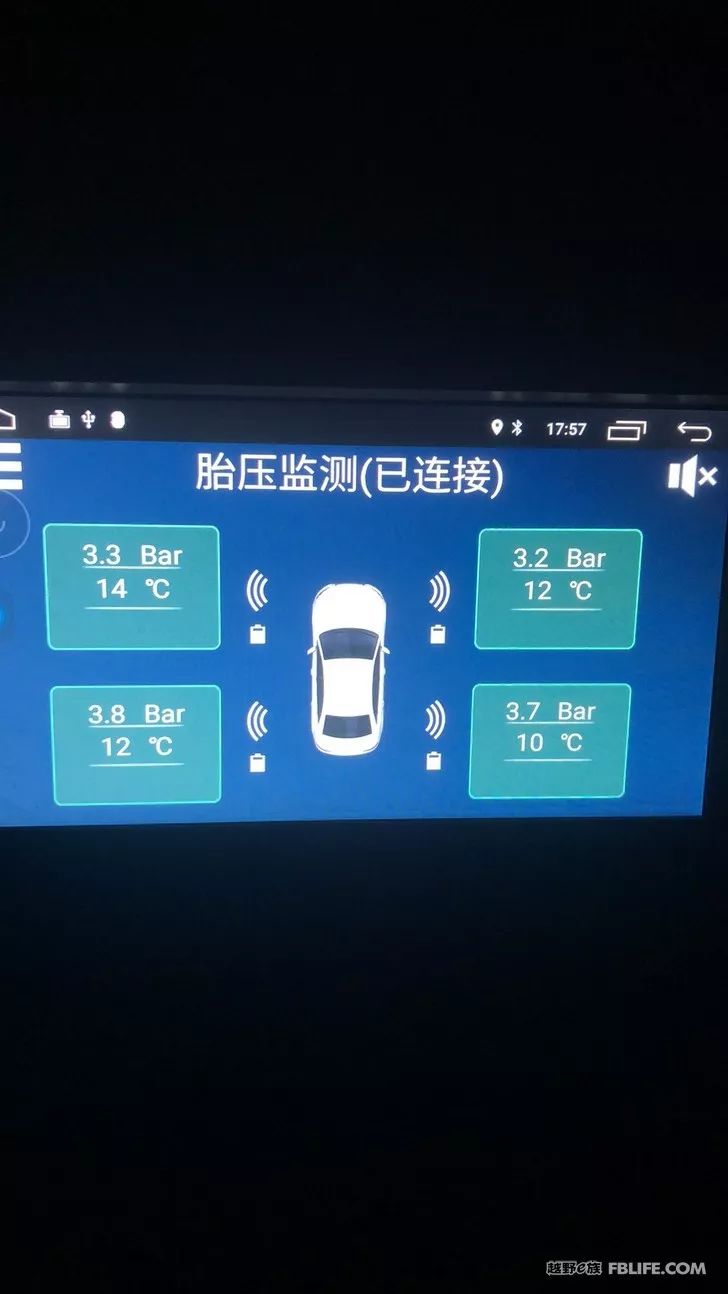
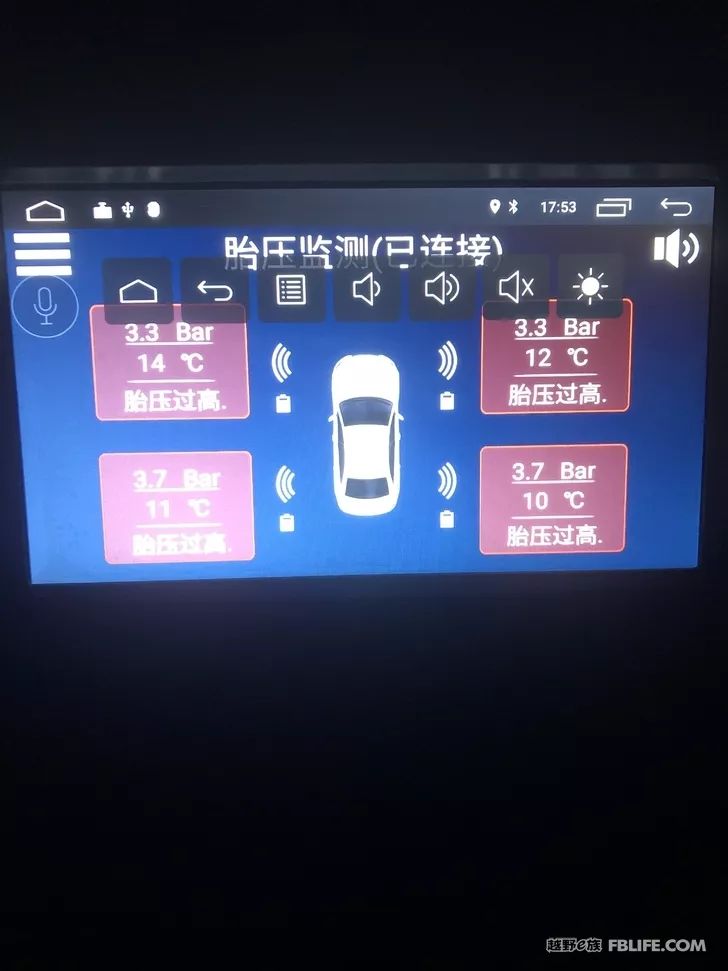
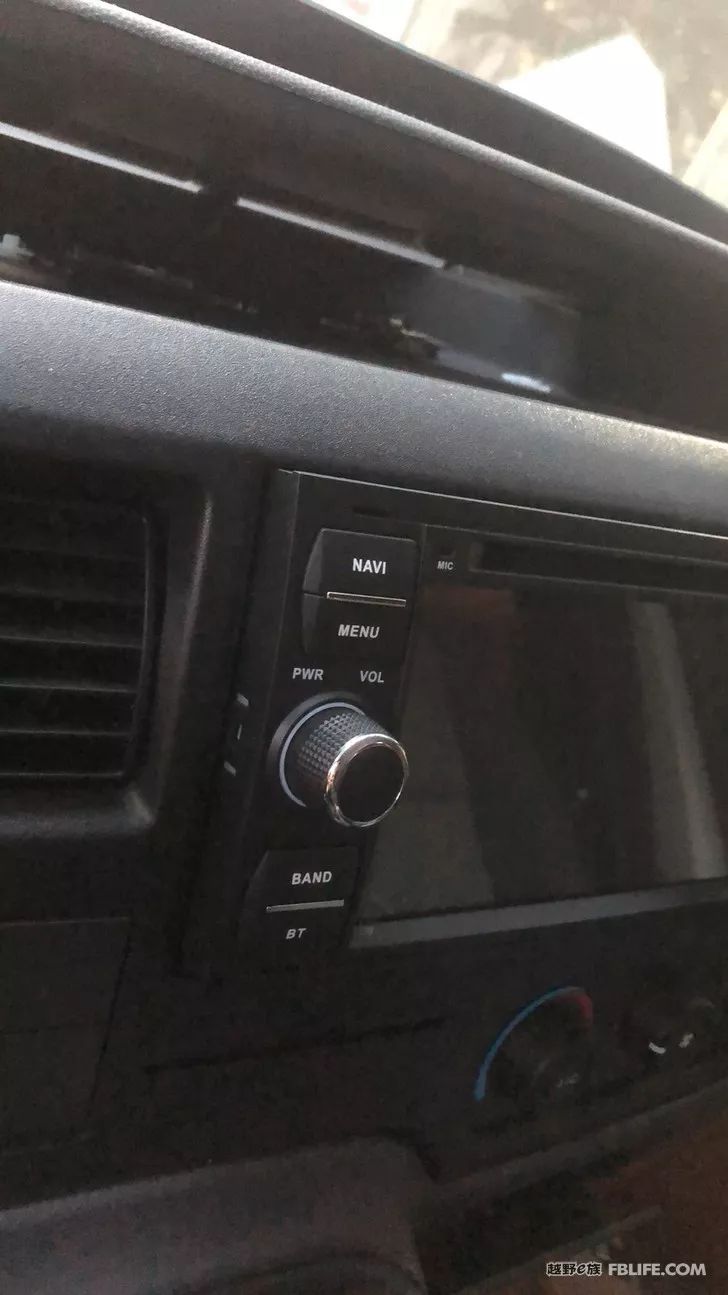
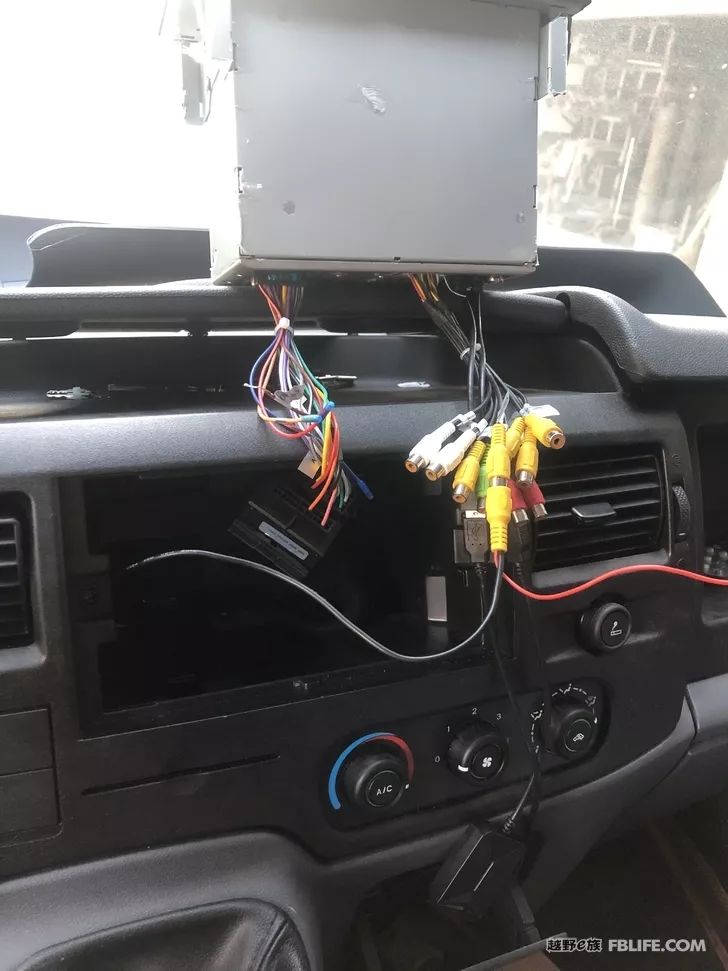
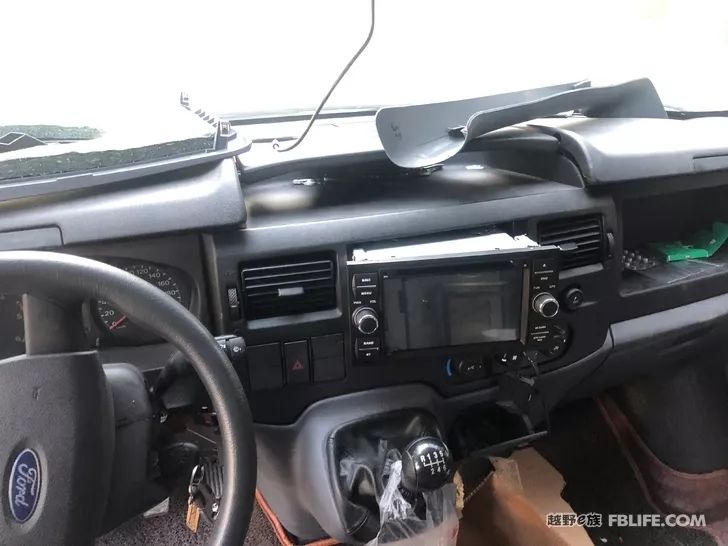
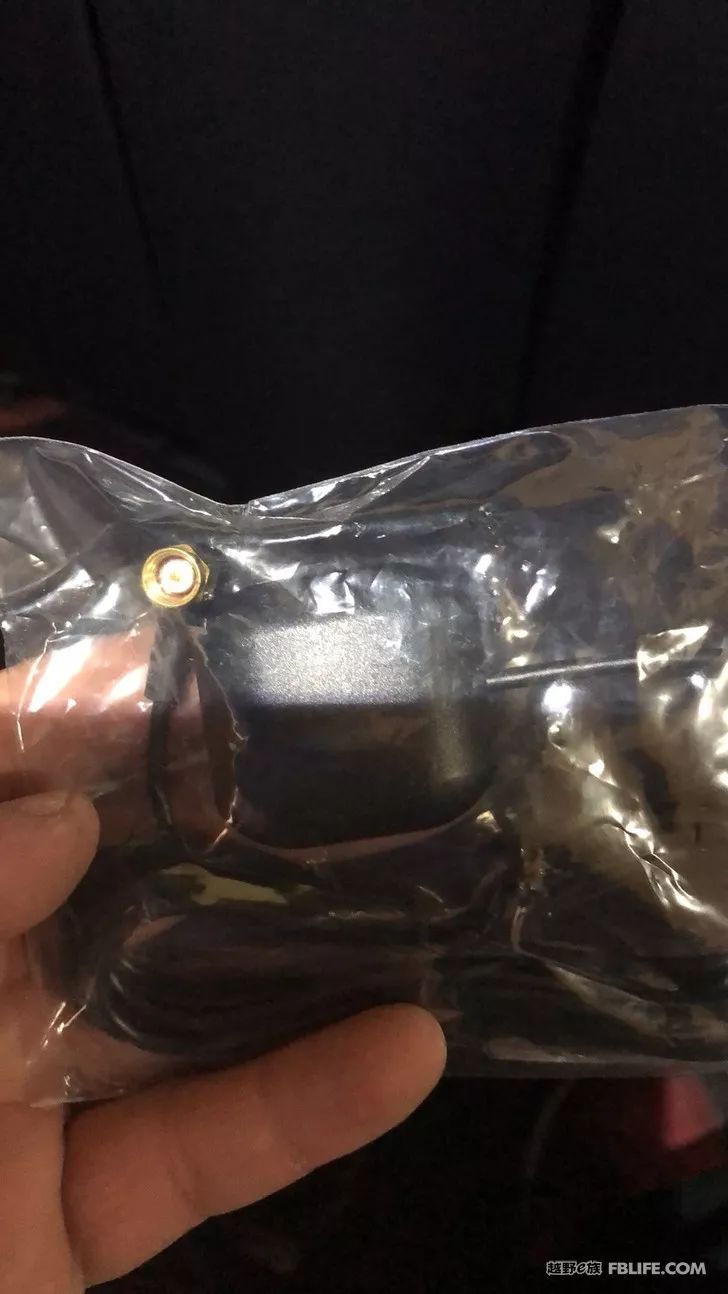
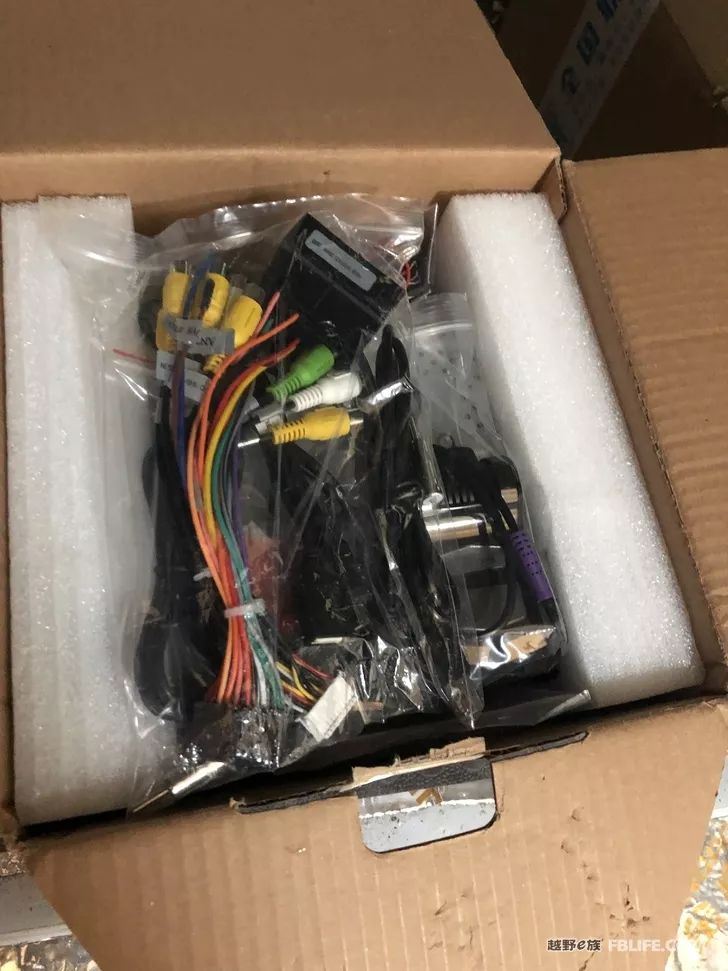
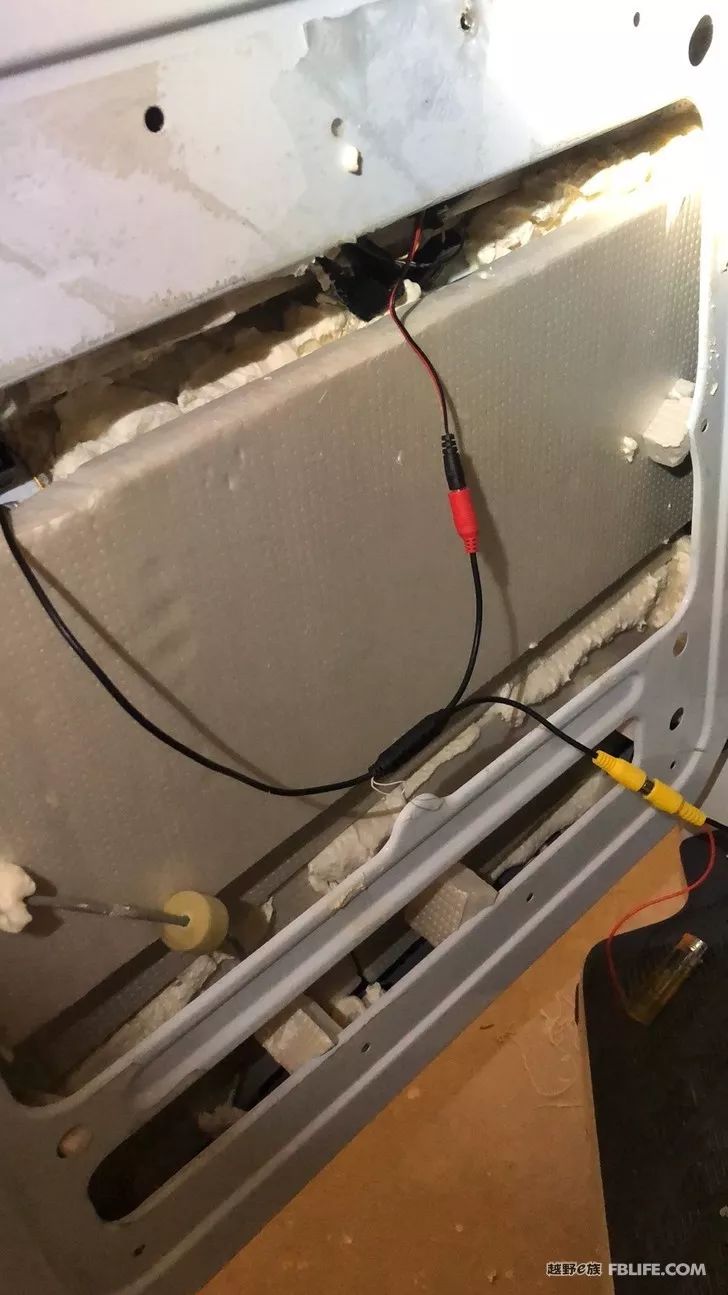
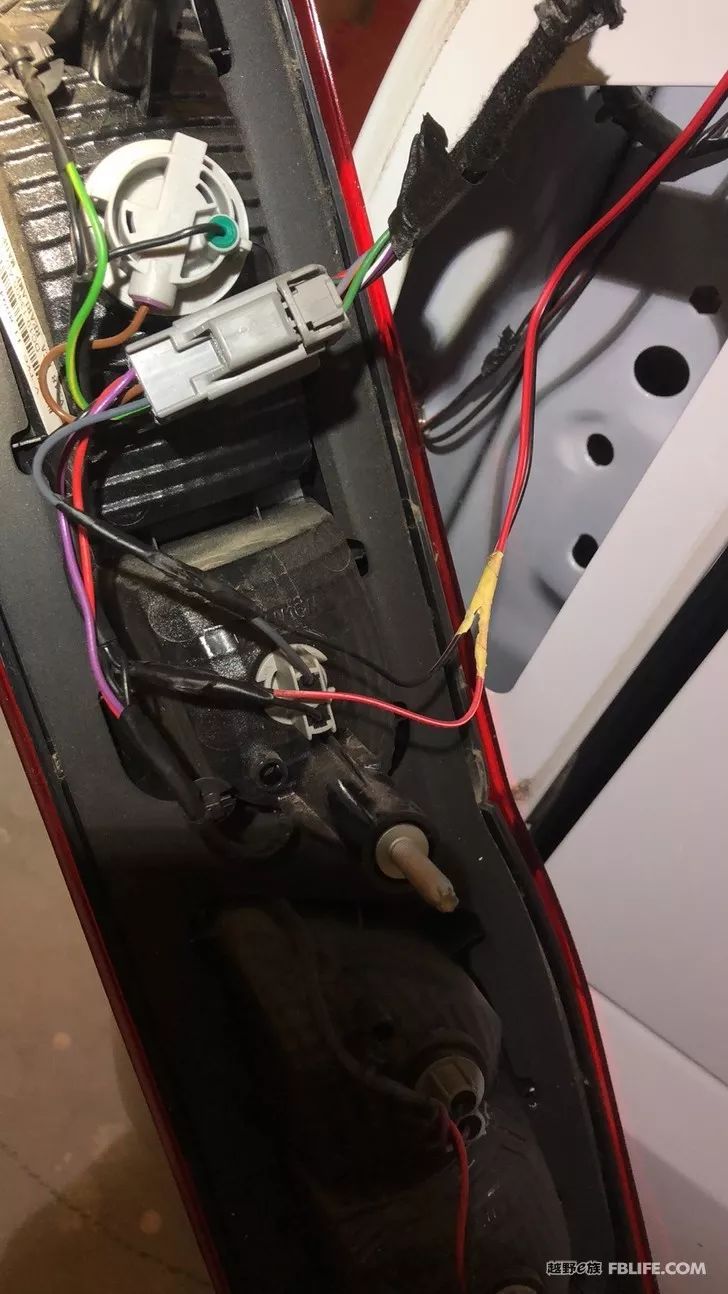
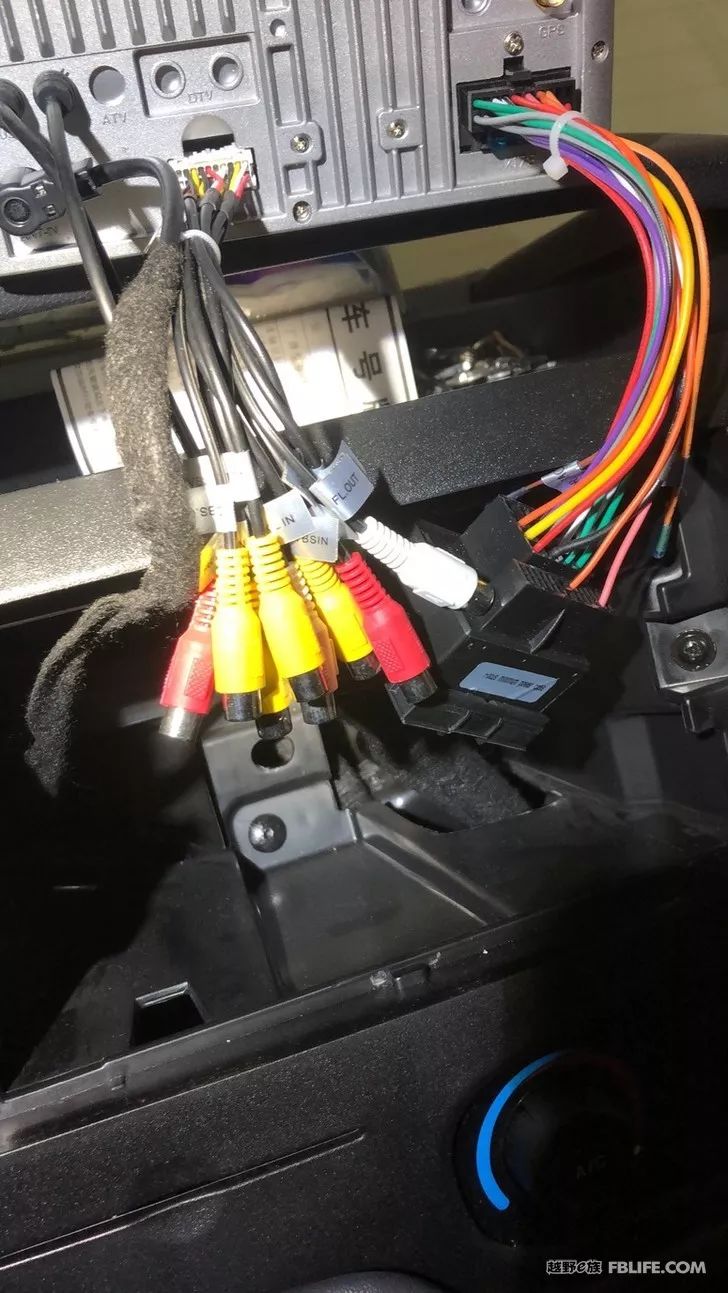
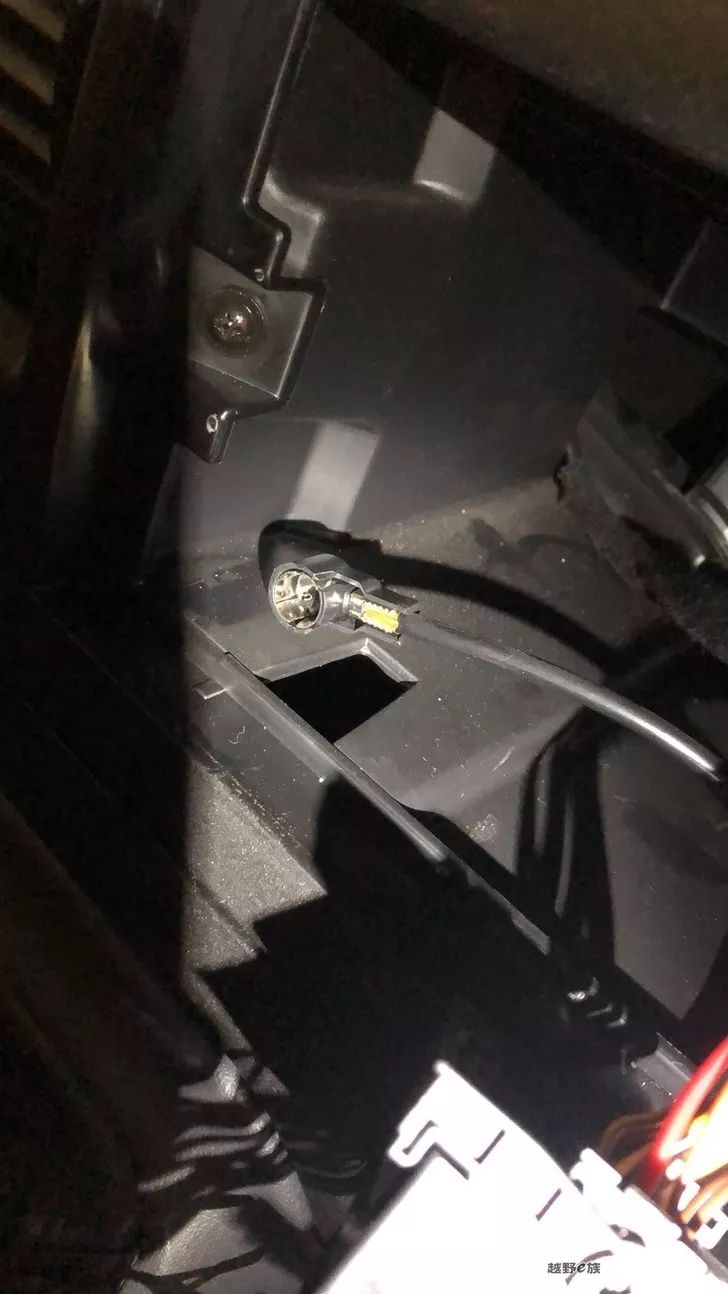
The all-in-one navigation machine purchased online has arrived, and things are really much cheaper now, and the driving recorder, reversing image, and tire pressure monitoring are less than 2,000. It is really time-consuming to install by yourself. The standard service is completed, and I took the trouble to guide me to pay attention to the details, and finally installed and debugged smoothly, and all functions are fully and normally used.
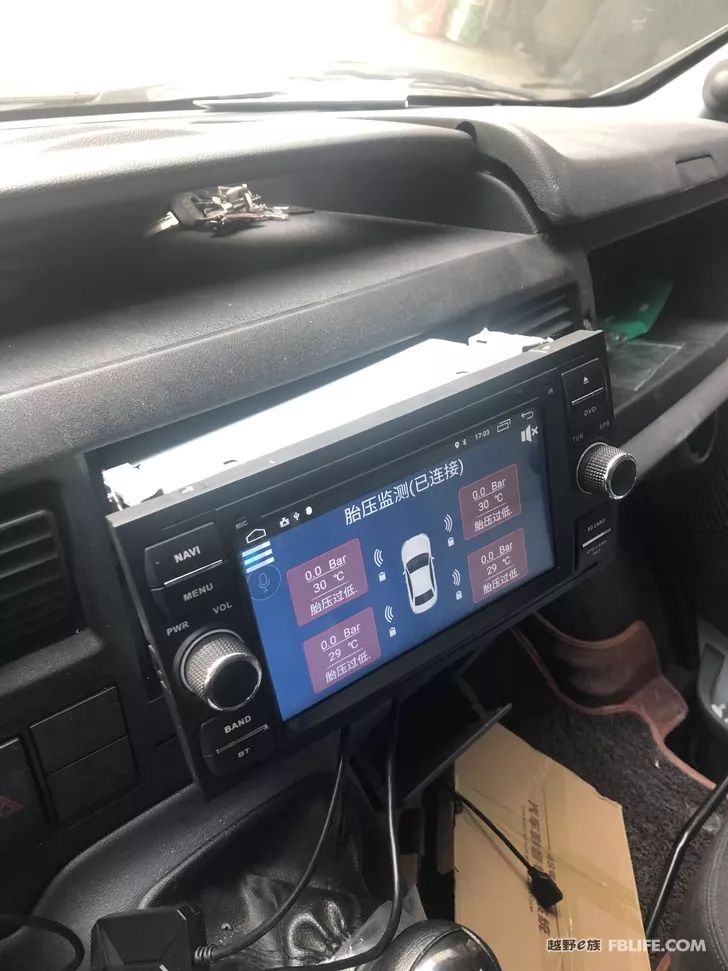
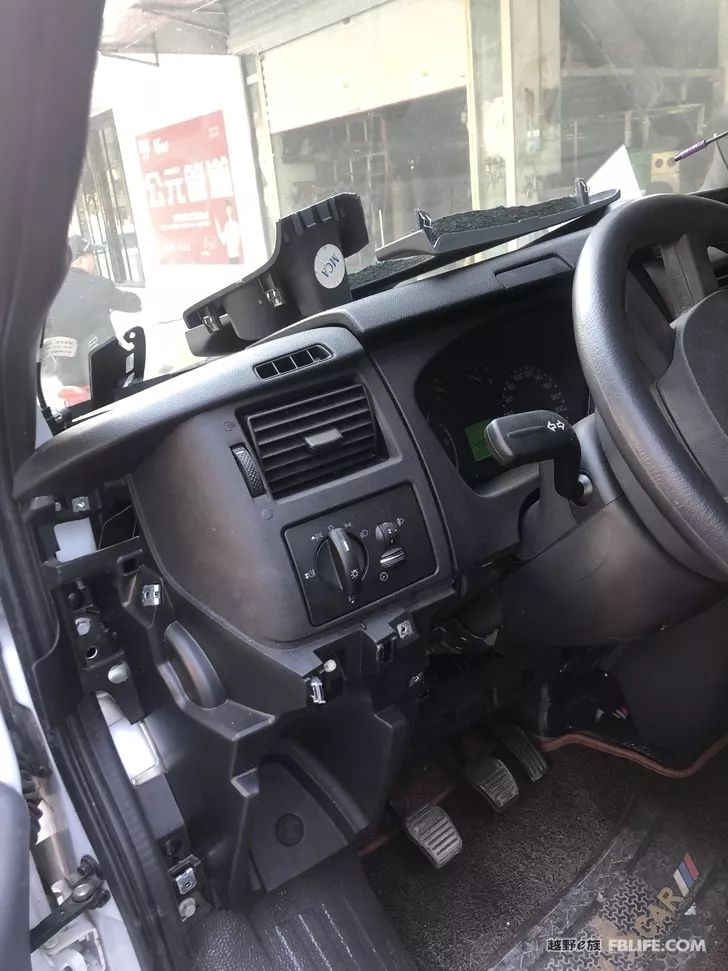
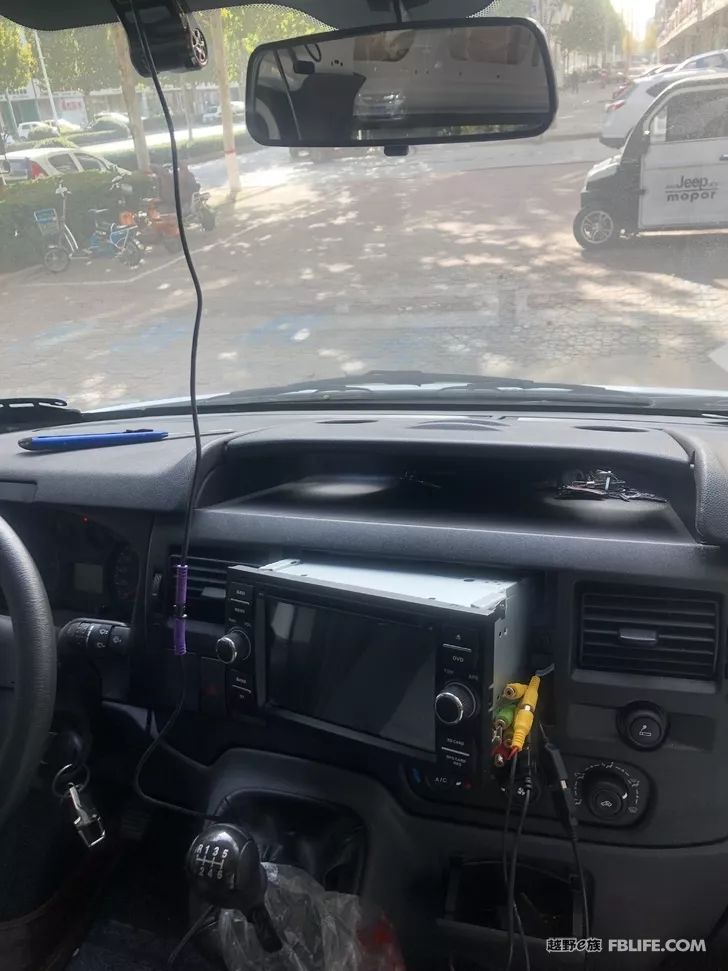
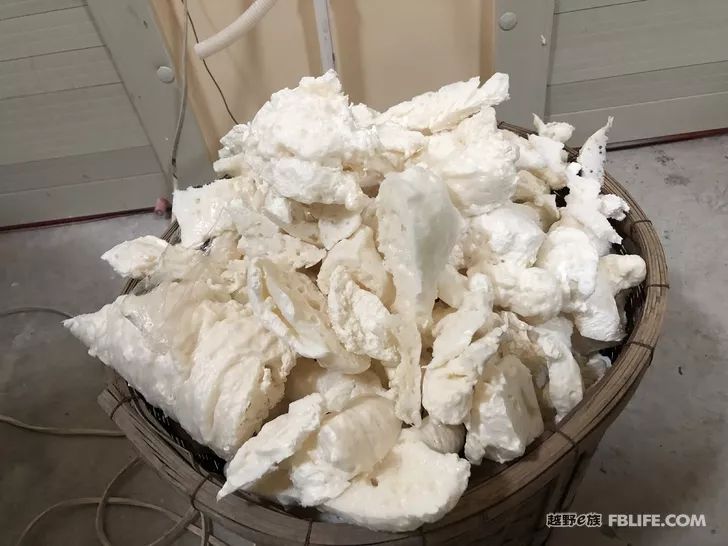
A whole basket of styrofoam for reinforcement is cut off, and the quantity is not well grasped, which is a serious waste.
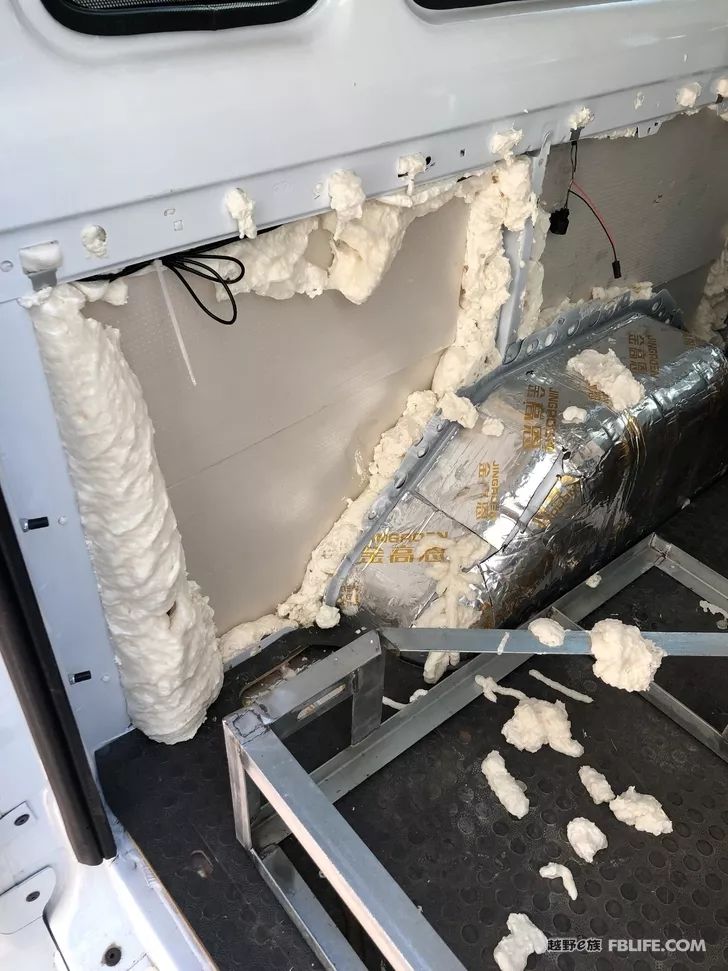
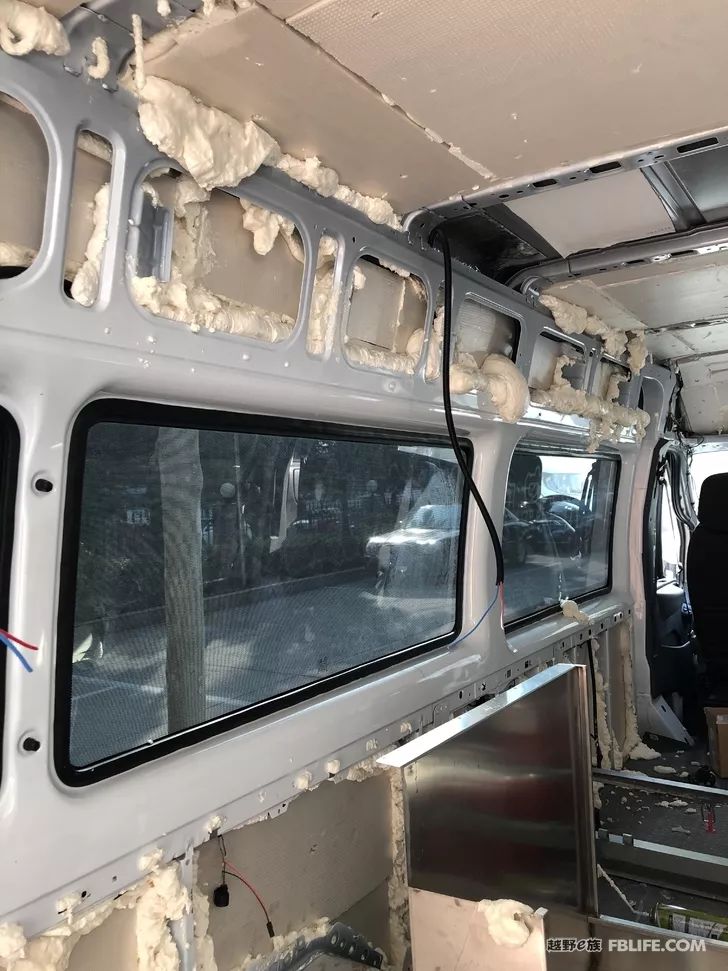
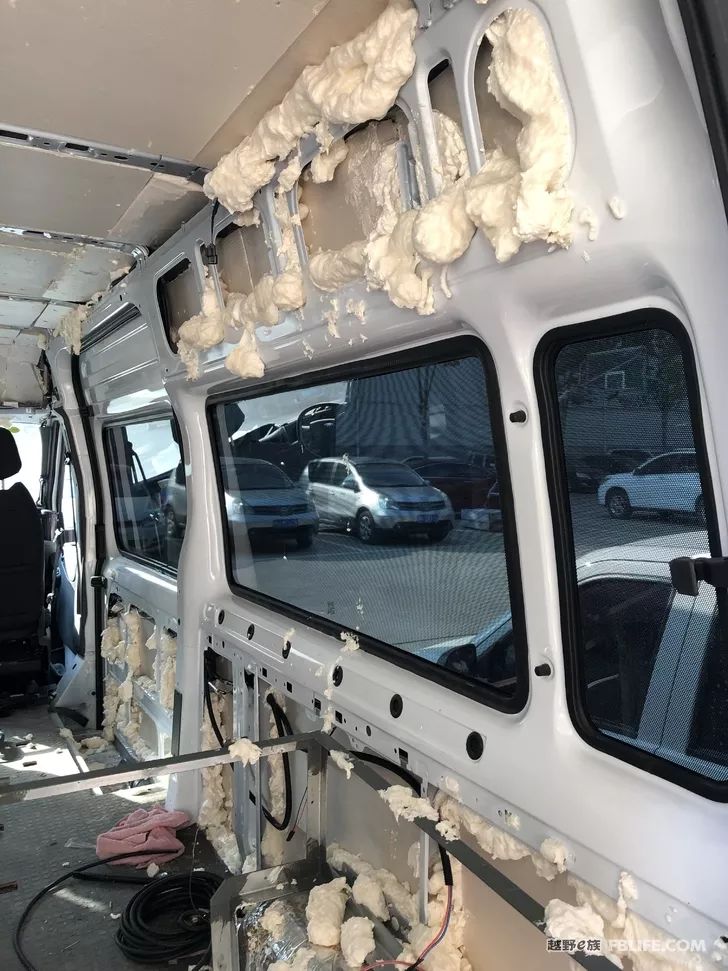
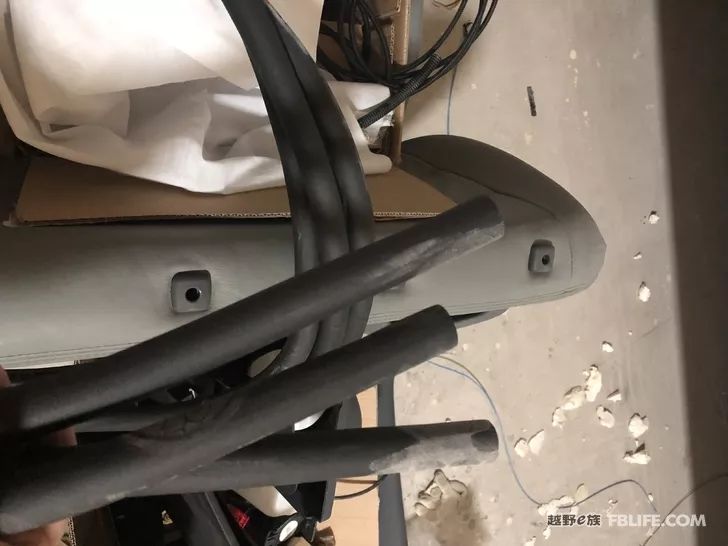
I bought a few insulation pipes and prepared to put them on the fuel pipes of Chai Nuan to avoid freezing oil in Chai Nuan in winter.
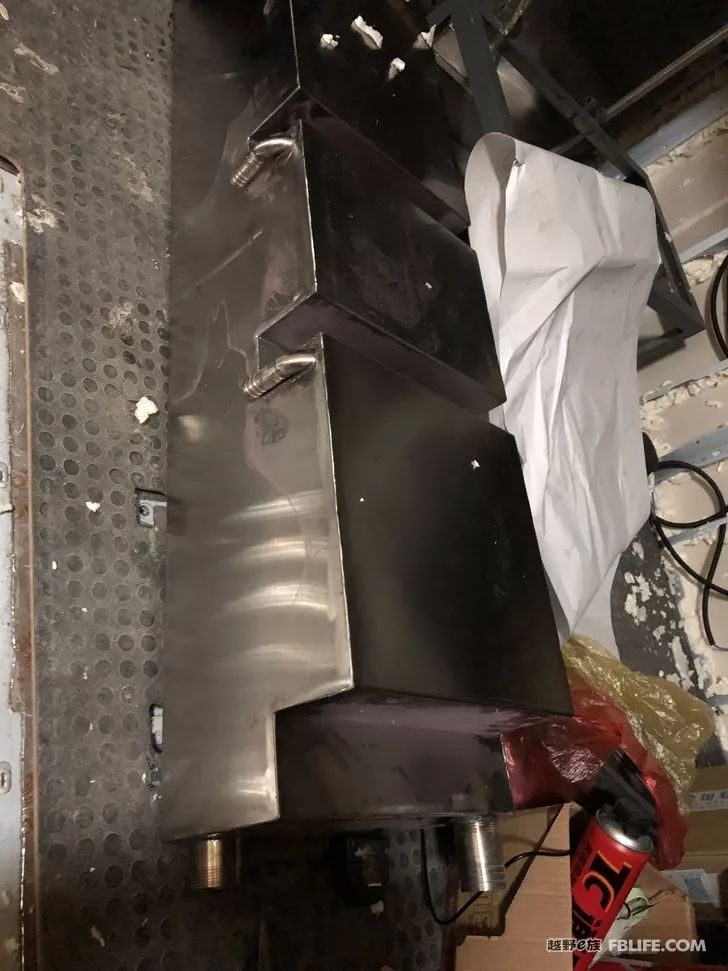
The water tank customized online arrived, and I tried it on the bottom of the car.
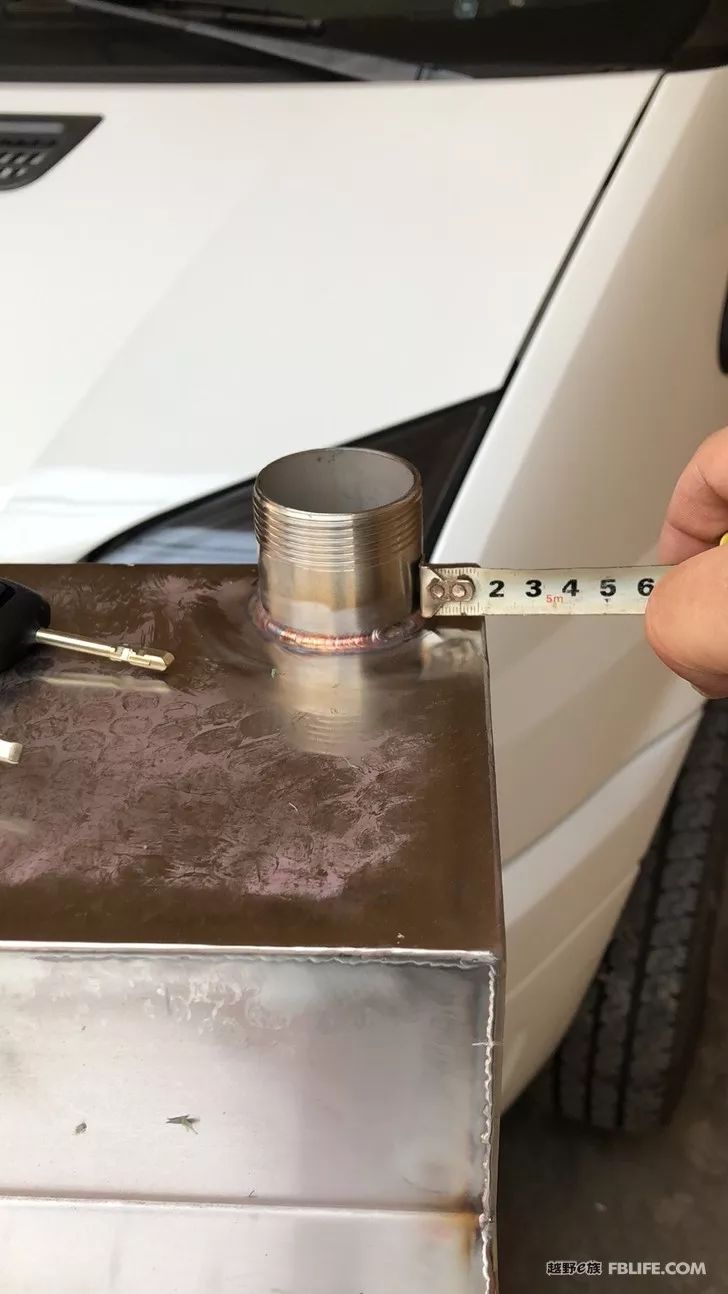
The reservation here is originally four centimeters. Since it was not clearly stated, the welding master reserved a distance of four centimeters from the center. Fortunately, it does not affect the use.
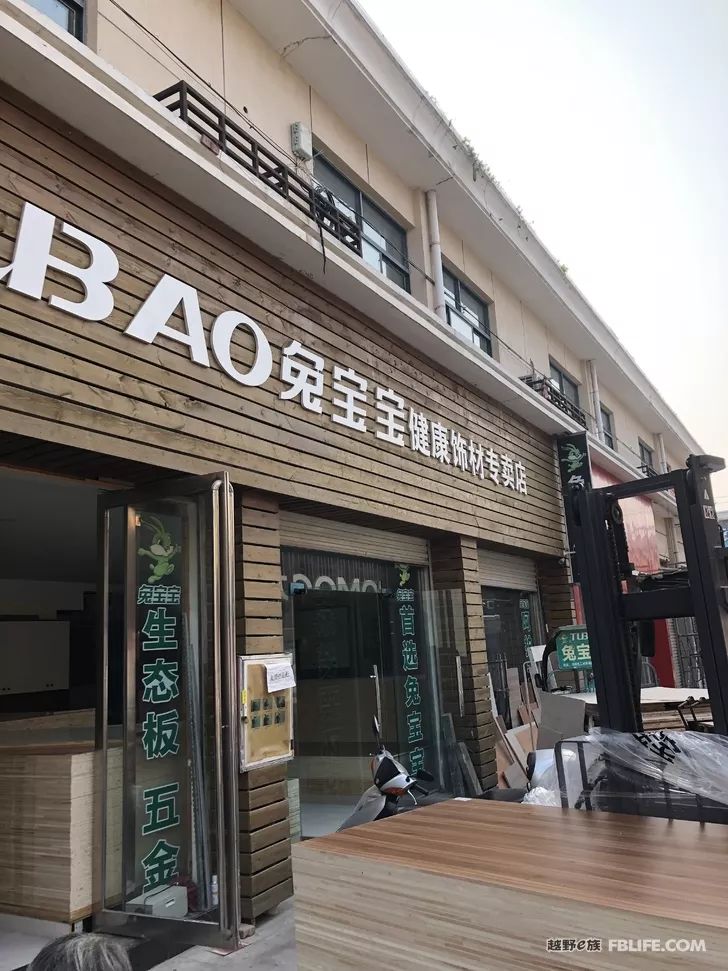
Bunny environmental protection board
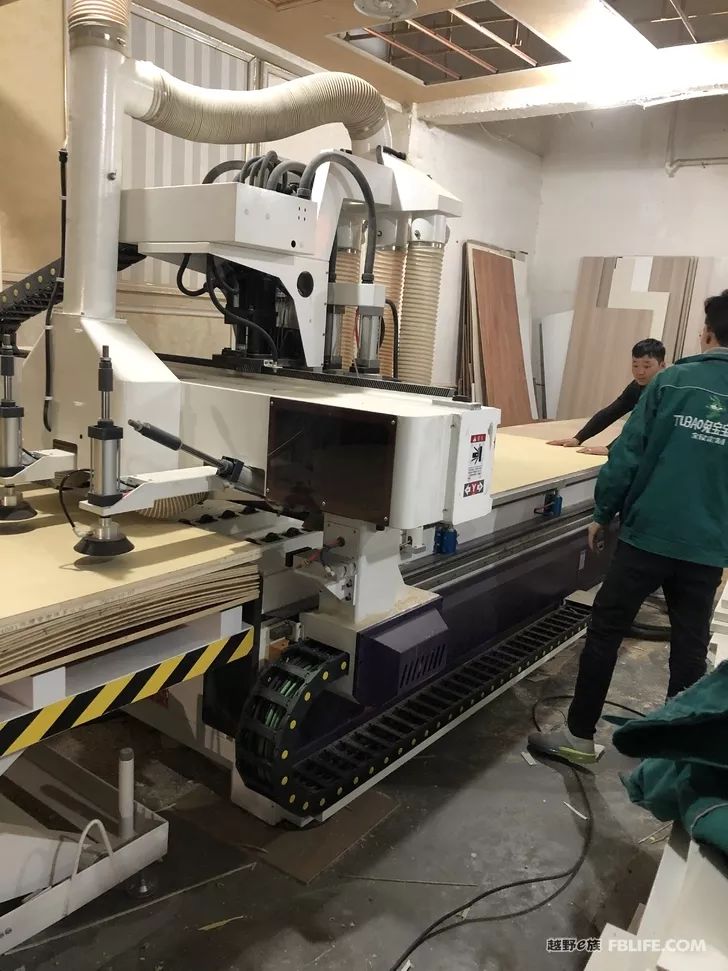
It is said that it is a brand with zero formaldehyde emission. I saw that some riders on the Internet use this brand, so I followed this brand.
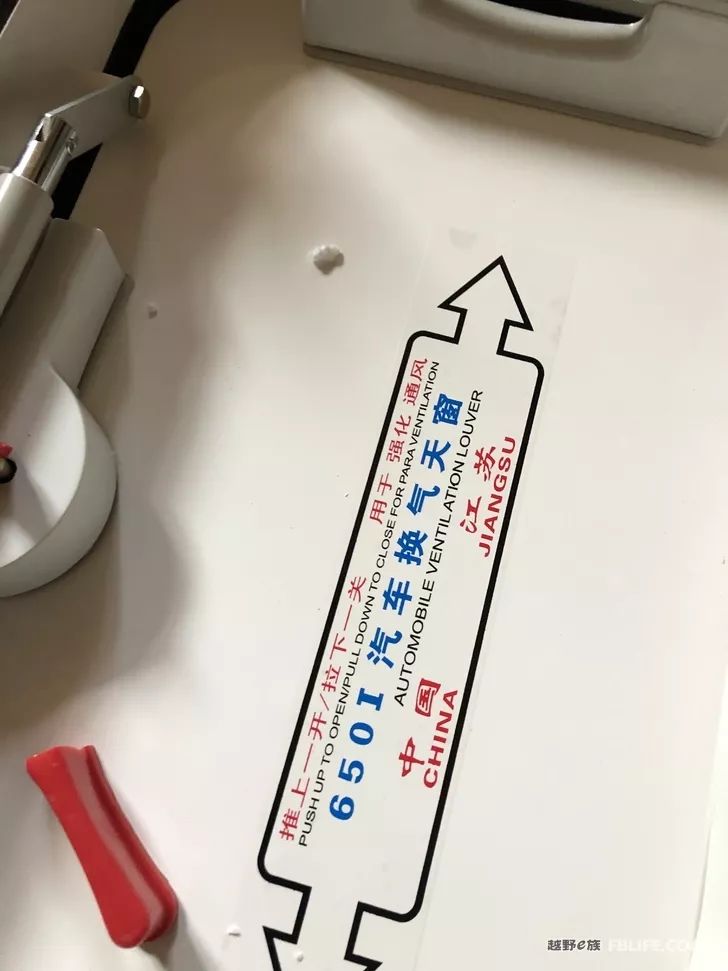
The logistics still cannot avoid road damage. I bought a sunroof with an escape function. After arriving, I opened it and found that the plastic switch on the sunroof was broken. I contacted the seller and reissued this accessory.
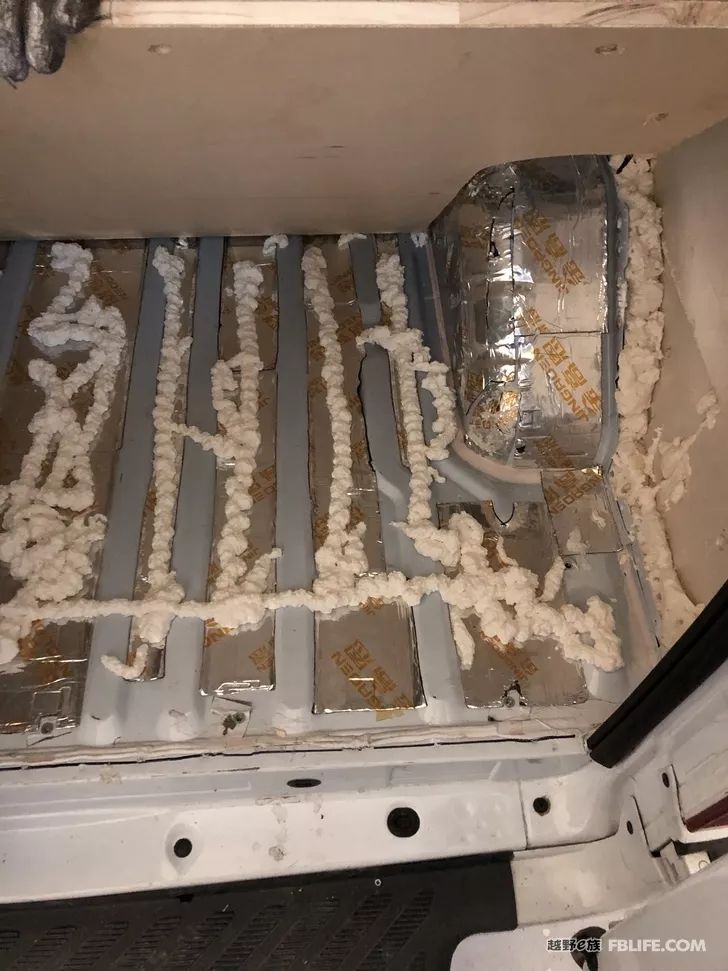
Put styrofoam on the bottom of the woodworking board, one is to prevent the uneven floor from being supported, and the other is to avoid abnormal noise.
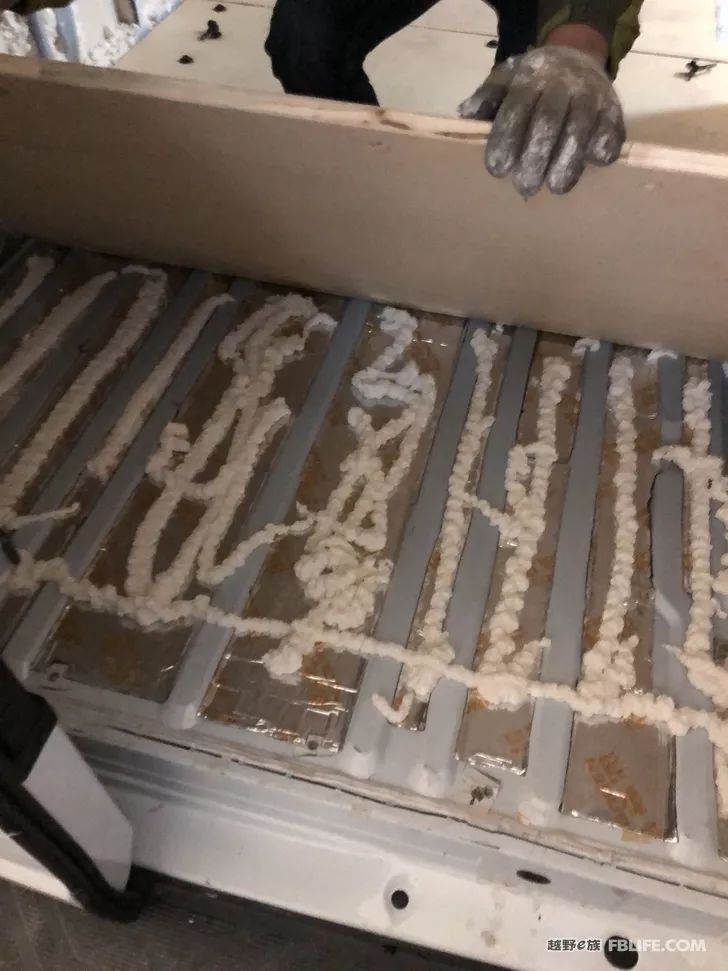
After the glue is applied, tighten it with the seat screw and wait for the glue to fully cure
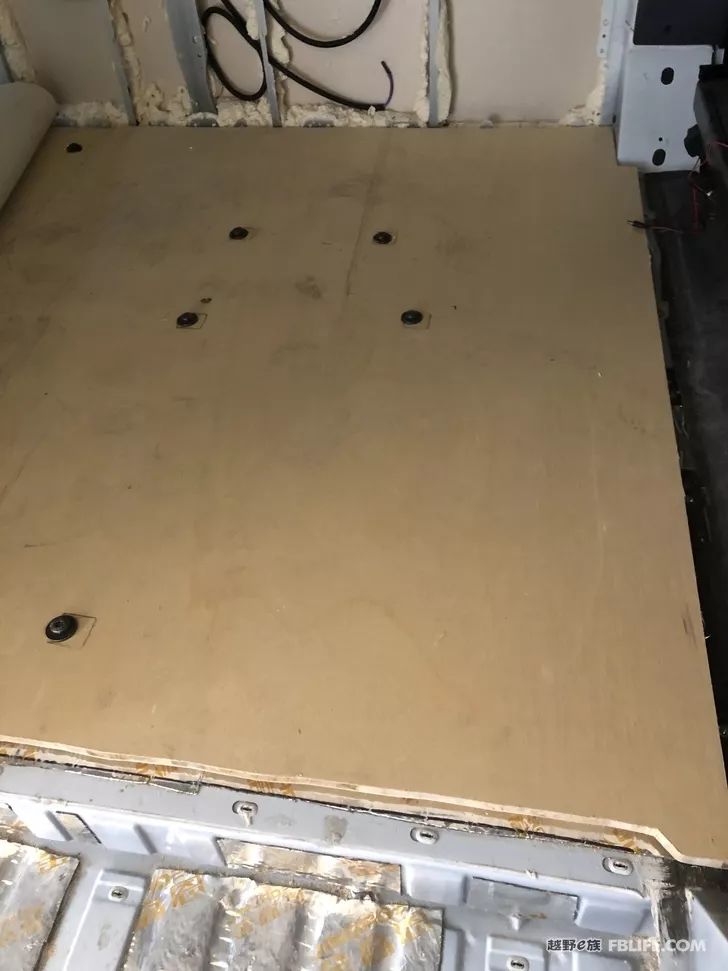
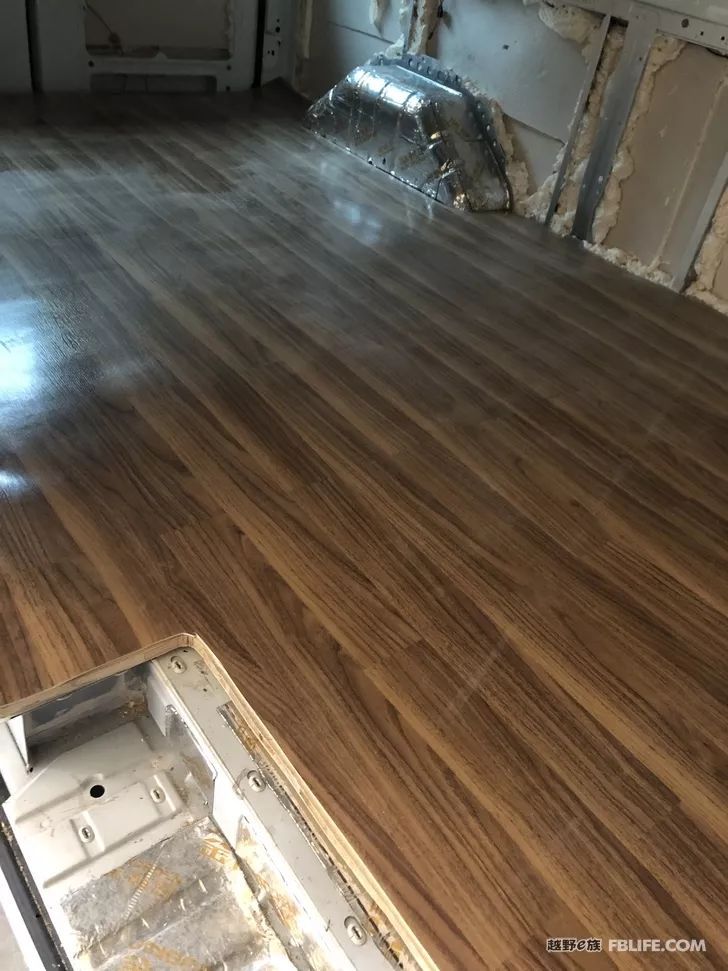
After the styrofoam is fully cured, lay a 3 mm thick floor leather. The advantage of the floor leather is that it is easy to take care of and is also waterproof. As for the solid wood floor, I personally think it is a luxury configuration of a business-class RV, and it is not useful.
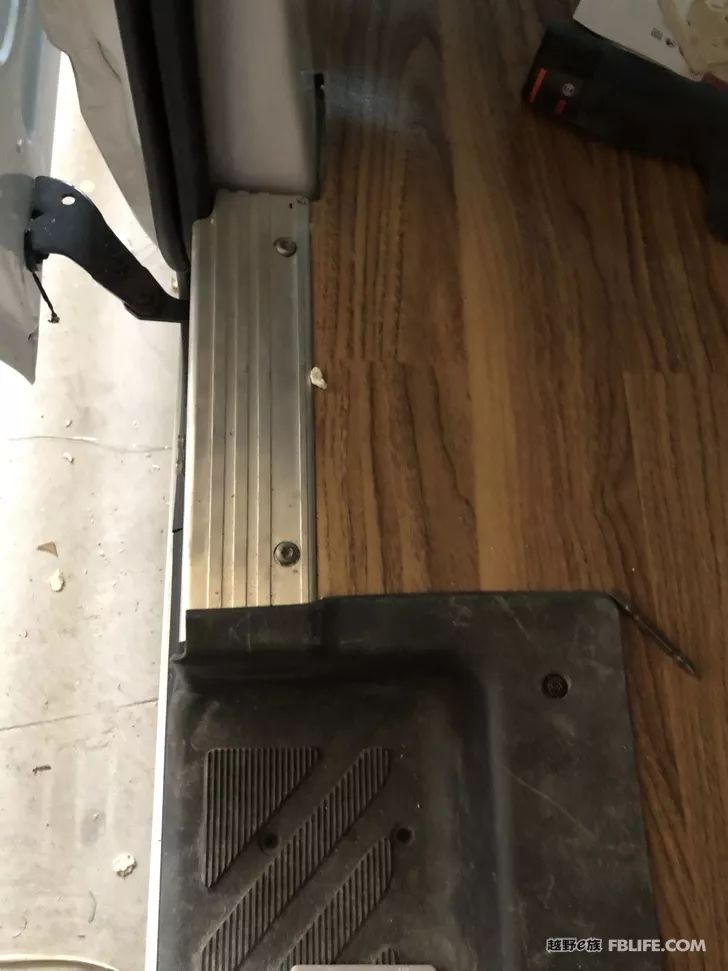
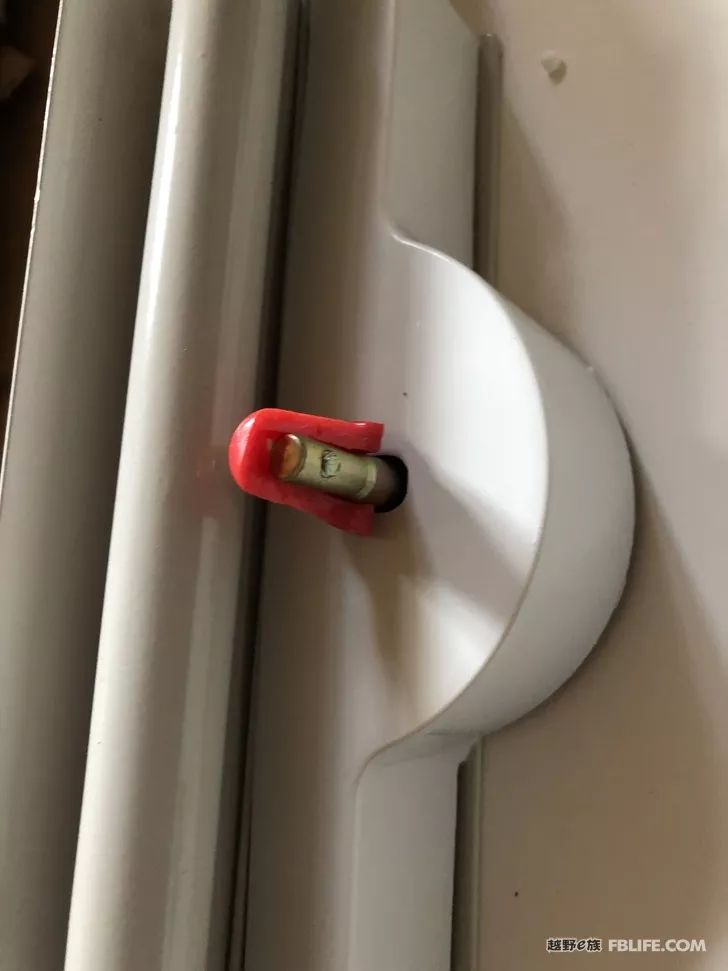
The woodworking board is slightly thicker than the original car floor, and the aluminum alloy buckle on the middle door needs to be repaired partly to buckle it.
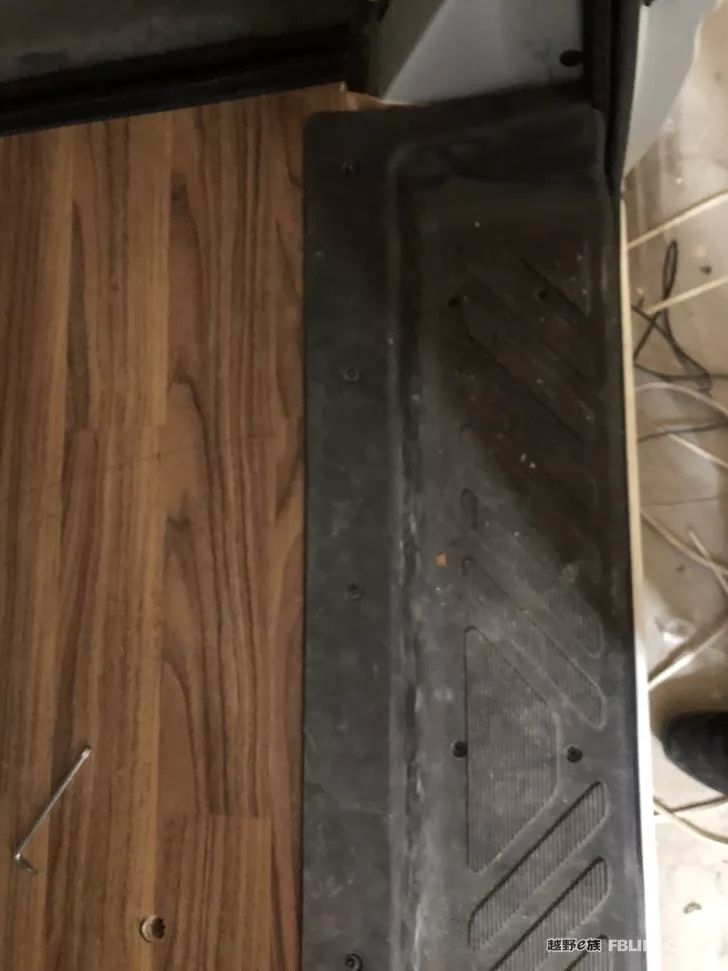
The plastic buckle only needs to be tightened with screws, and it is still slightly higher than the original.
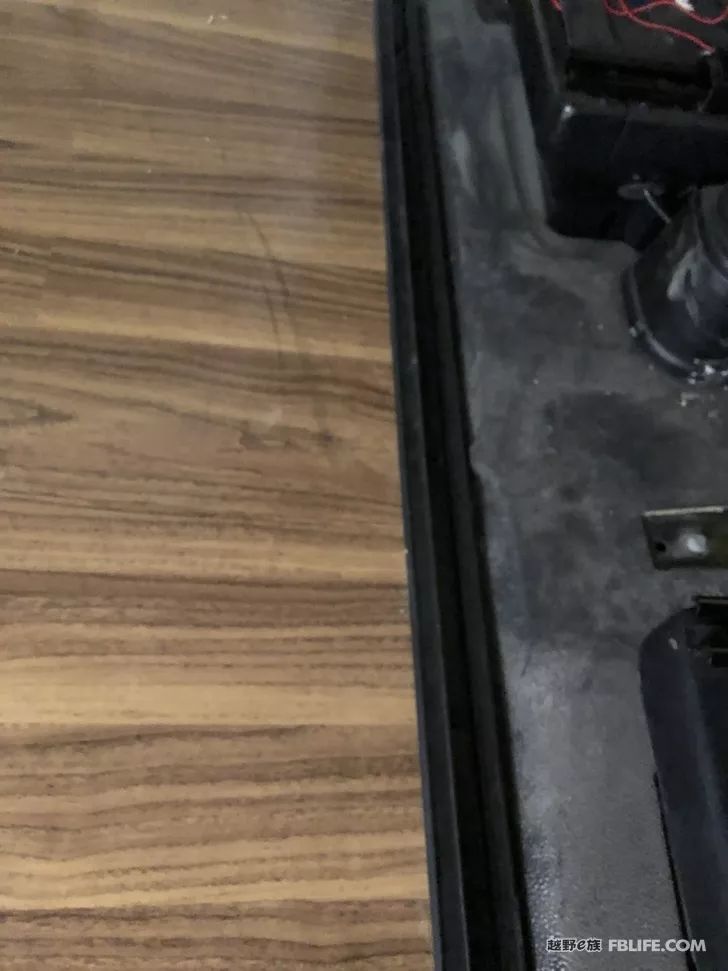
The front buckle has little effect and can be pressed smoothly.
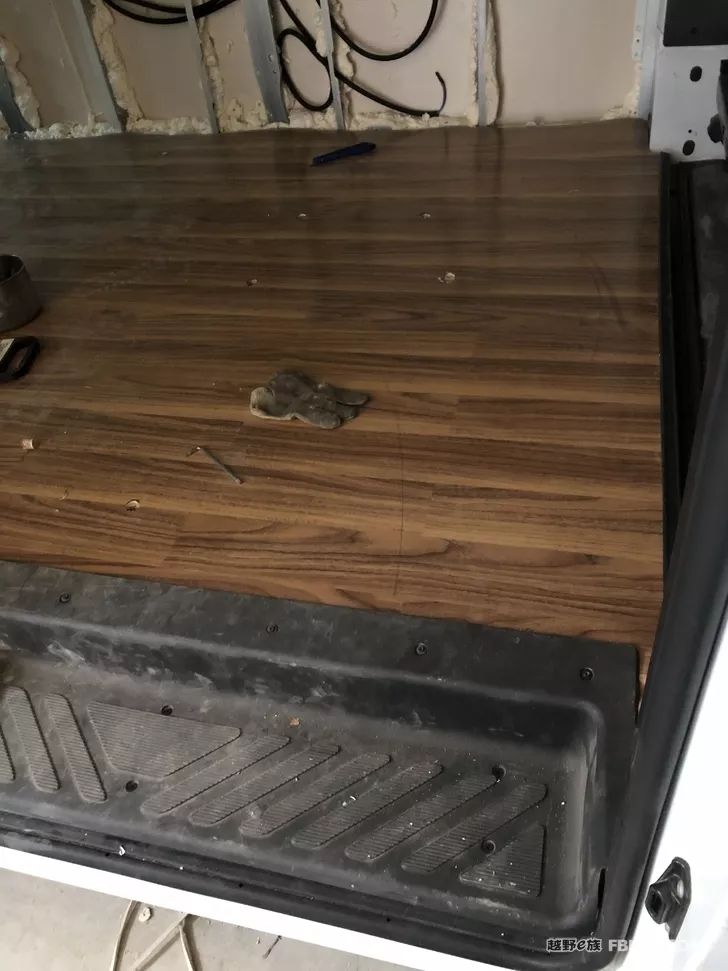
Due to the rise of the floor, the screws on the footboard need to be extended by one centimeter, and the original screws cannot be used.
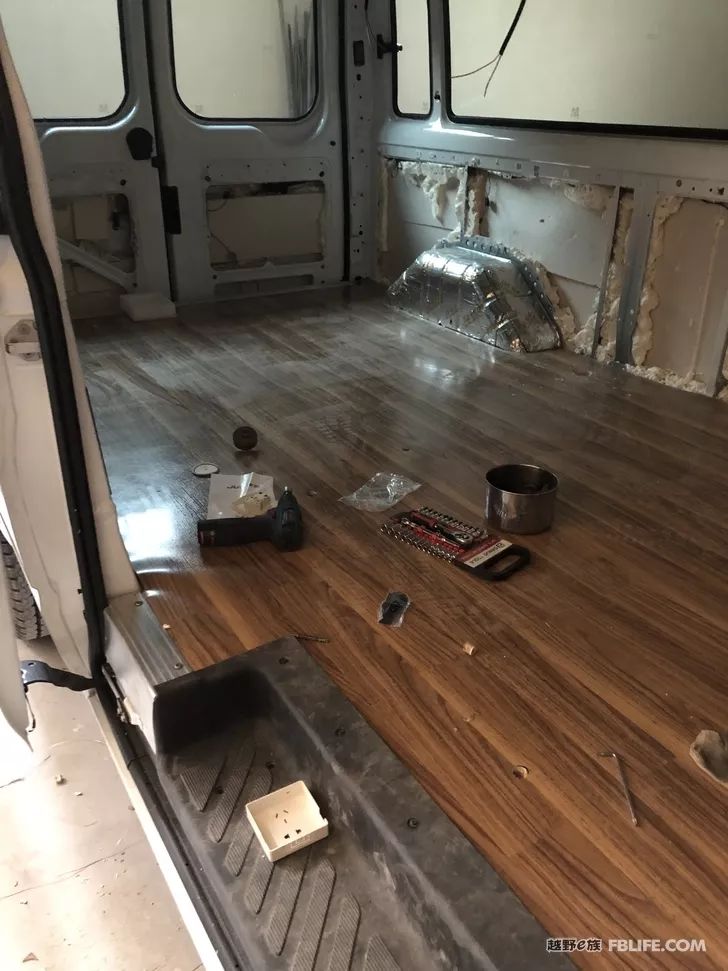
The effect after the floor leather is laid
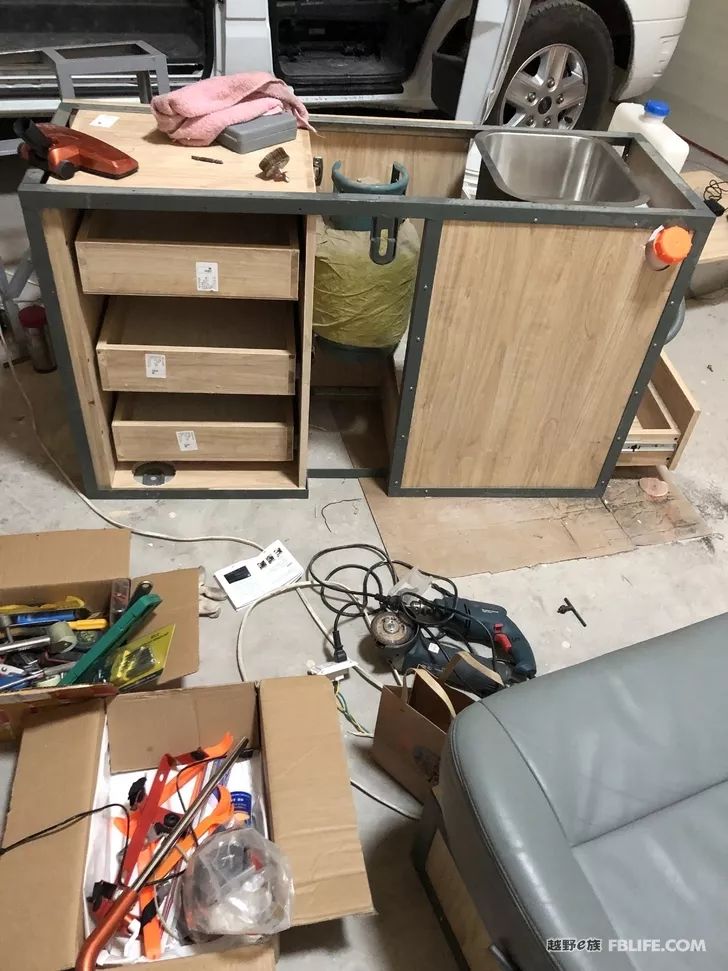
Add a small liquefied gas tank under the cabinet
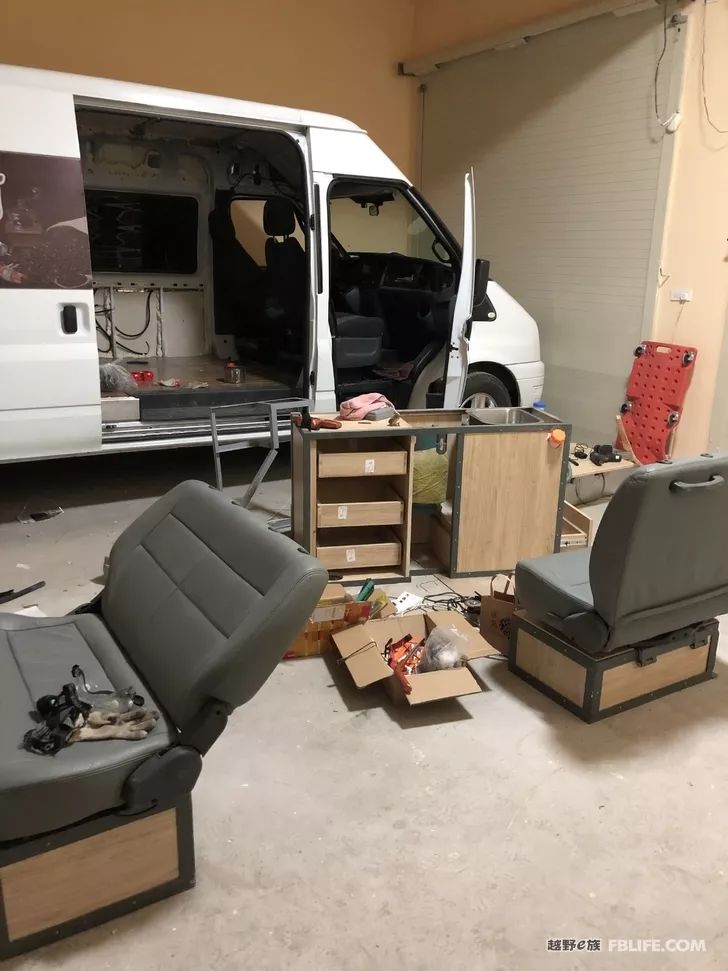
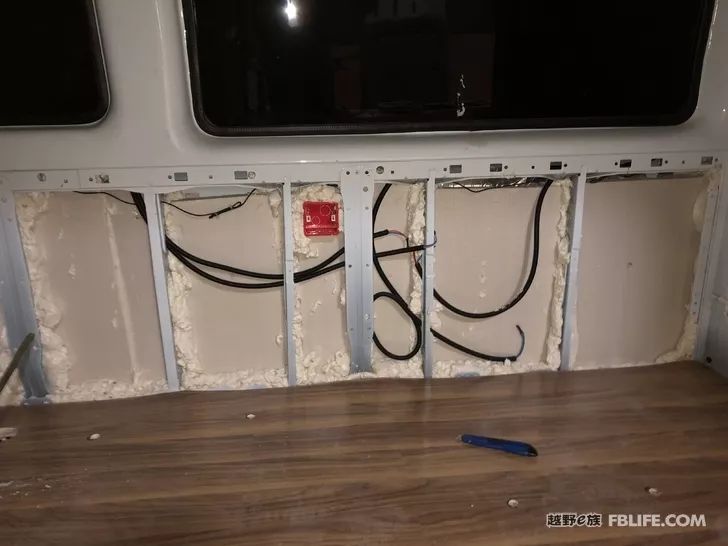
Through four high and low voltage lines
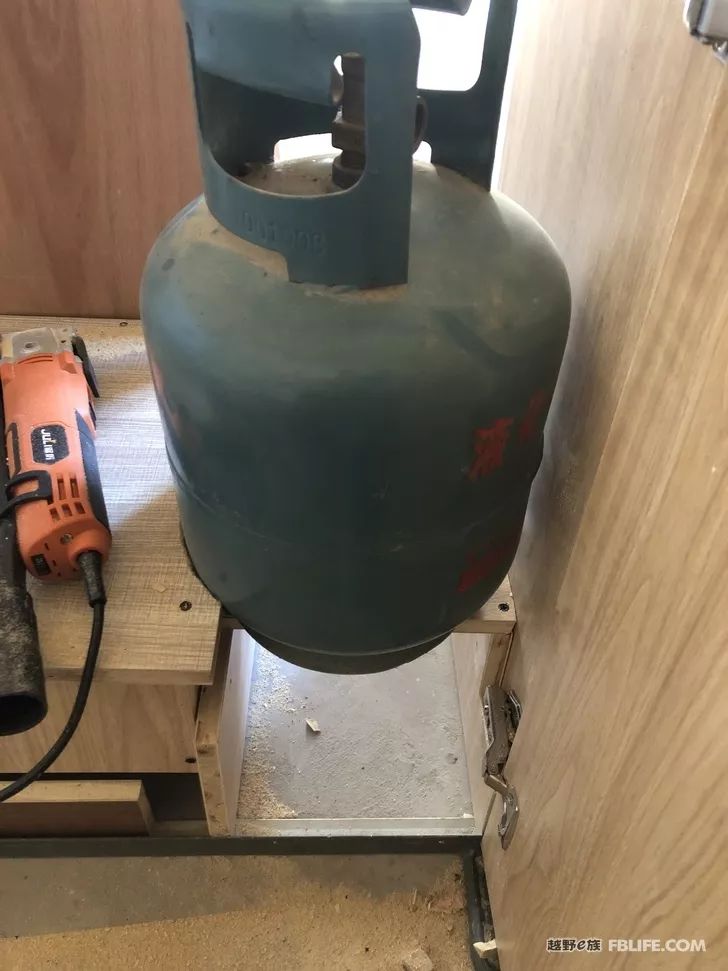
Use a small can to mark a place
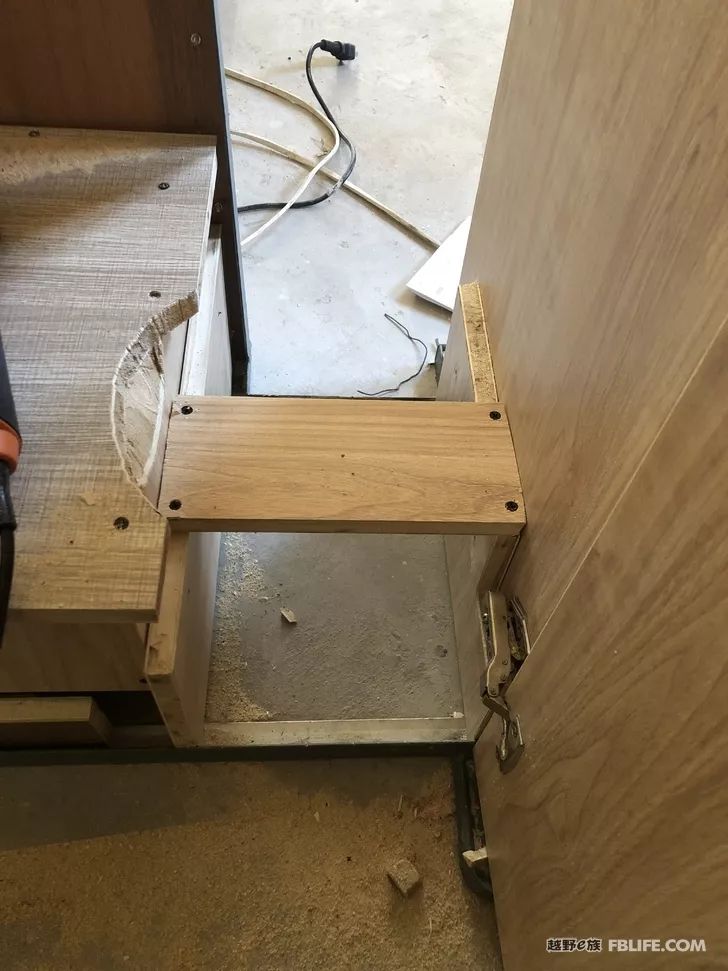
Added a small plate support at the bottom of the tank
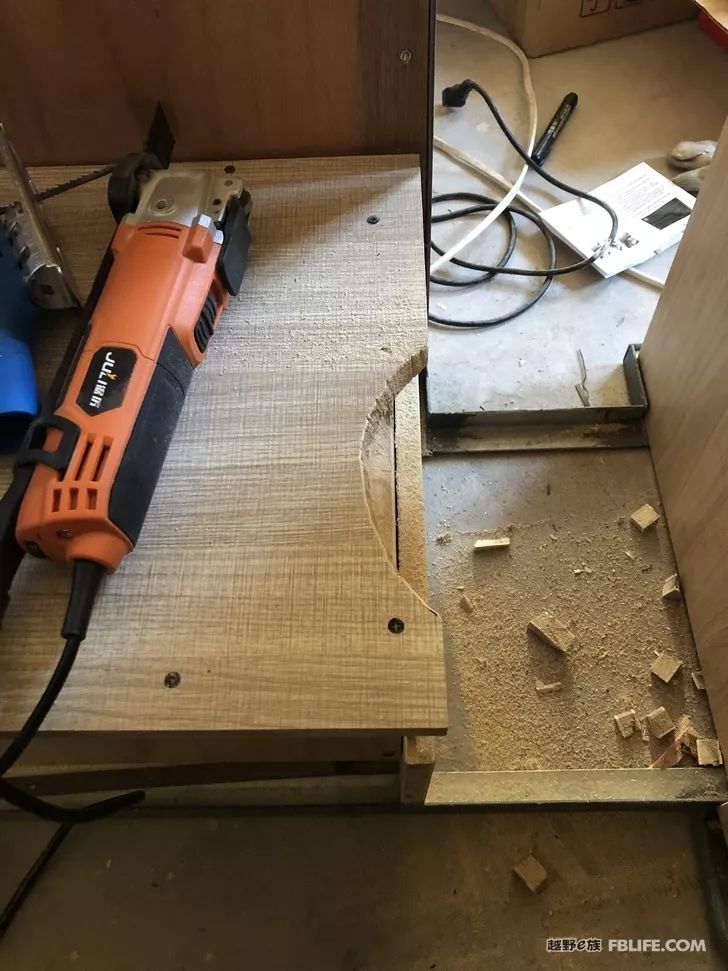
It is the first time to use this tool to cut such a mouth completely relying on this multi-functional saw. It is really easy to use and very convenient.
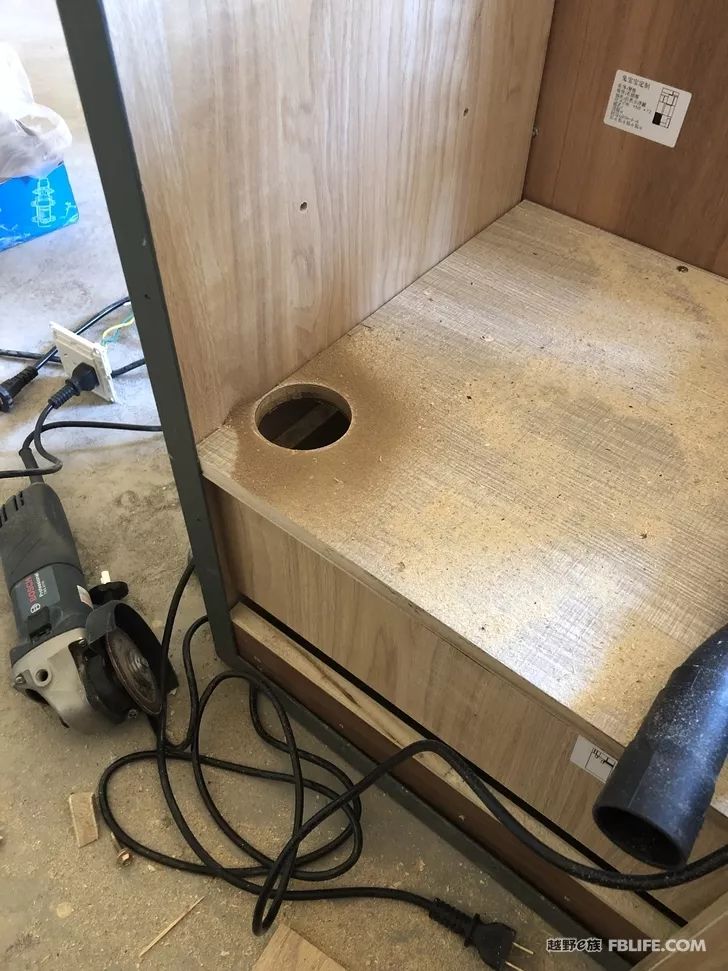
I found this place to put Chai Nuan’s oil pot, and dug a hole underneath to pass the oil pipe.
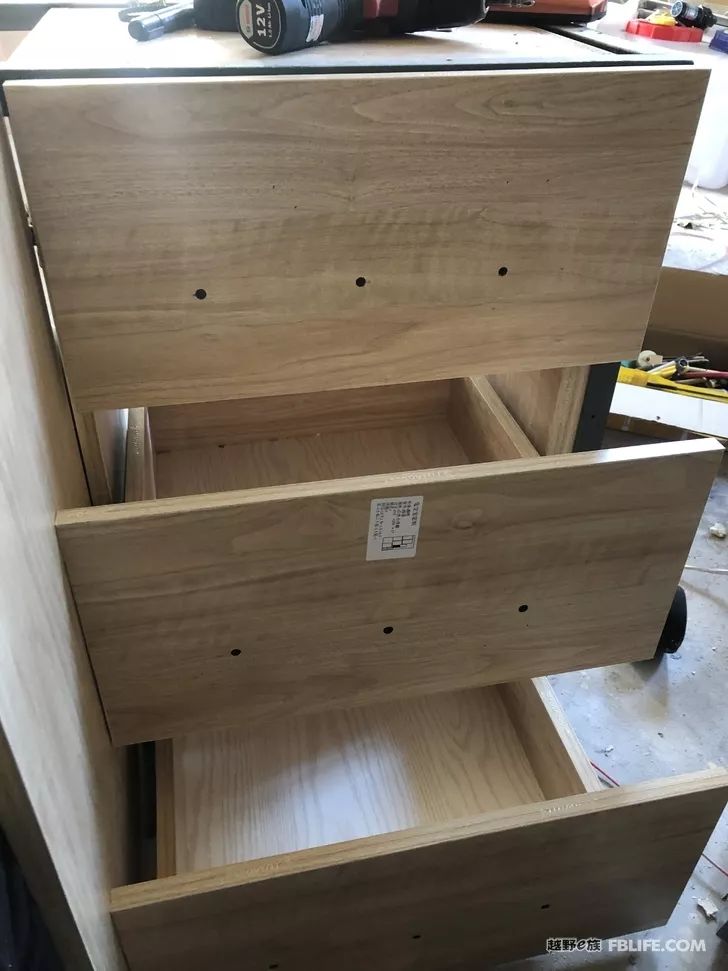
The three drawers on the right can also be used as a small wardrobe
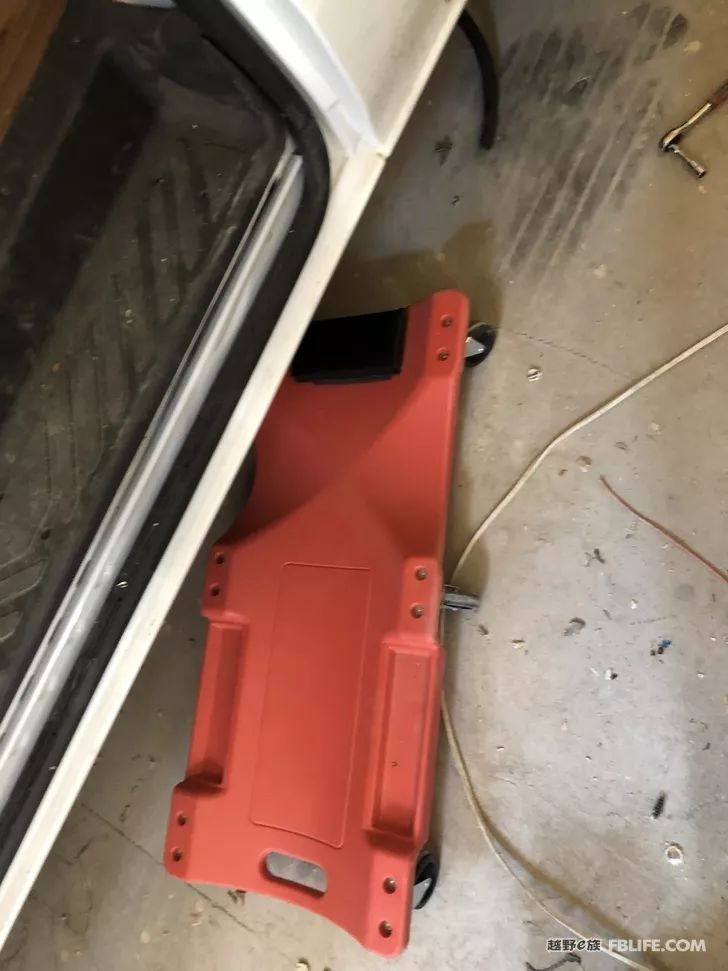
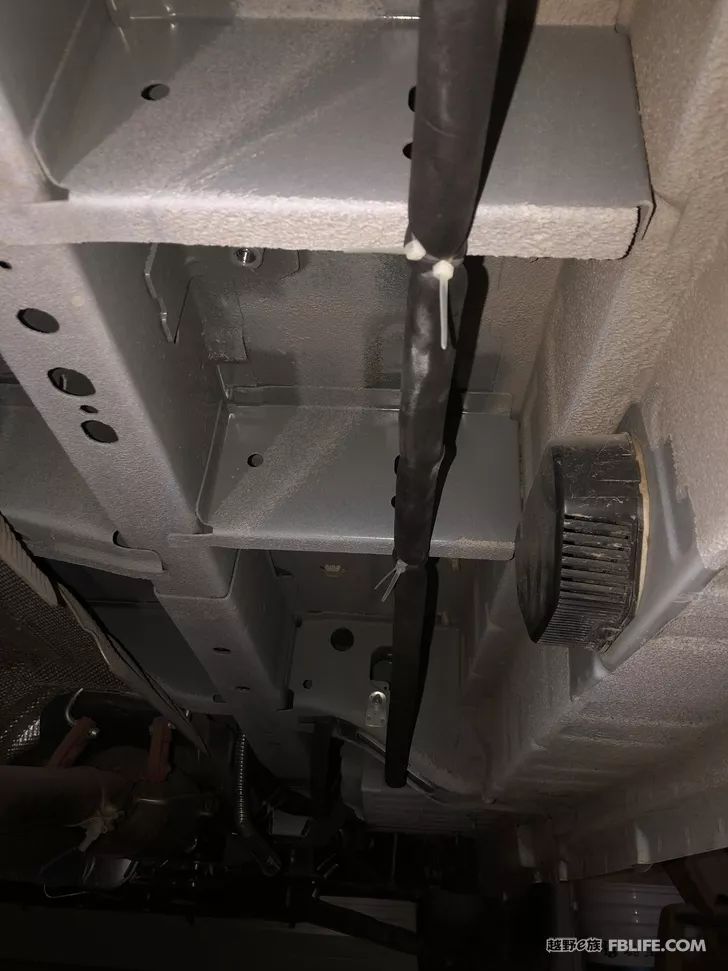
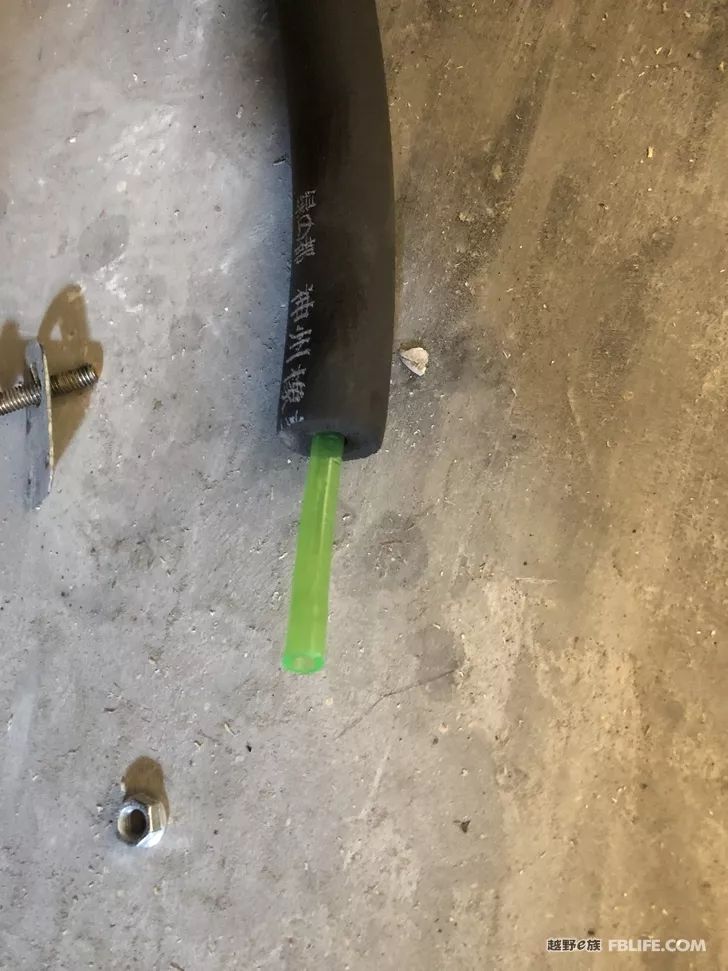
Remove the oil pipe of Chai Nuan and wrap it with a layer of insulation pipe. In cold weather, it is necessary to ensure that the oil circuit will not be frozen.
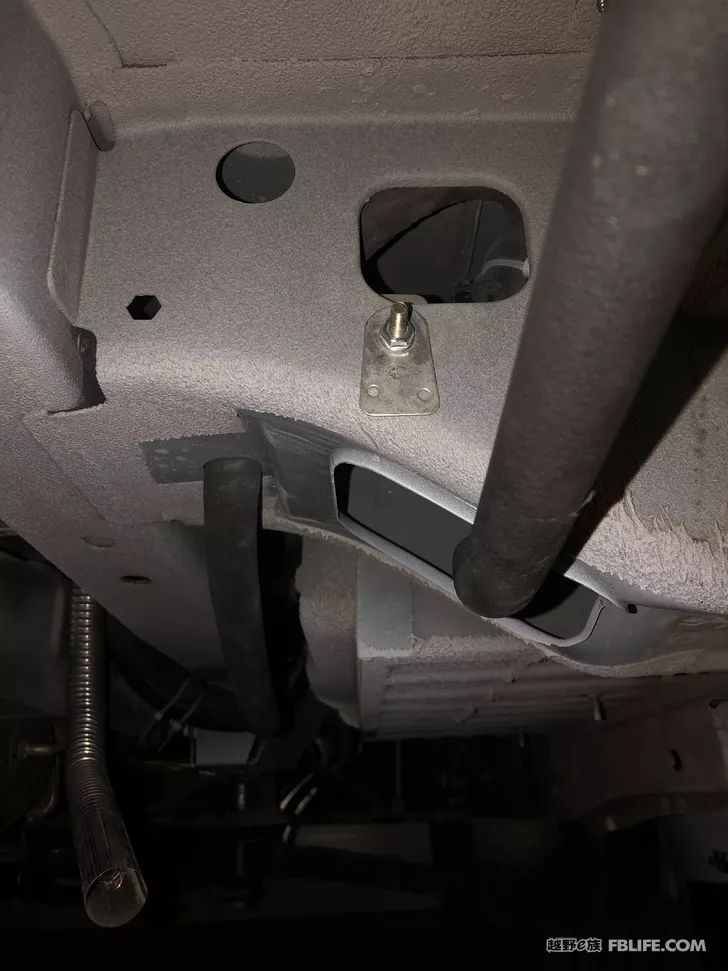
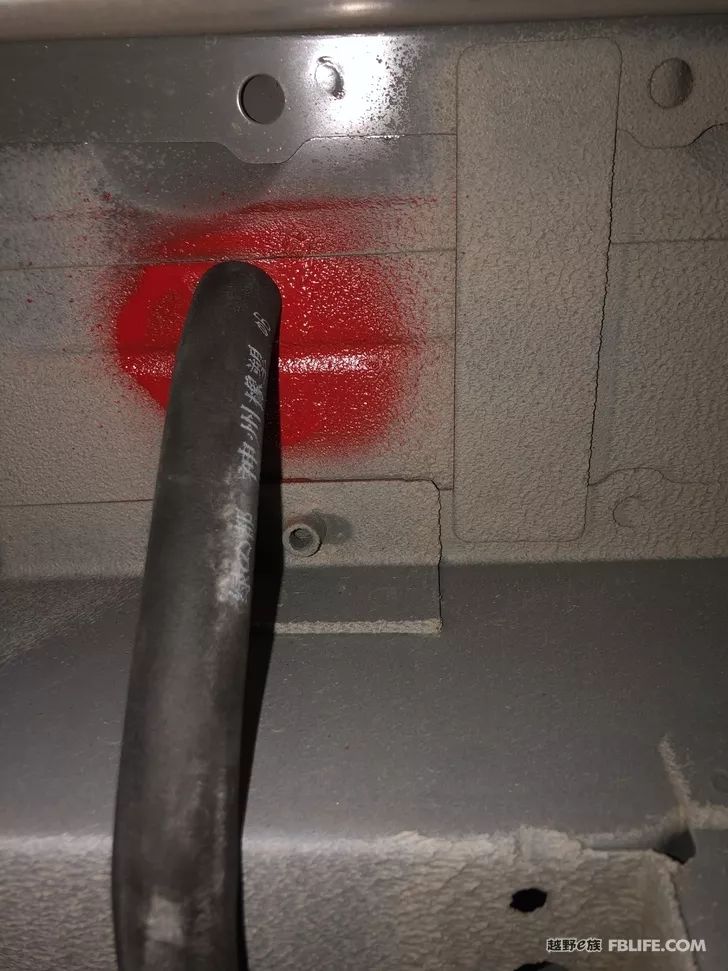
After punching small holes in the bottom of the car, spray some self-spray paint to prevent rust
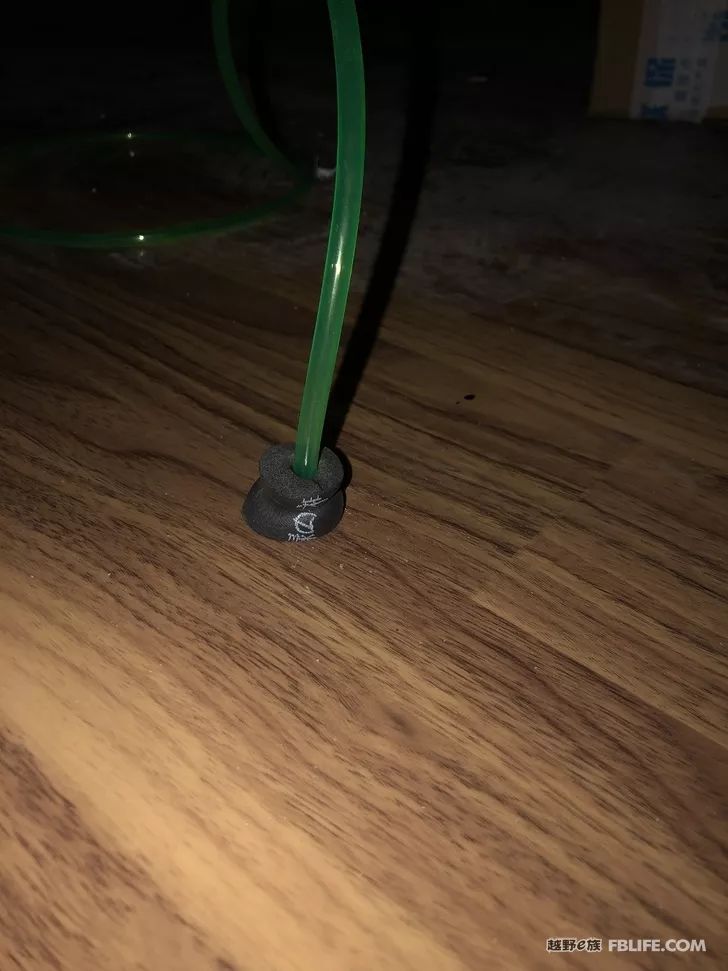
Come out from the floor and connect the oiler at the bottom of the cabinet
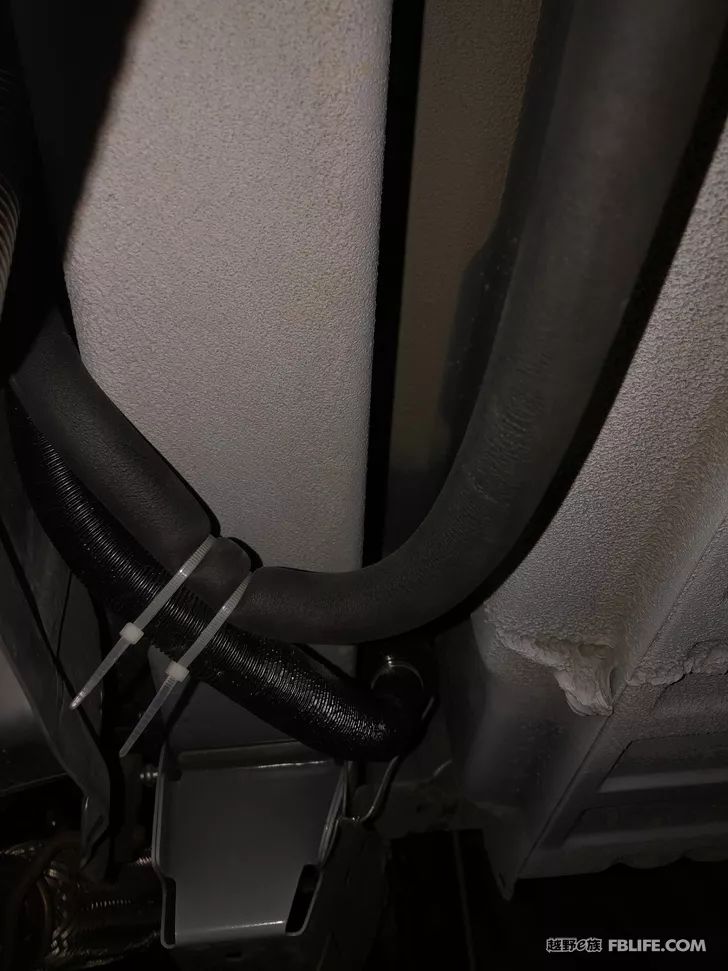
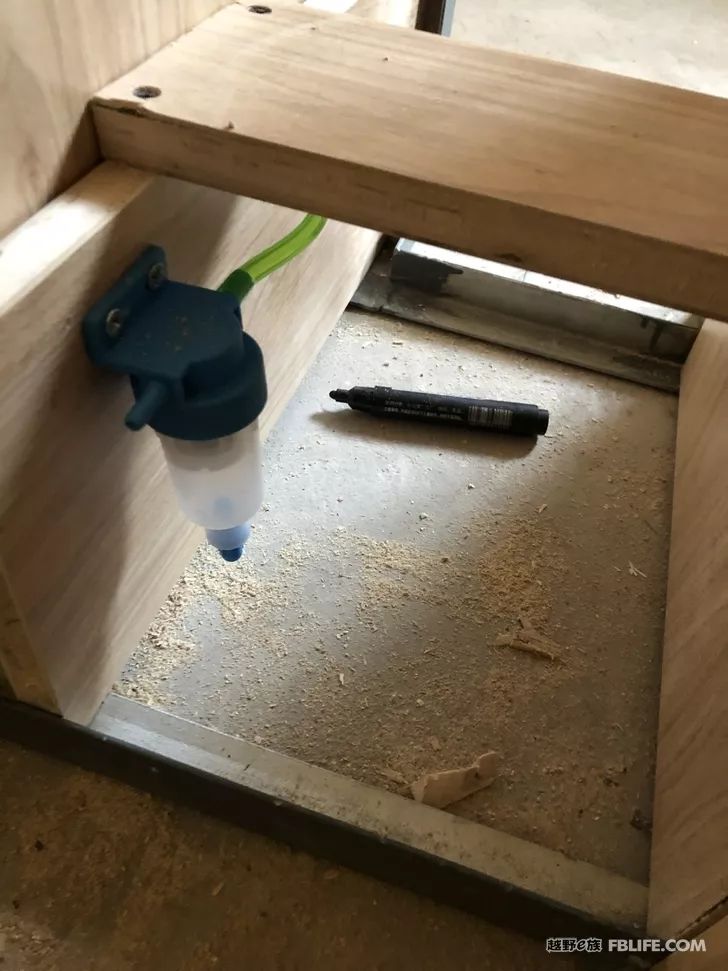
A filter element is added to the diesel heating oil pipe, which is just installed under the liquefied gas tank.
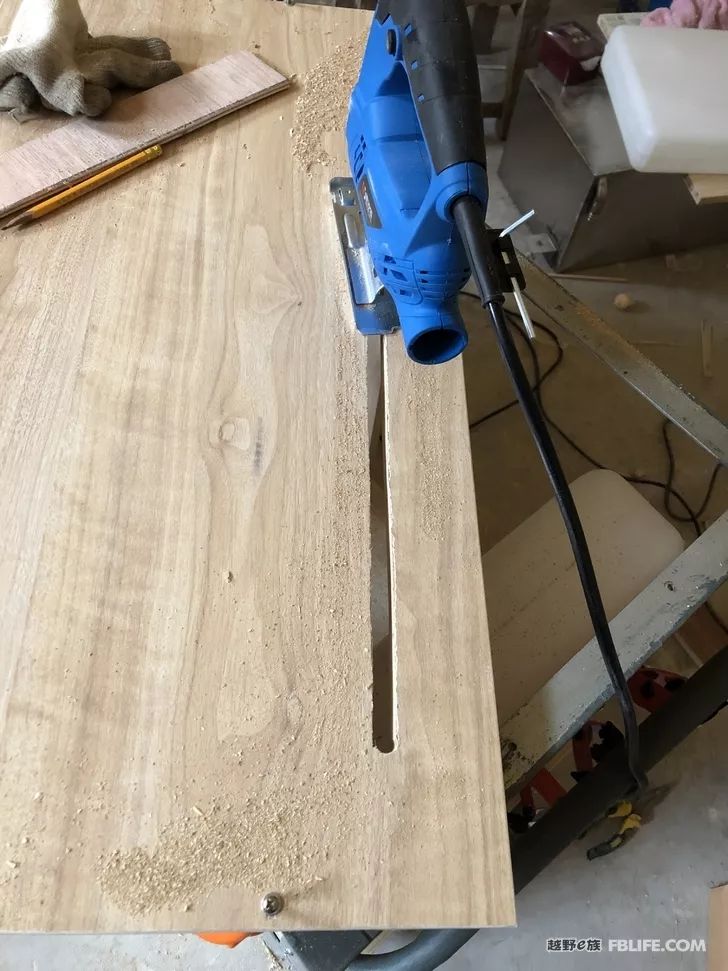
Opening an observation hole is convenient to know the amount of firewood and heating oil at any time. It is the most intuitive and stupid method, but it is very practical.
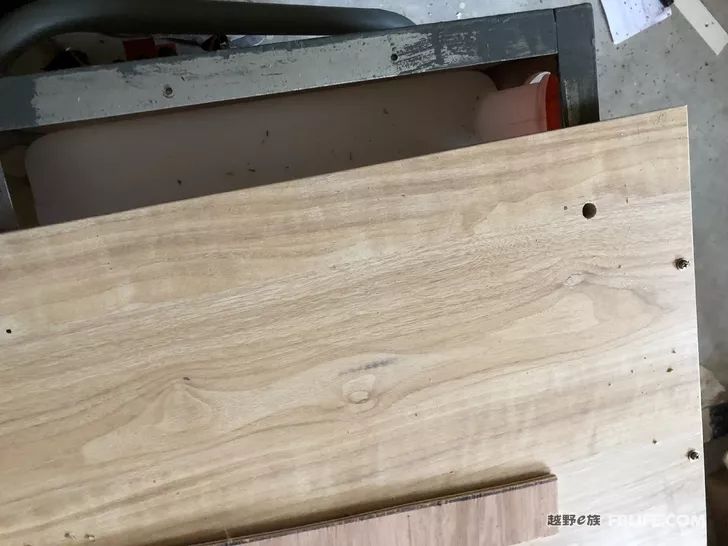
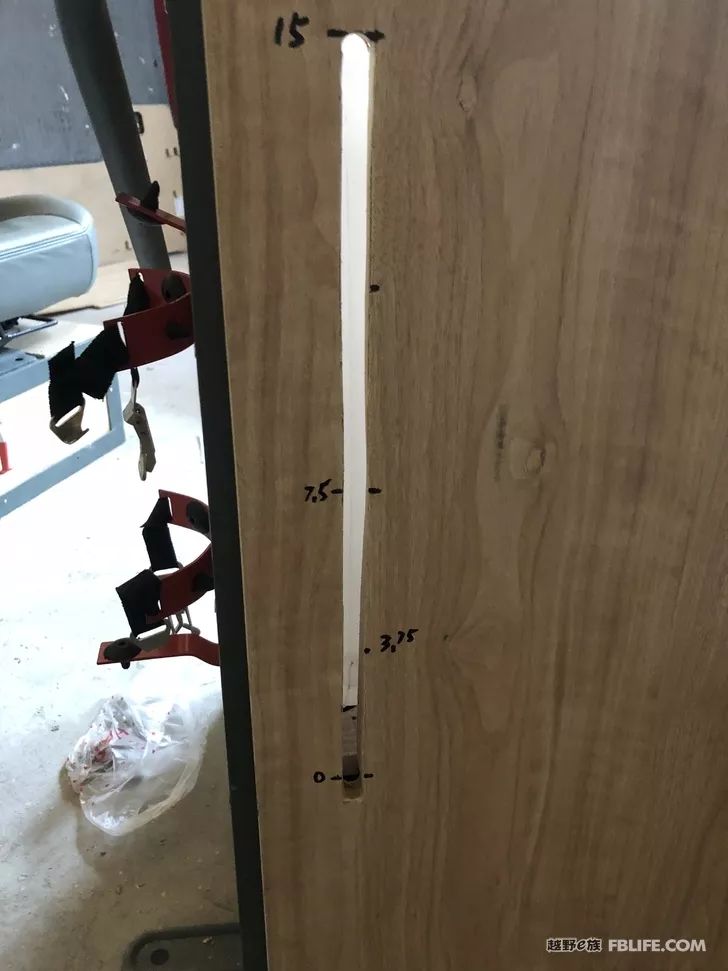
The jigsaw has opened the curve mode, which is still unprofessional, and the small curve can be ignored.
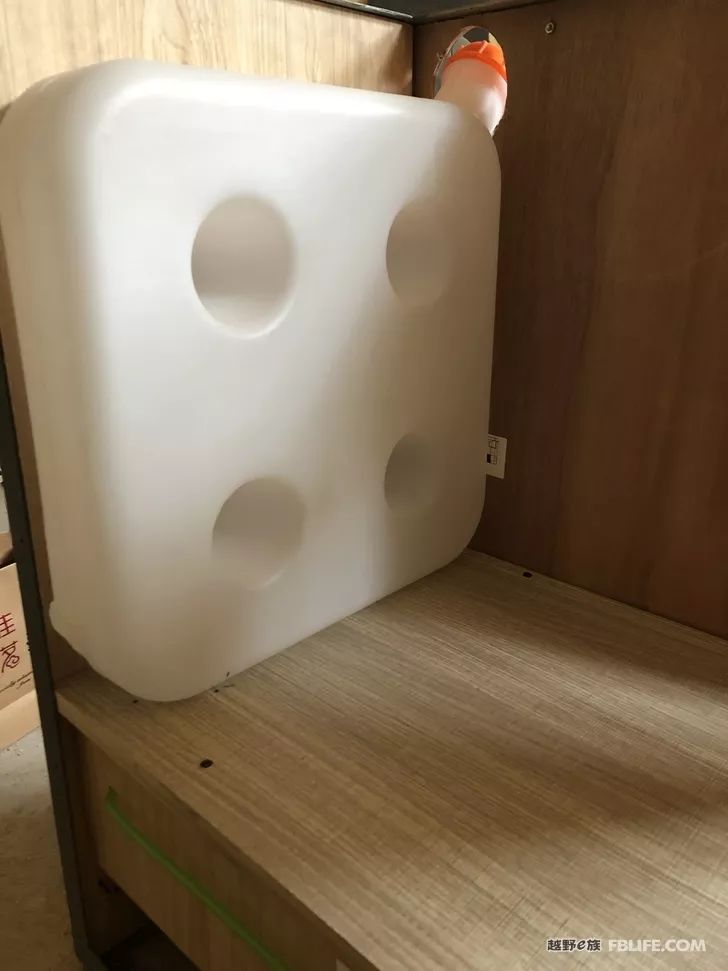
The perfect reserved space fits perfectly.
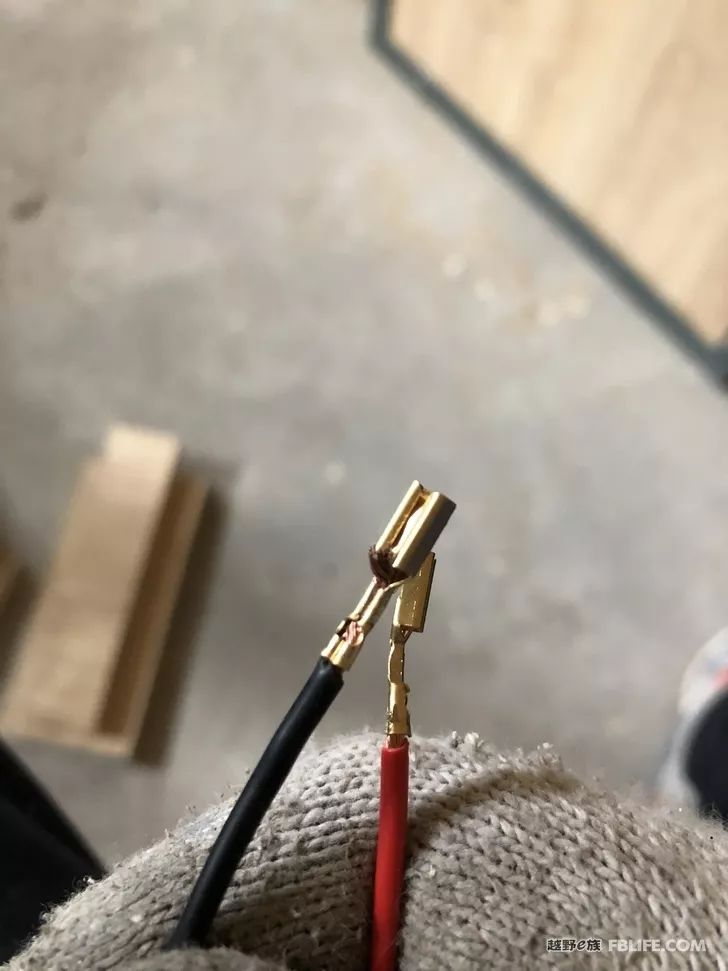
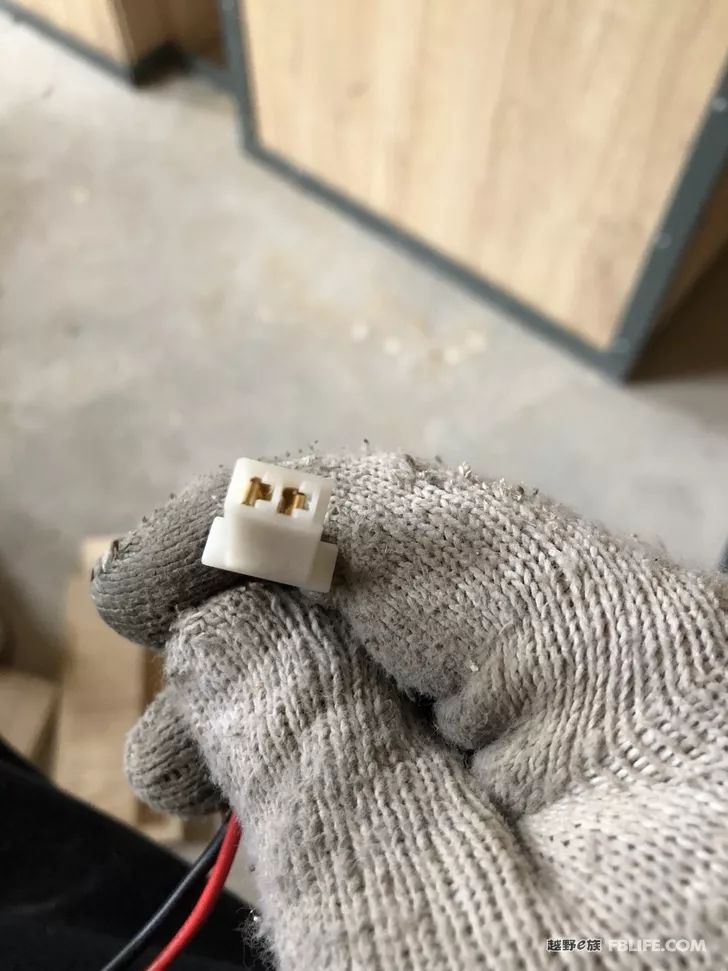
I have never made this kind of plug before, and I am quite satisfied with the plug pressed out by the crimping pliers for the first time.
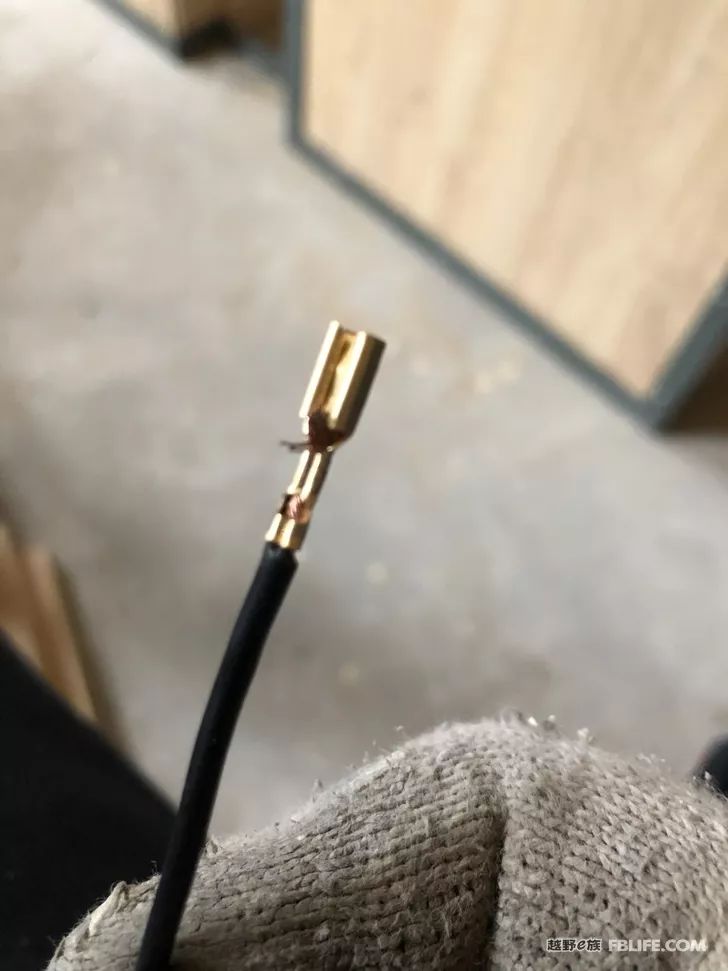
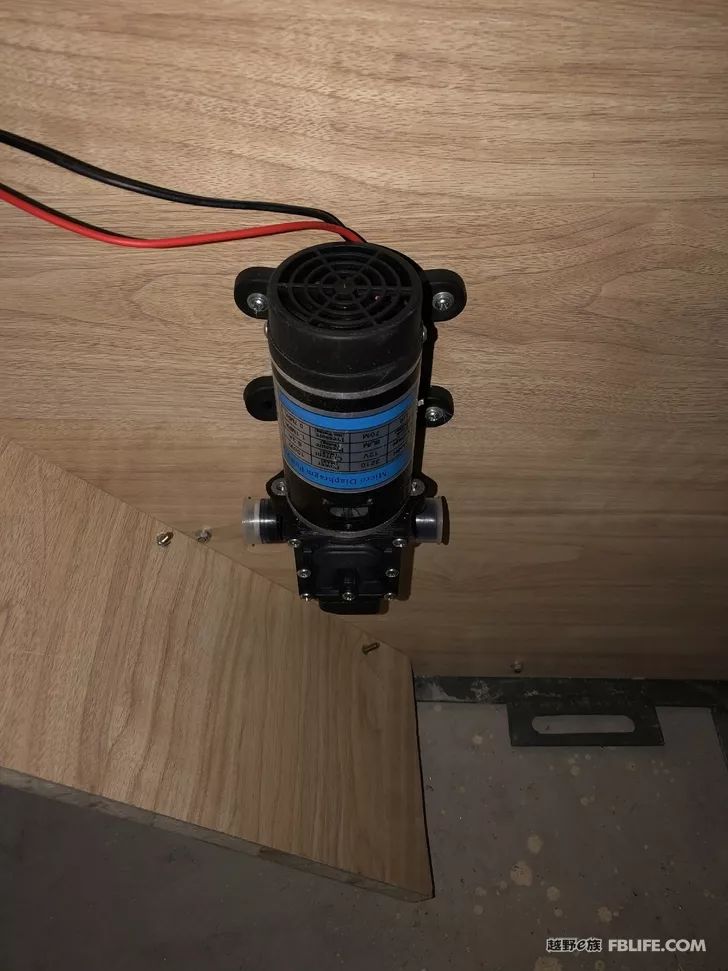
Made a plug for the water pump
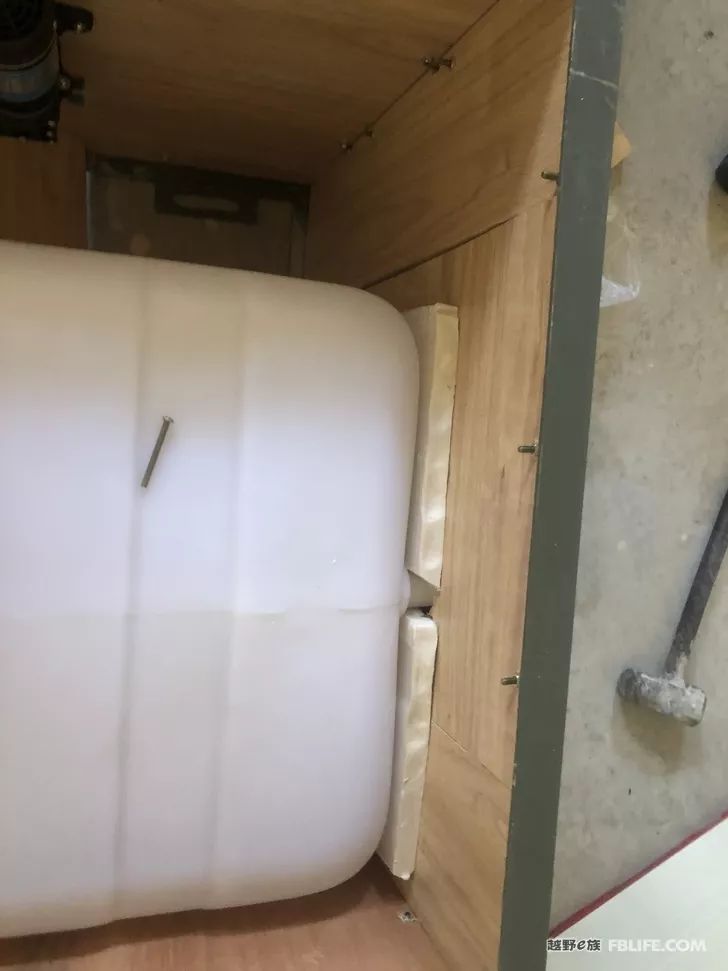
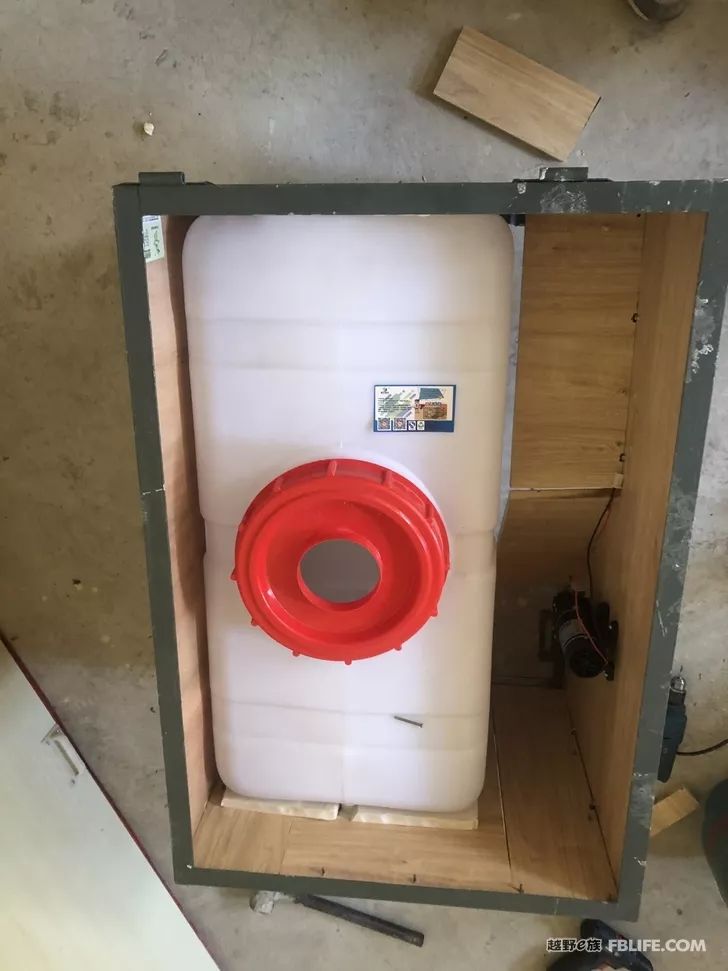
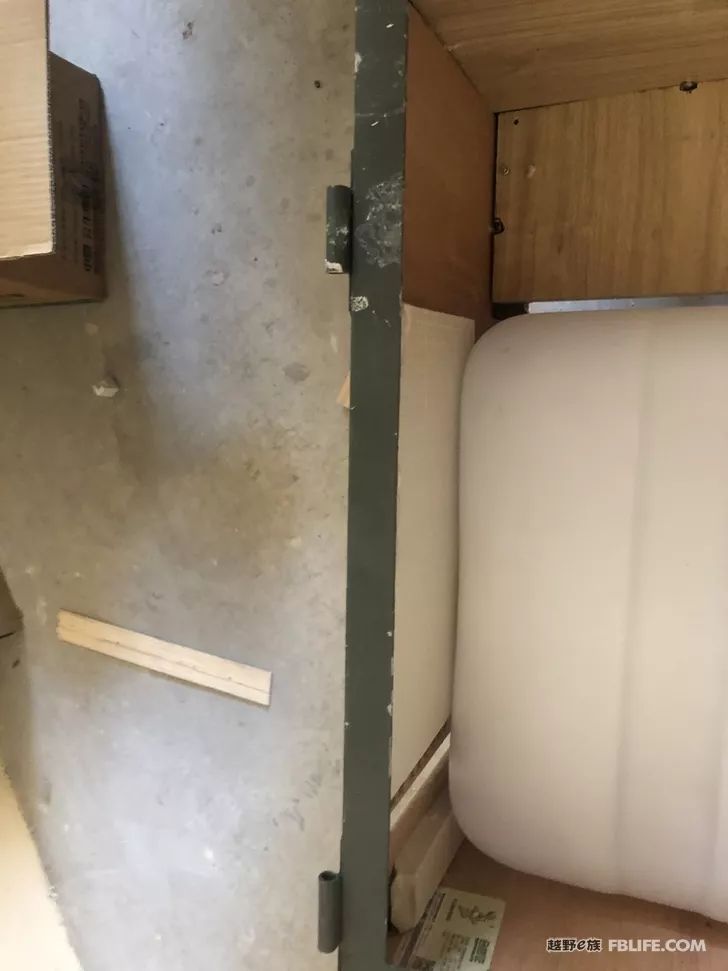
The water tank in the car fills the gap with extruded plastic board, so that the water tank is firmly fixed in the tank.
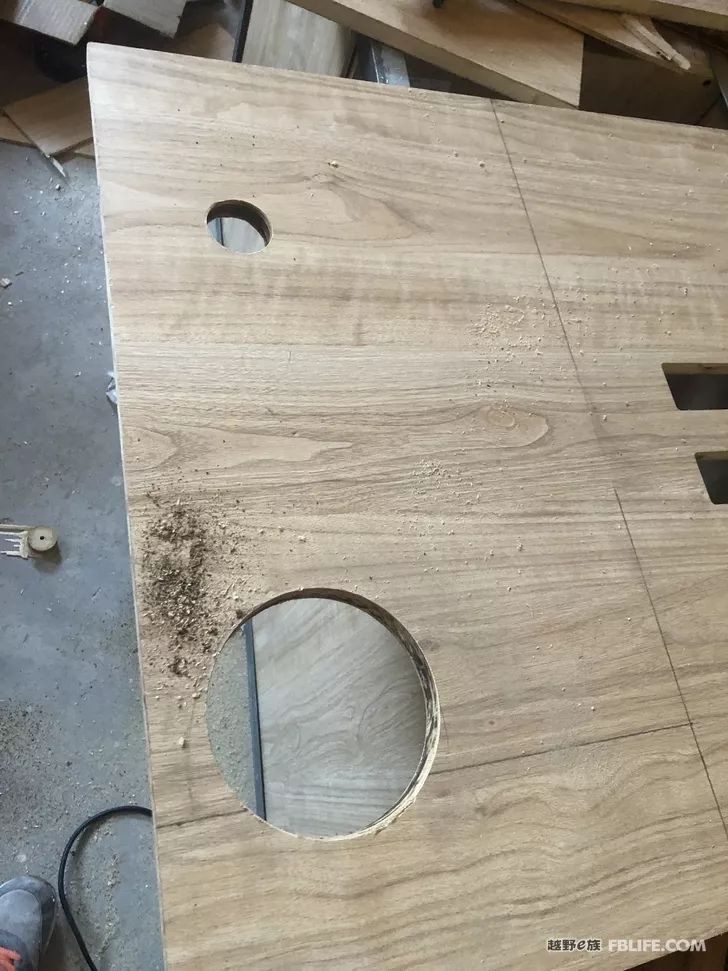
The maximum opening size of the hole opener is used for the switch of the waterproof valve of the water tank without being affected by the tank.
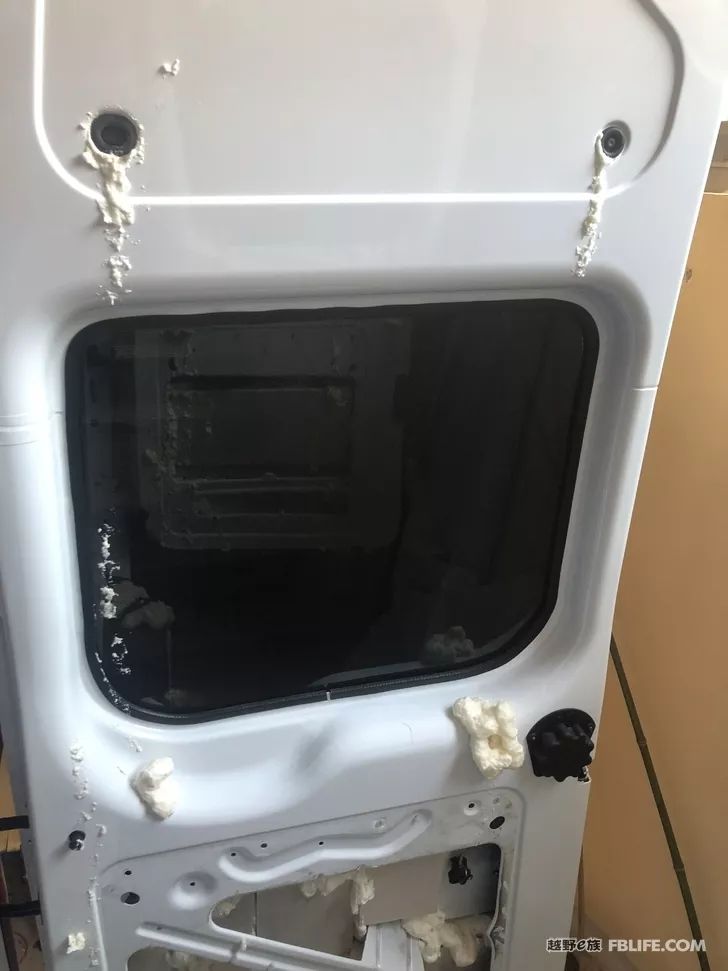
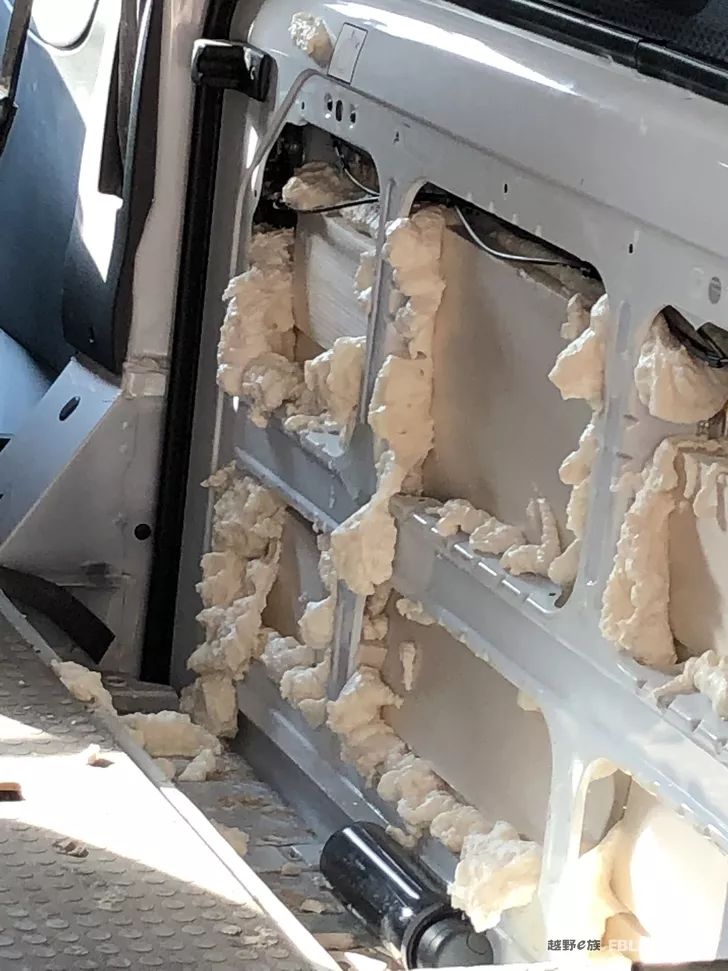
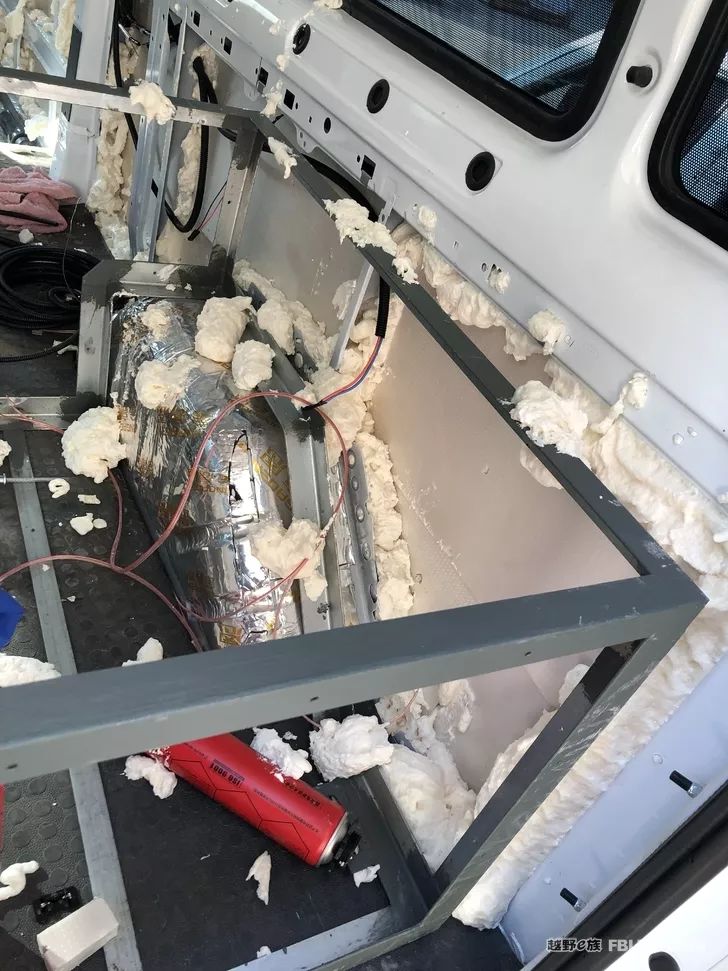
Put one and a half cans of styrofoam into each of the back doors
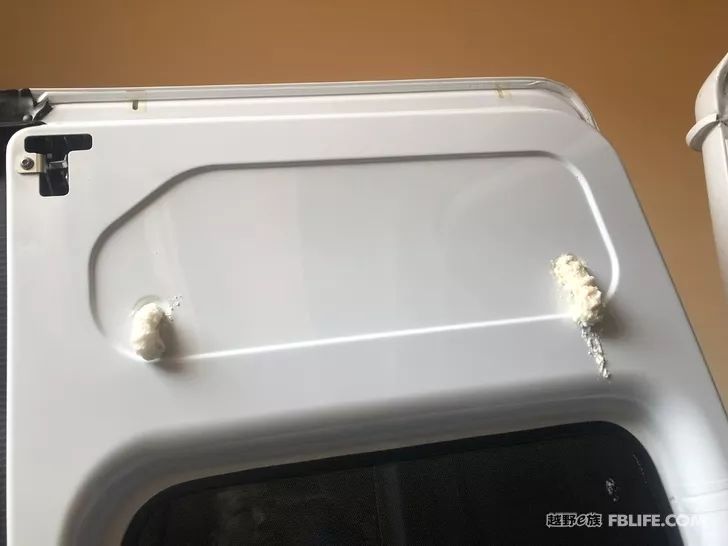
It looks like it’s just starting to foam
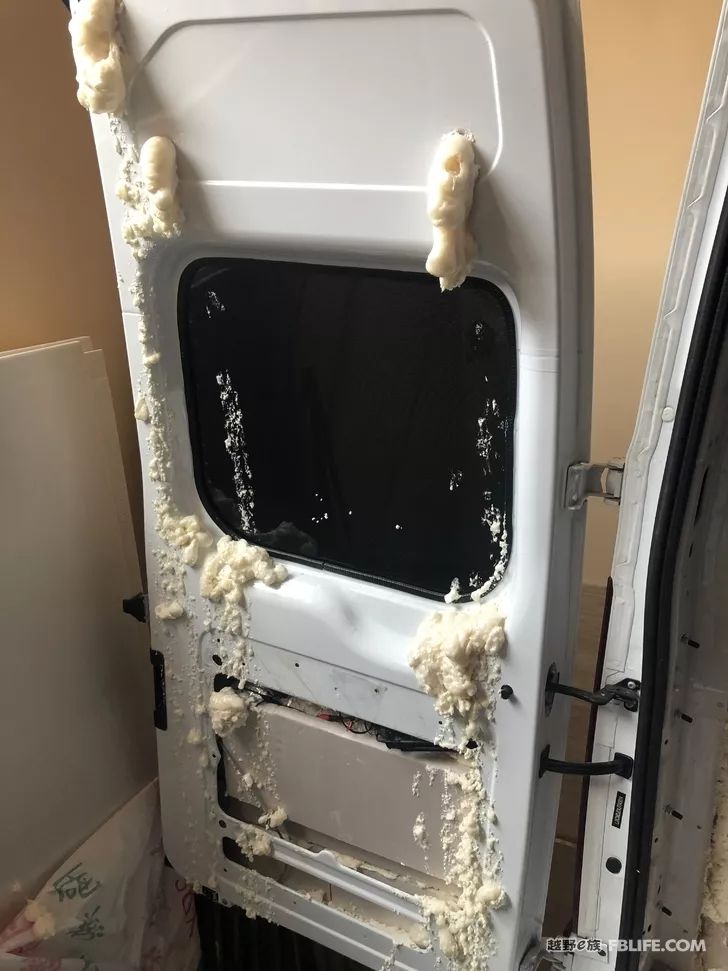
In the end, the horrible foaming scene, it is estimated that all the people inside ran out.
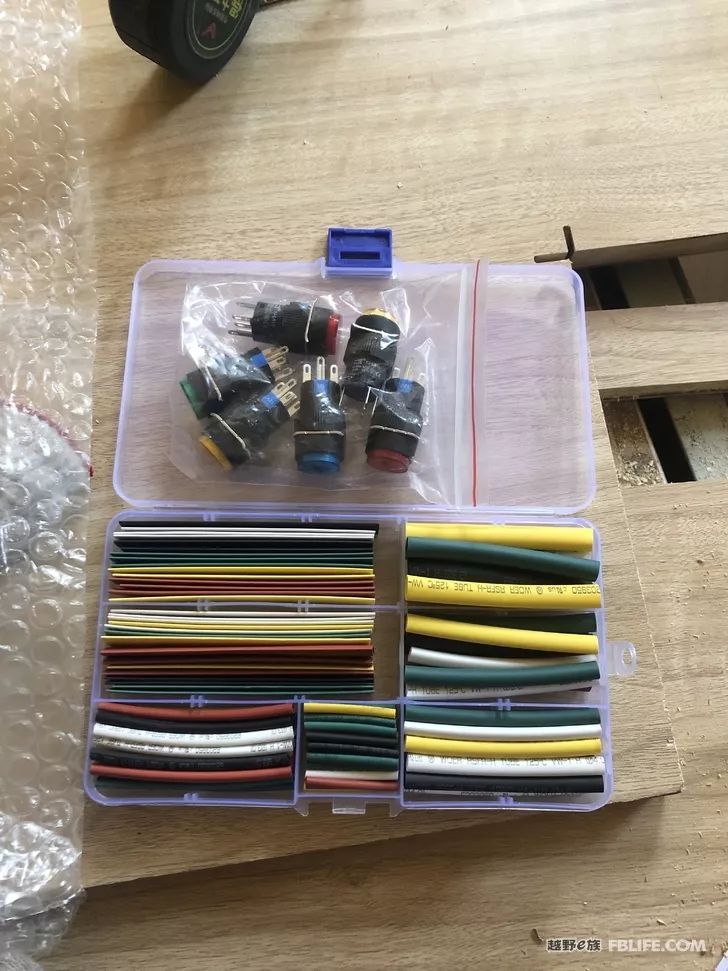
Switch and heat shrink tubing kits for online shopping
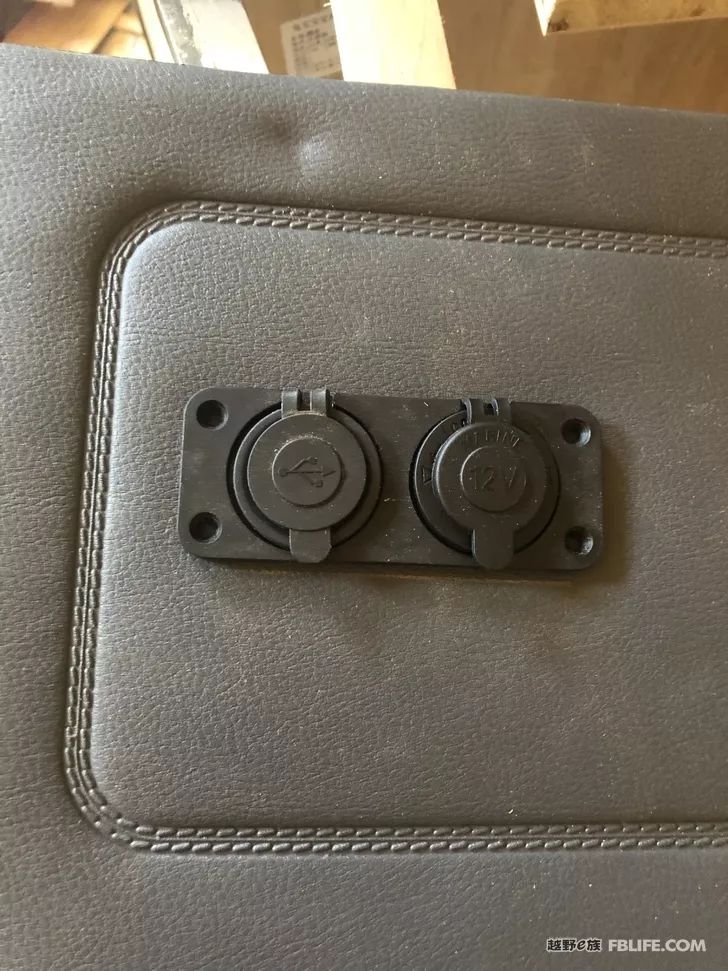
A mobile phone charging stand and a cigarette lighter take-off stand are installed on the side panel
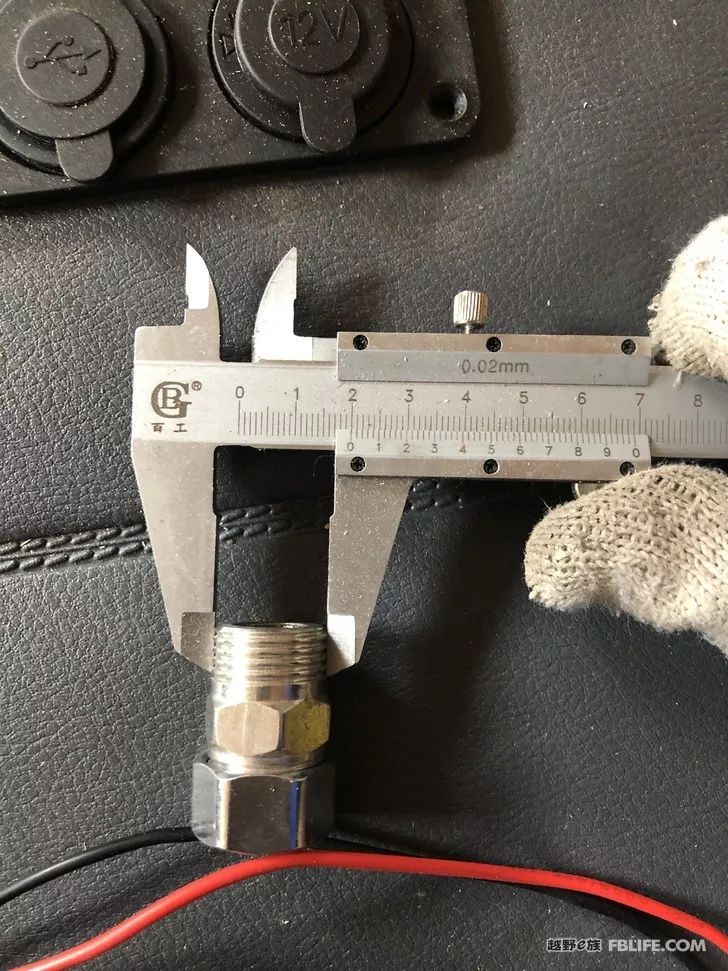
This is the size of the standard male interface
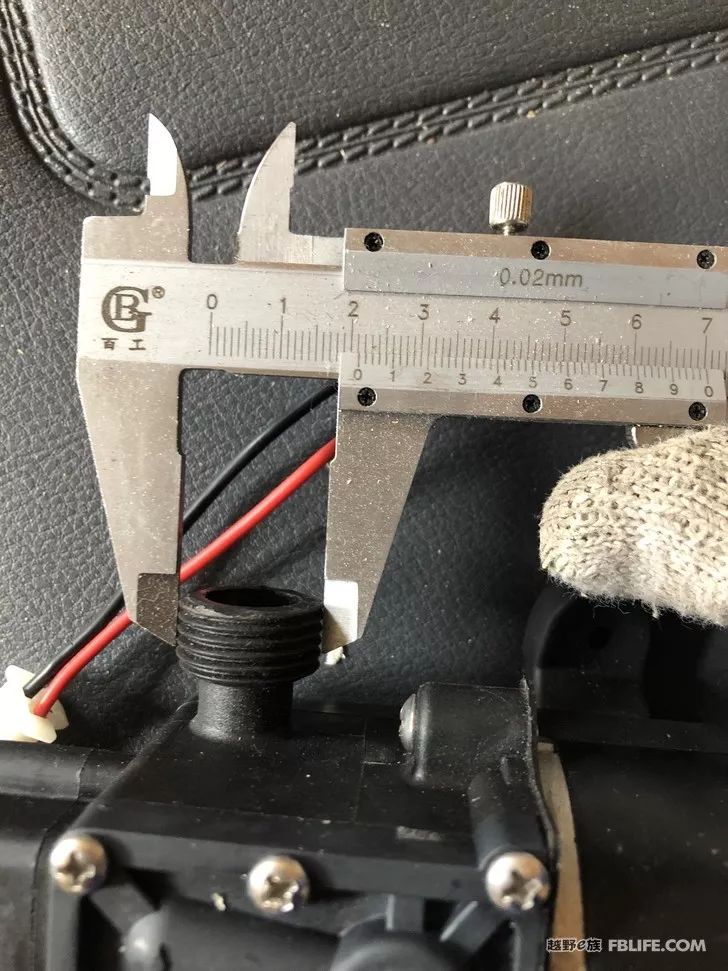
This is the size of the outer wire interface of the water pump. After screwing it for a long time, I found that it was one millimeter larger. Alas! Return decisively! It took a long time.
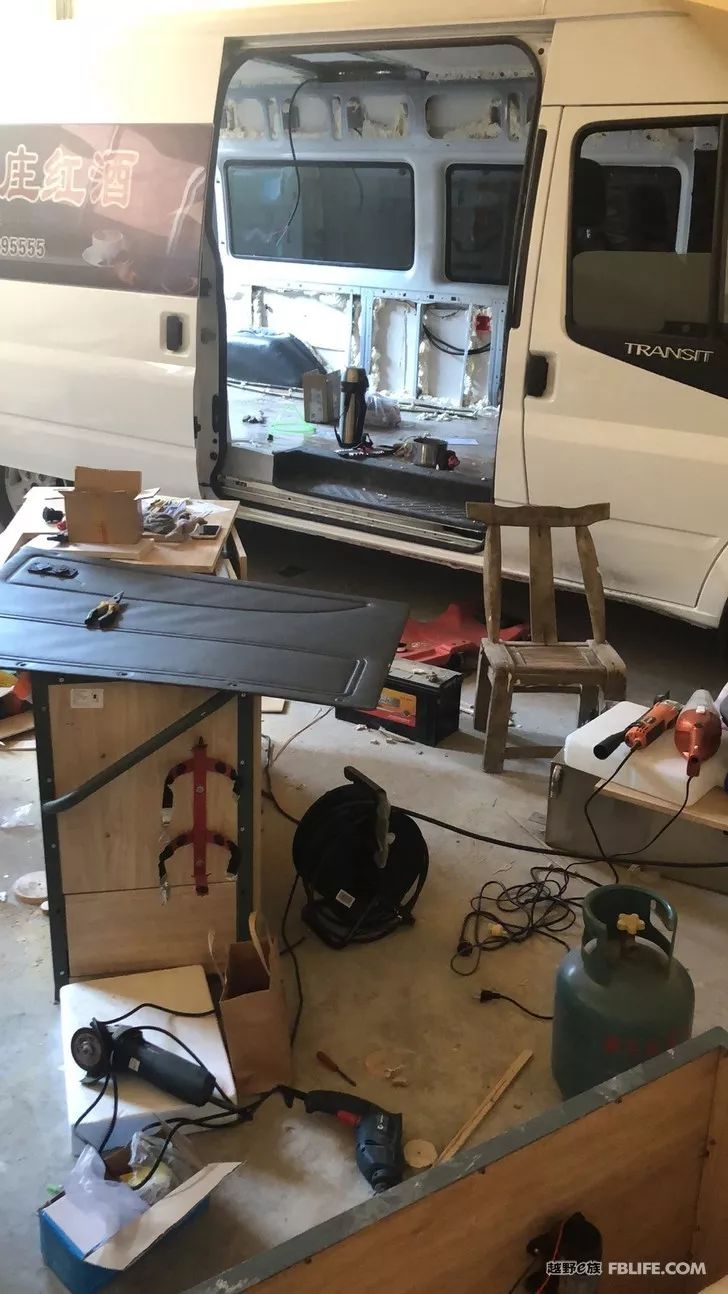
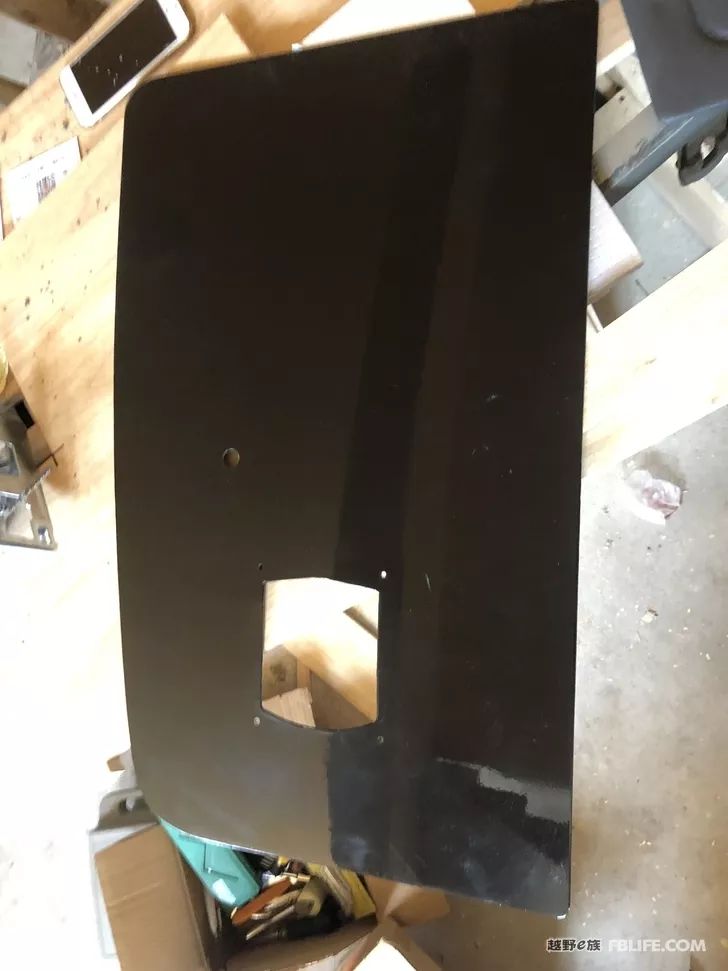
The stainless steel plate replacing the rear window glass cost 100 oceans and the finished product effect
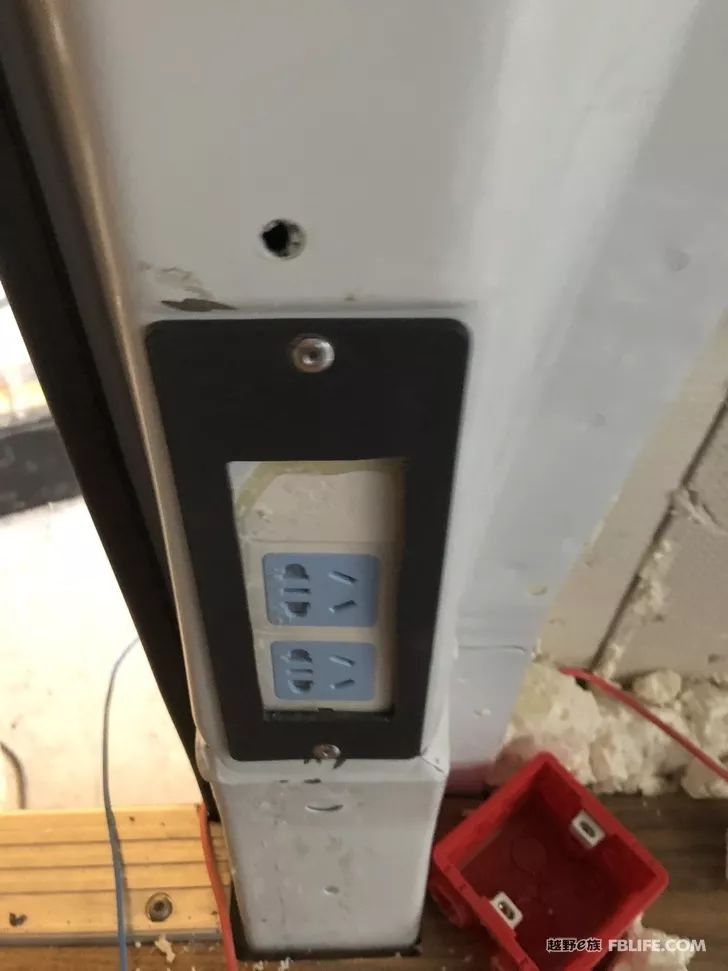
final product
From a distance, the effect is good, just right at the opening of the back panel of the cabinet.
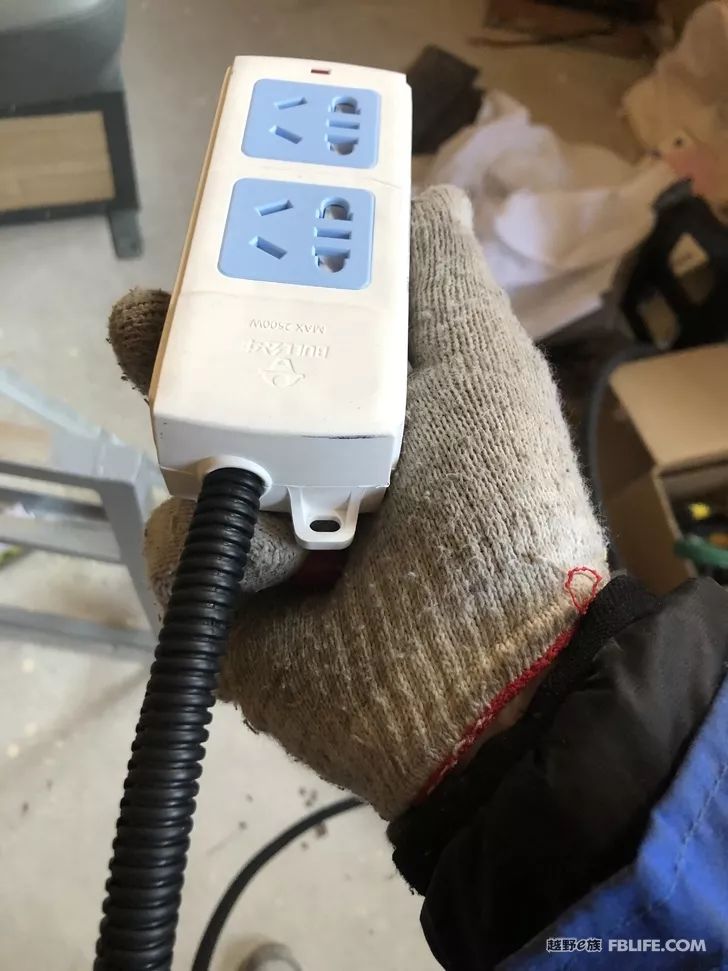
Prepare to install a 220-volt socket inside the doorpost, first connect the wires and then put on the plastic pipe.
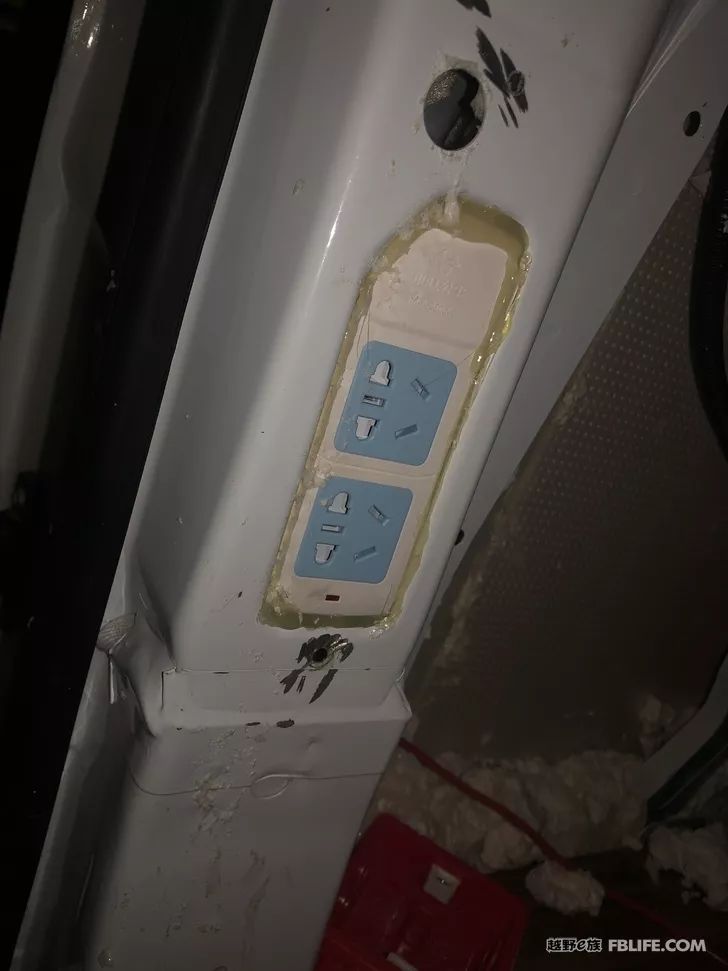
This position fits right in, fixed with hot melt glue first, then reinforced with styrofoam at the back.
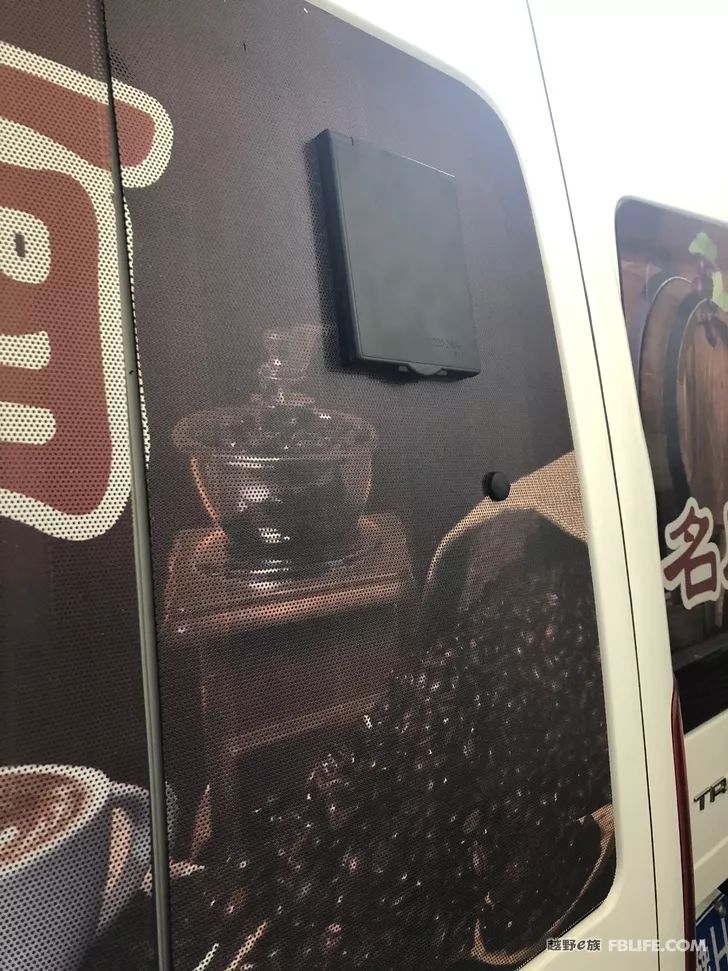
Appearance of external power socket
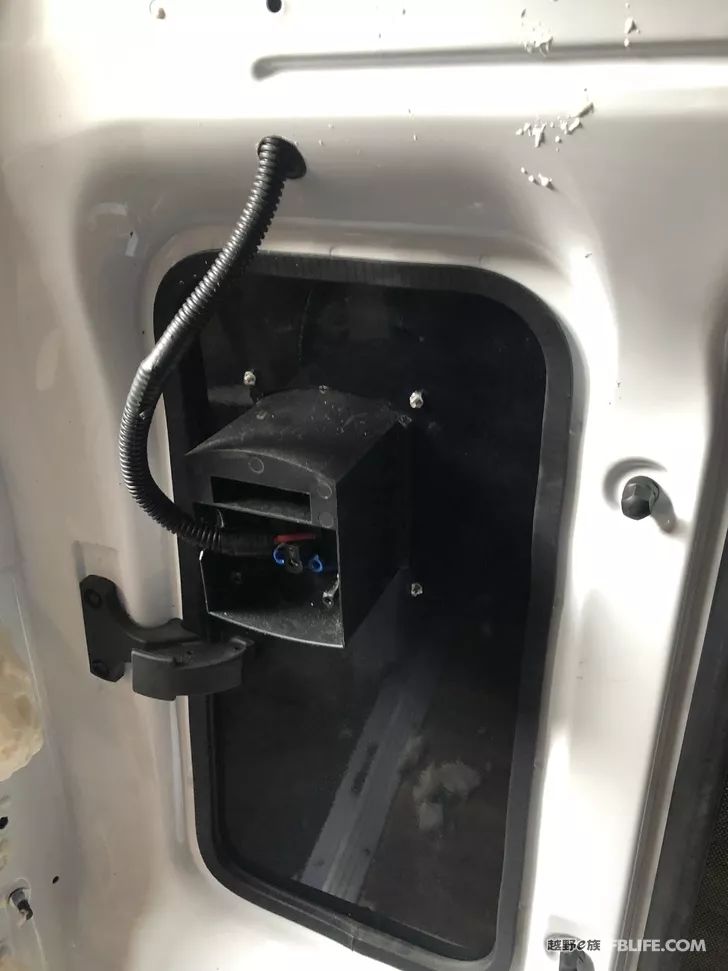
Internal view of external power socket
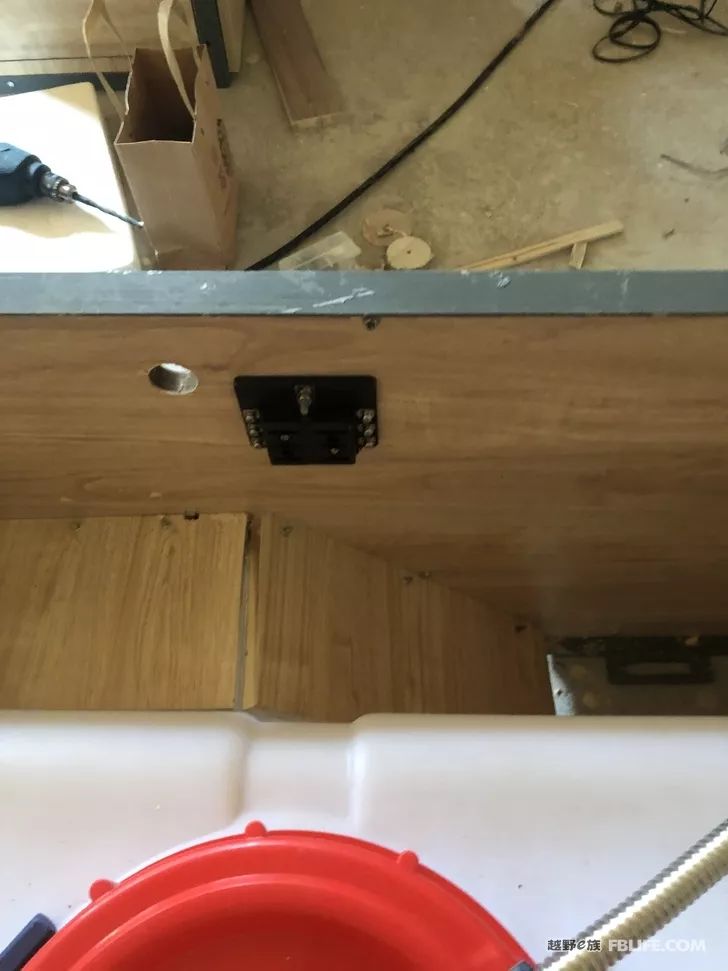
The one-to-six insurance interface is placed in the water tank cabinet, which is convenient for inspection and maintenance.
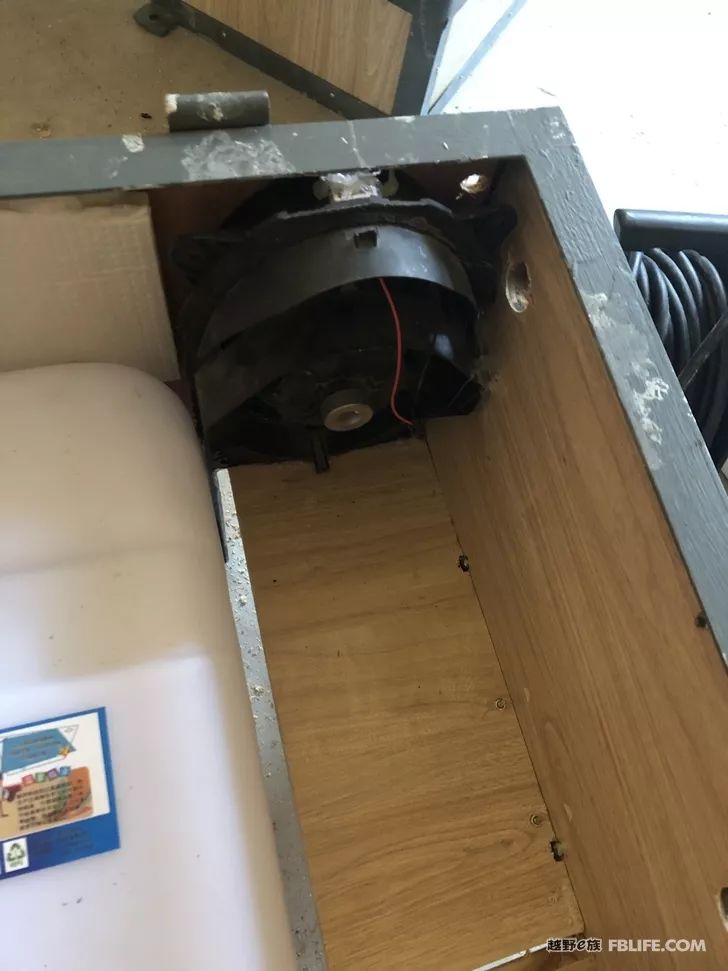
A rear speaker is installed in the vacant position of the water tank cabinet, and the original car has a reserved audio interface at this position.
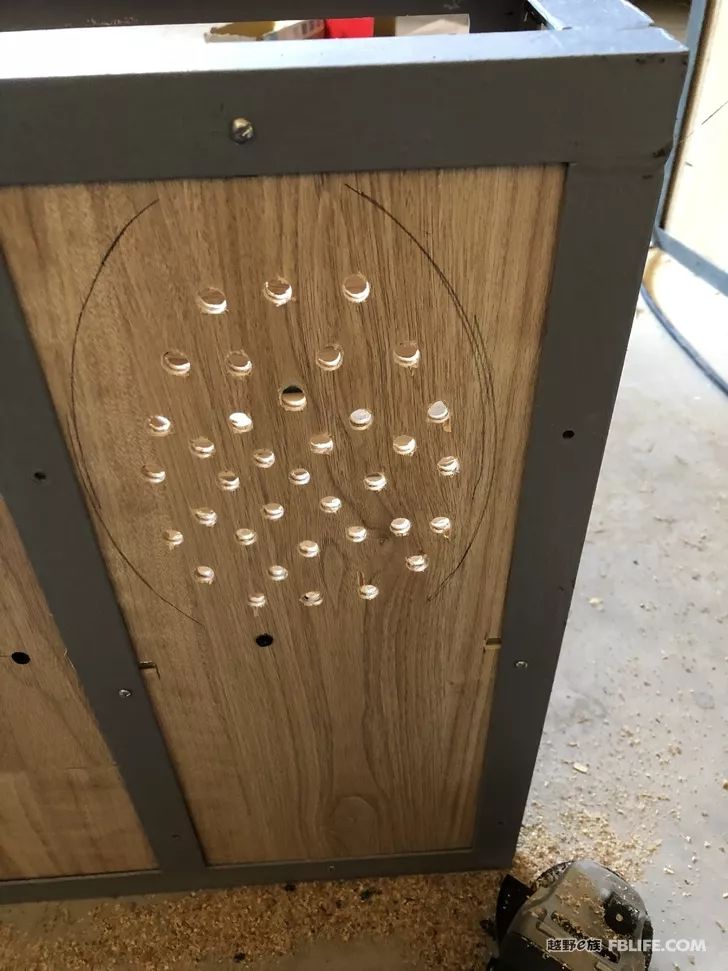
The sound hole was opened with a drill bit, although it is ugly, it will work.
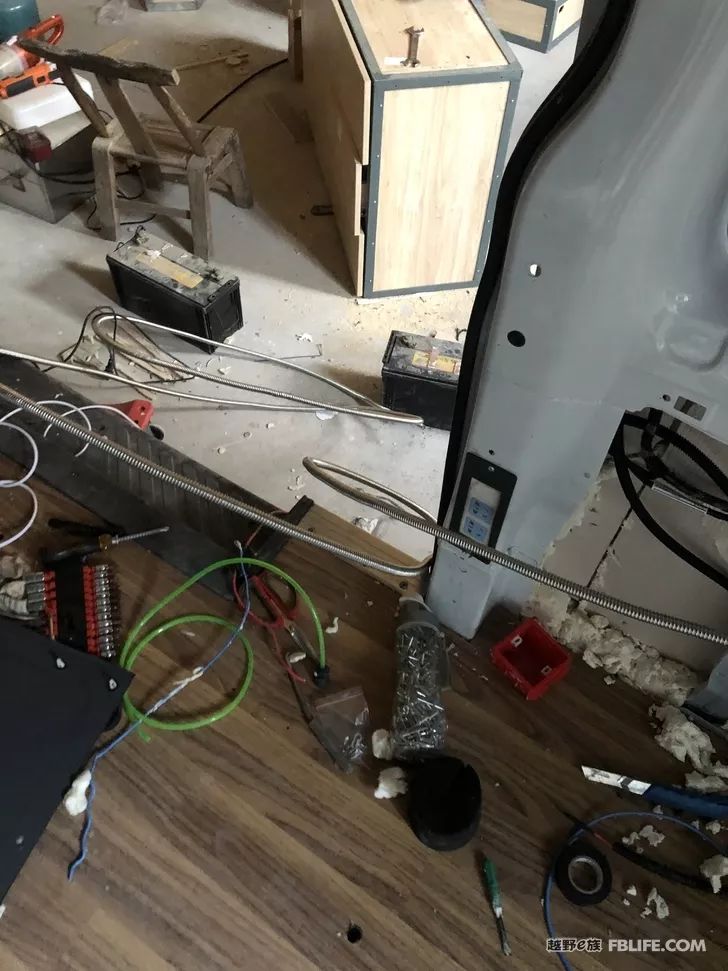
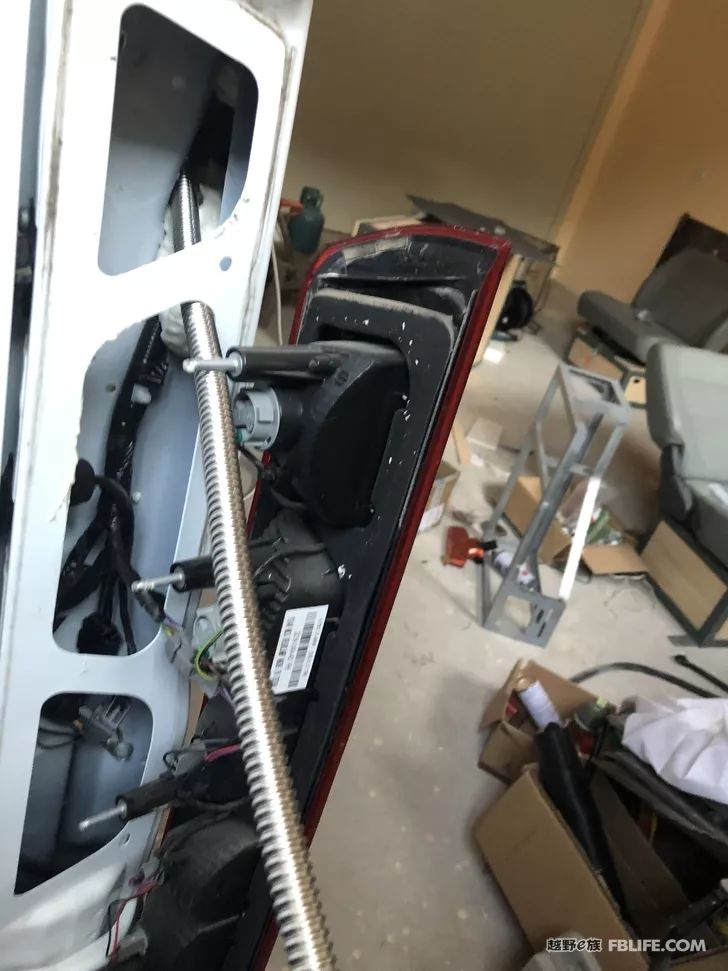
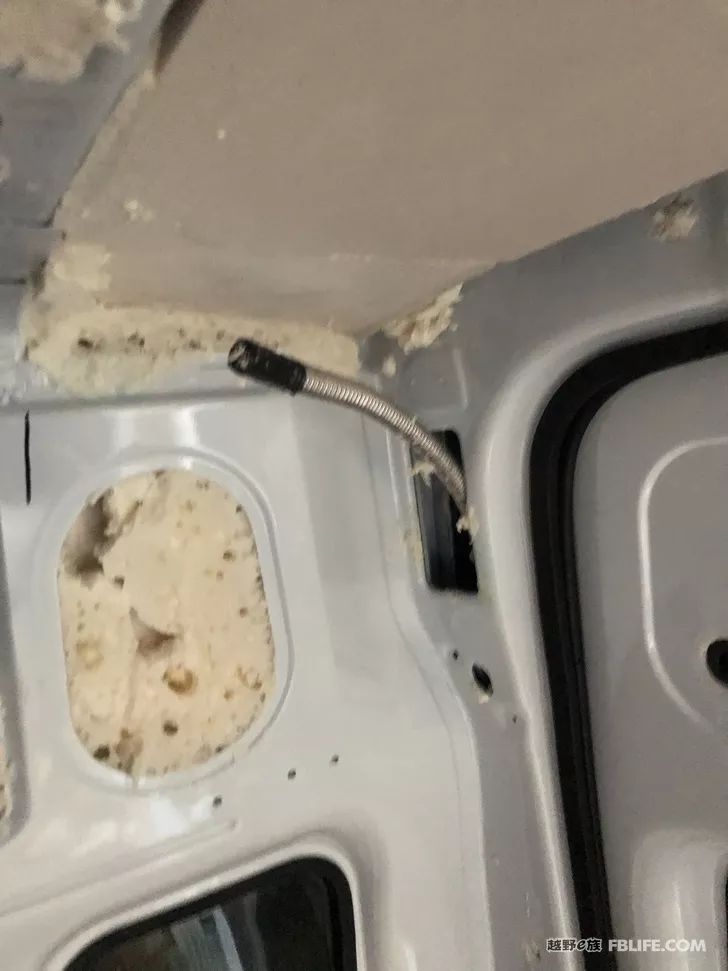
I decided to use stainless steel bellows for the waterway. I am mainly satisfied with the advantage of being able to bend at will. It is easier to thread the pipe in a small space in the car. It can not only have a sense of direction but also turn, and it is resistant to high pressure and wear. It turned out that I was going to take the car in the middle of the compartment. Going around the top, there is no reserved place for the pipeline to pass through, and they are all covered with styrofoam. It took a little effort to decide to go through the back door post. It took a long time to poke the styrofoam with a bamboo pole to get through. The disadvantage of the stainless steel tube is that it cannot be twisted and bent, and can only be bent in one direction at the same time, otherwise it is easy to tie into a dead knot. The position of the rear light was a bit awkward when the tube was pulled at the end, and it was almost twisted.
